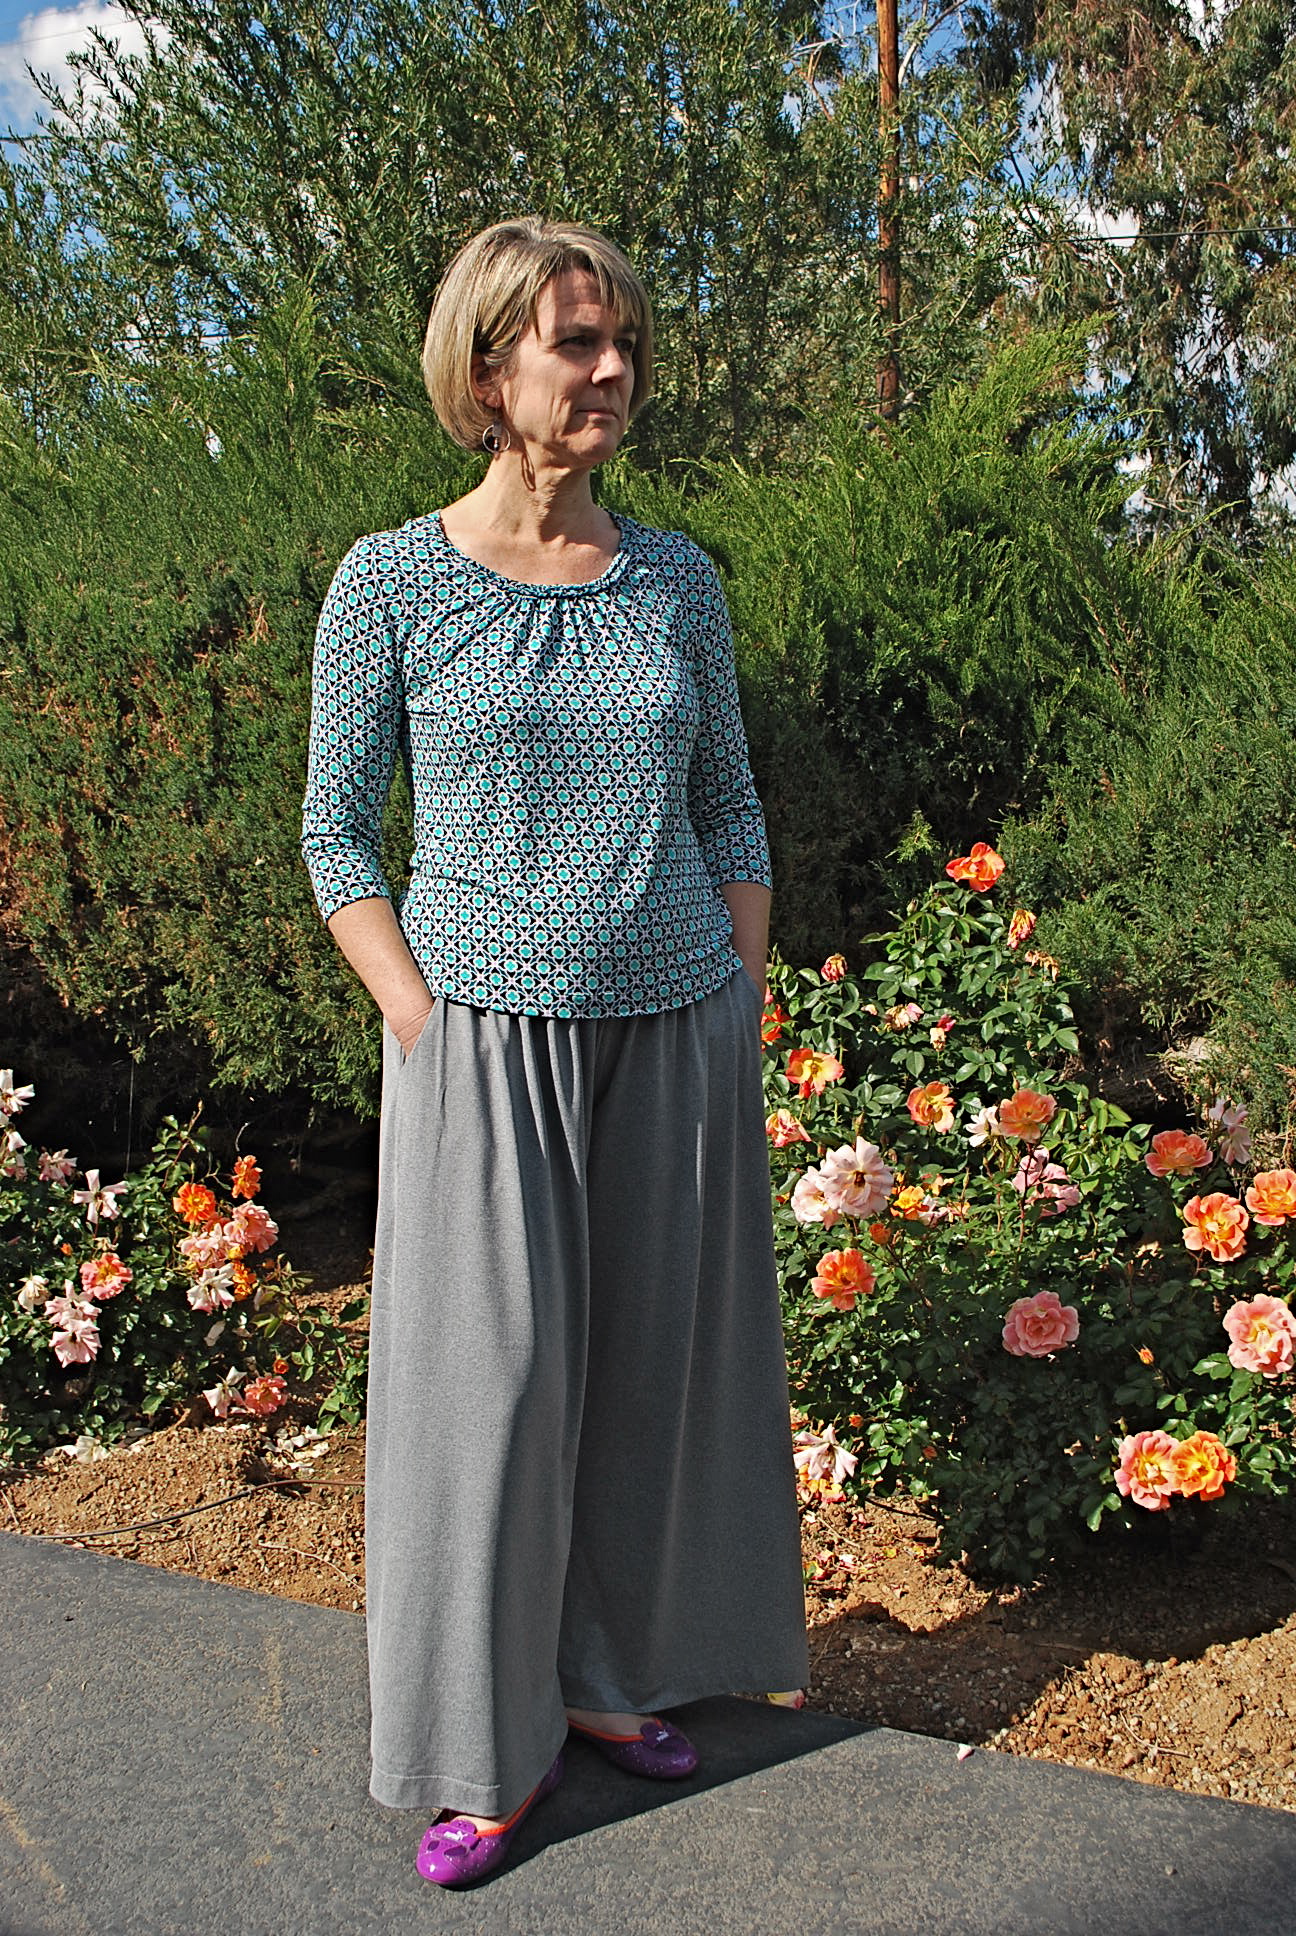
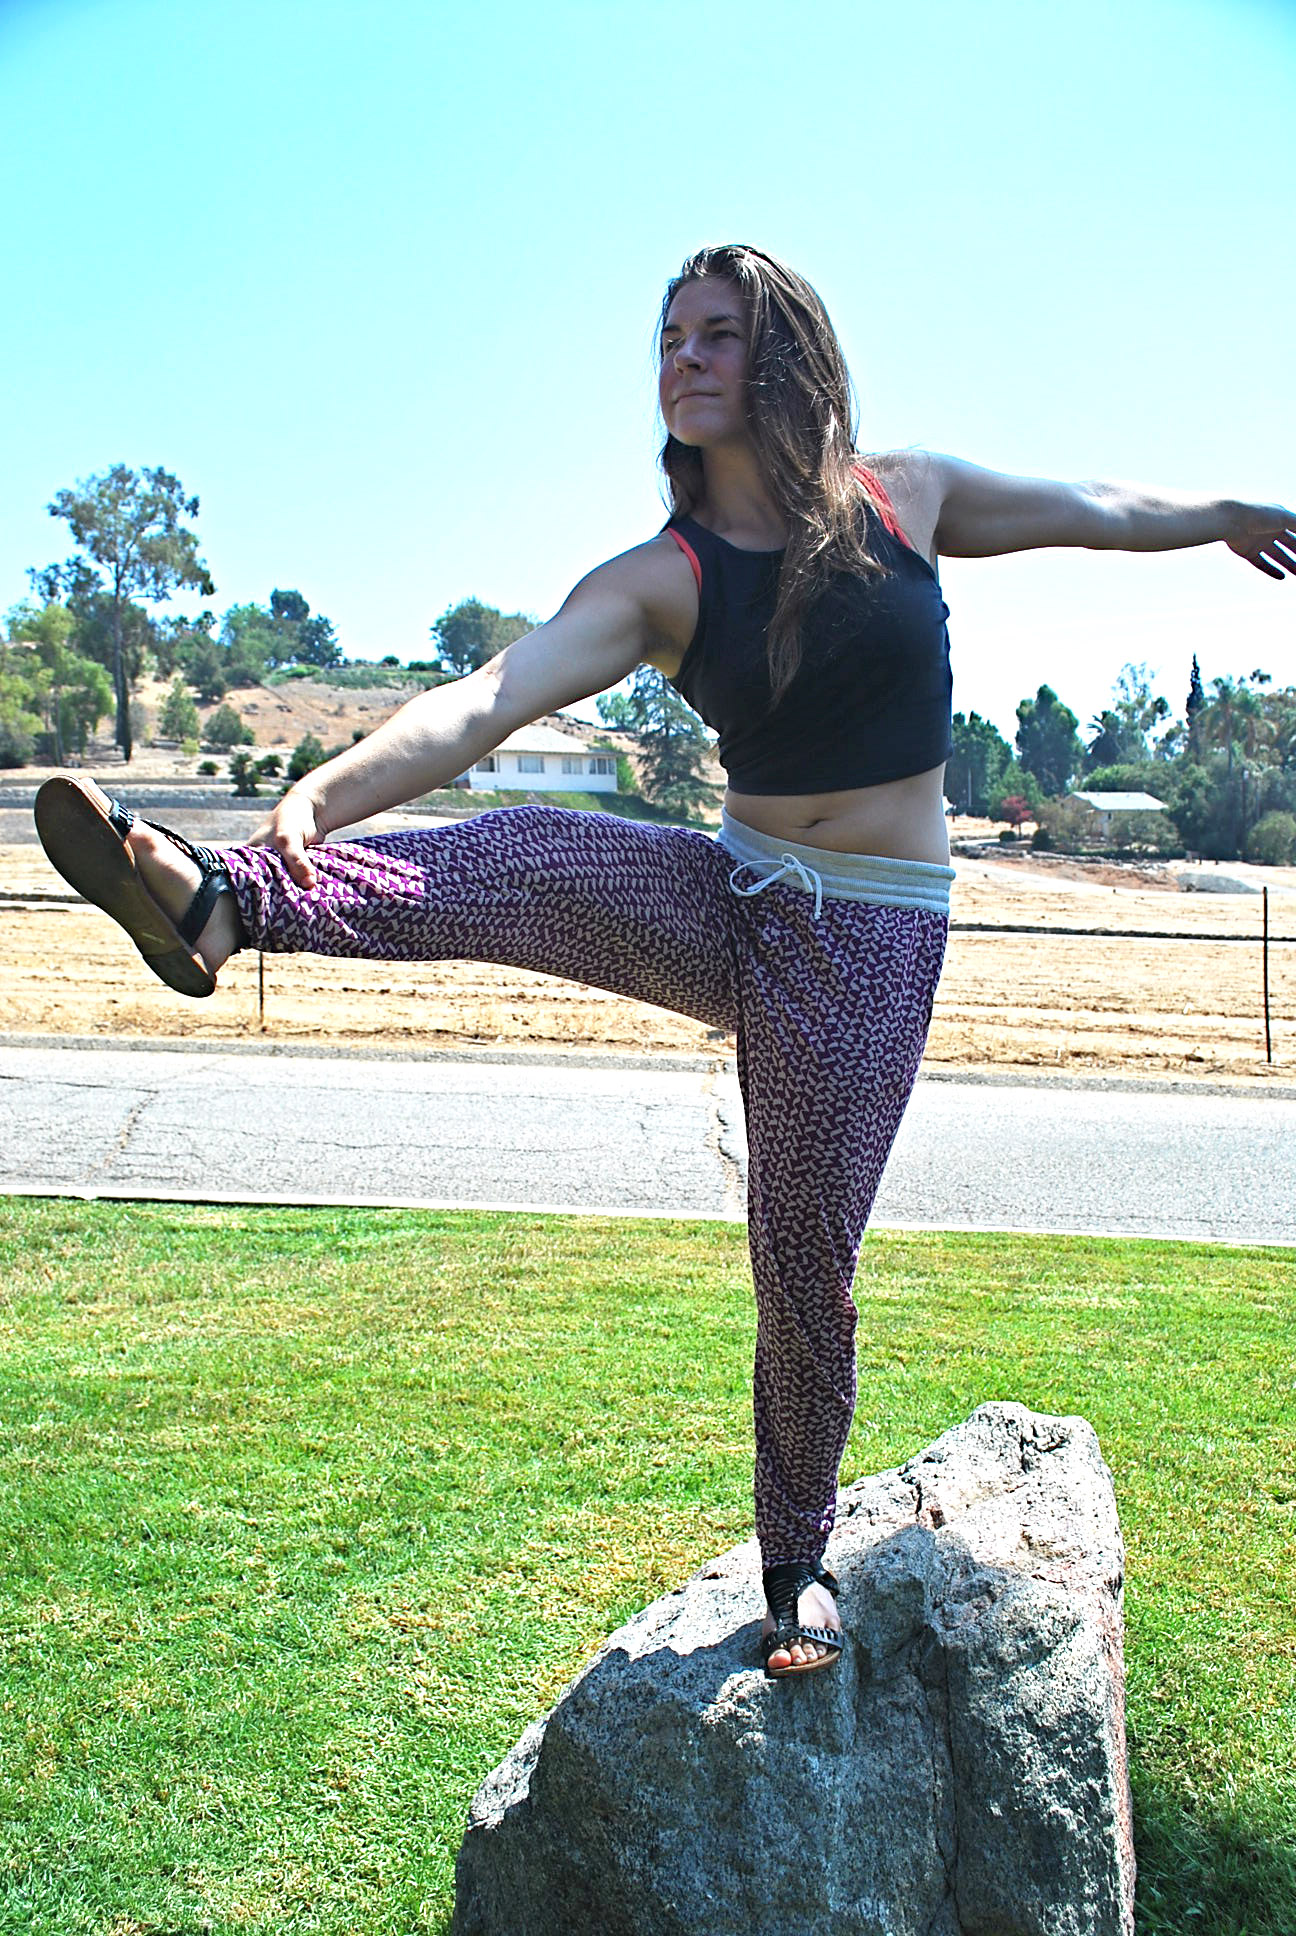
I’m not back to selfish sewing yet. I stumbled upon a competition using New Zealand indie company, Papercut Patterns “Anima Pant.” So Hanna wins out again with this modern, sport pant for Fresh Make #14.


This is my second indie pattern (I made the Moneta dress on my previous post.) I was convinced to purchase Papercut’s Anima Pant when they were offering 20% off the $25 price, plus free shipping (all the way from New Zealand!). And I have to say it arrived sooner than I expected. It comes packaged in a nifty cardboard, hanging envelope.
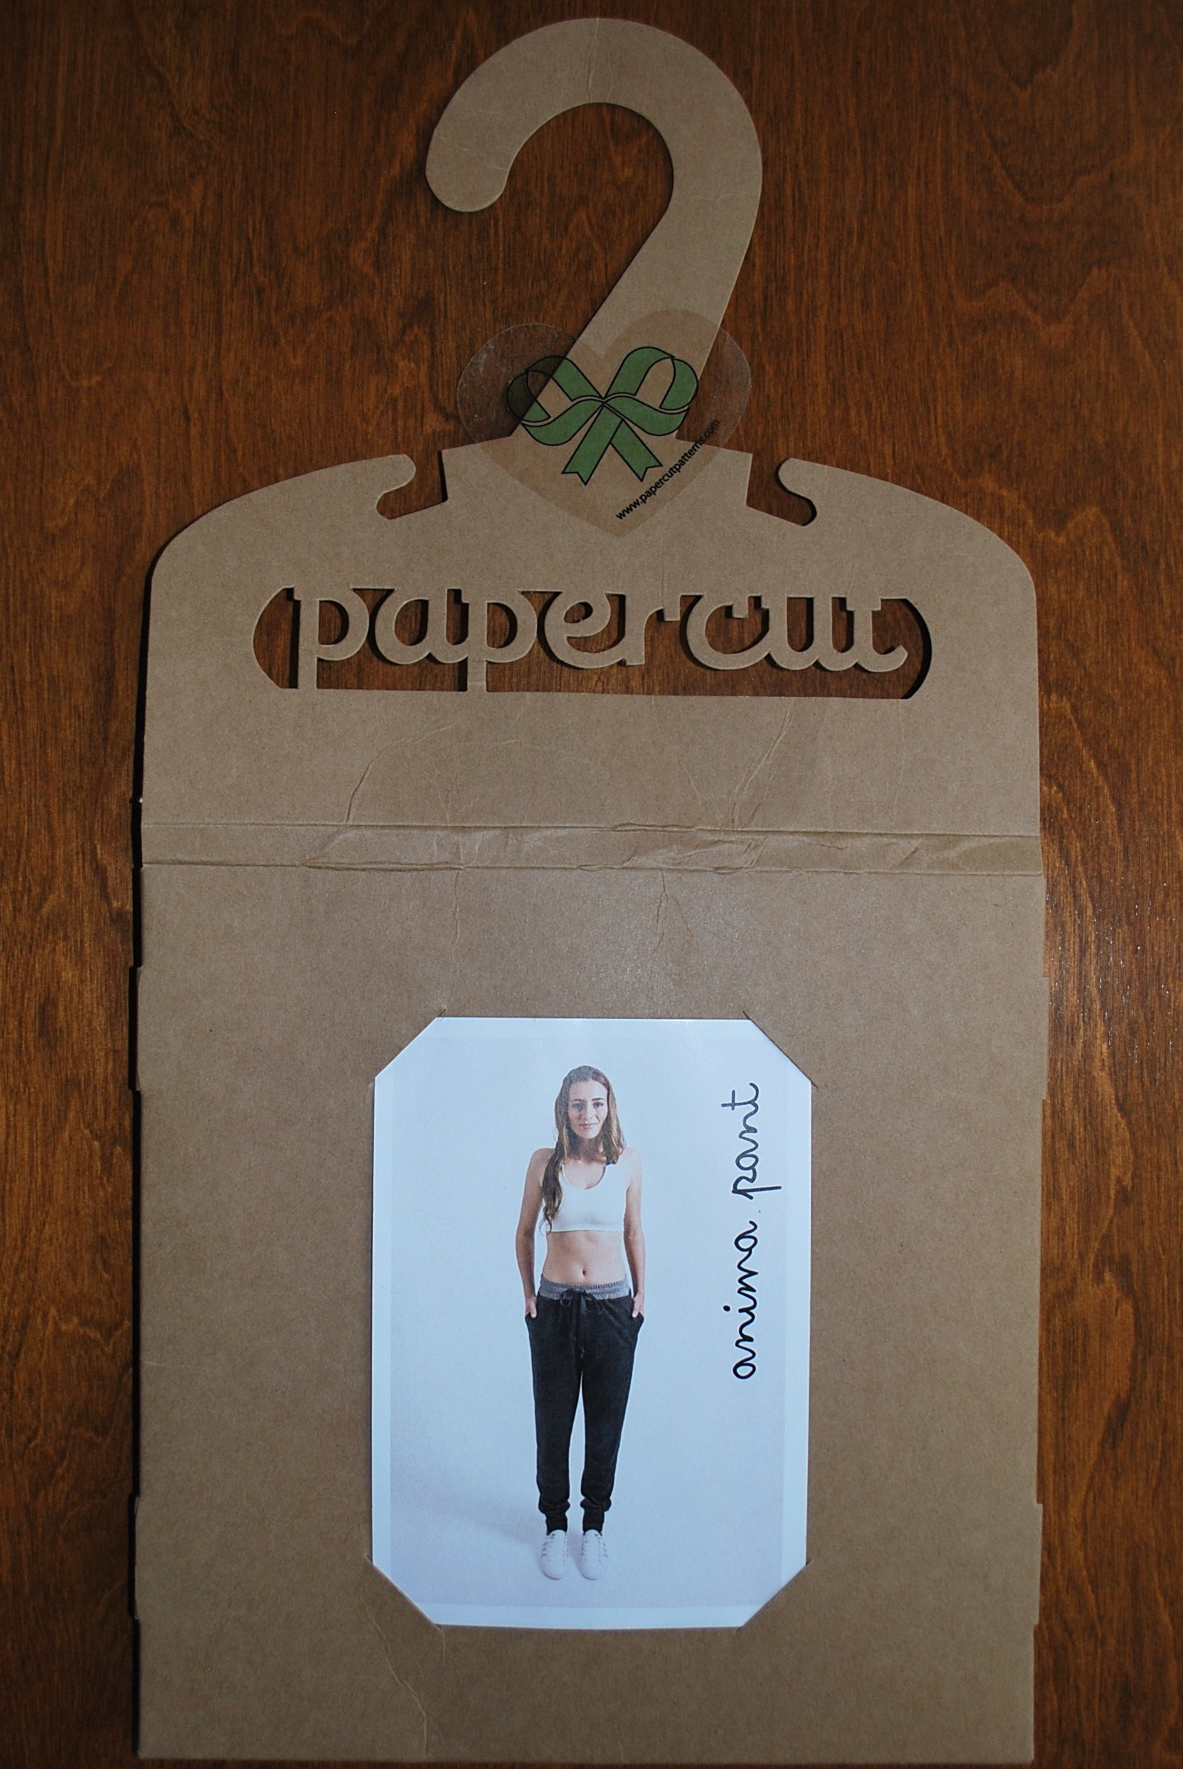

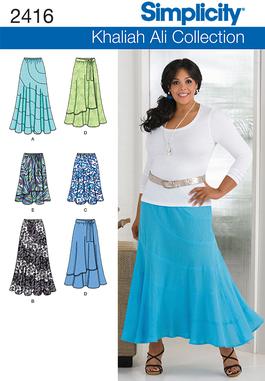
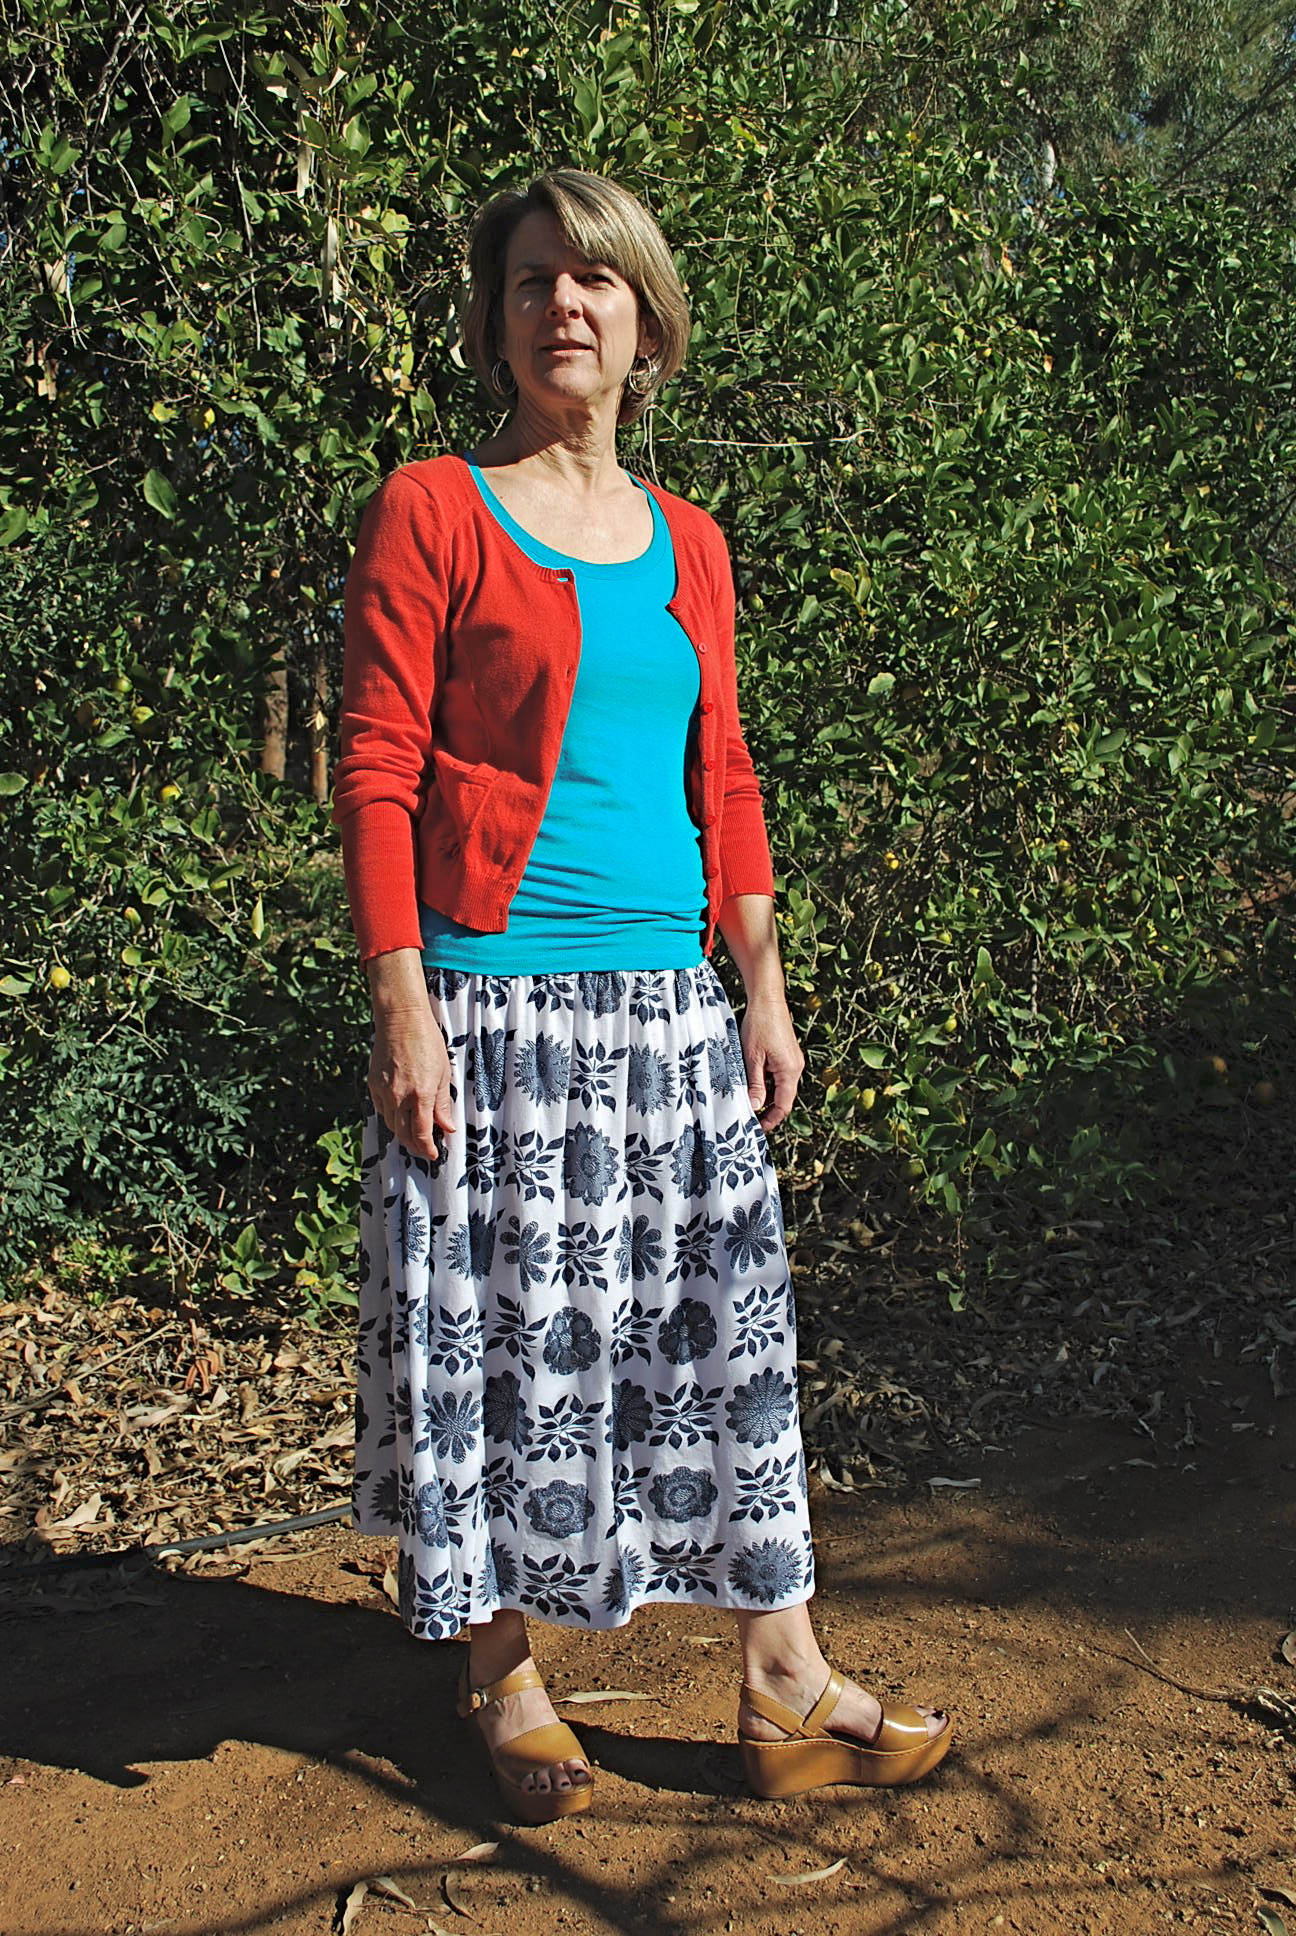
The pattern comes with different length options.
The competition is co-sponsored by The Fabric Store. Their only U.S. location is only La Brea Avenue in Los Angeles. Lucky us! A great excuse for Hanna and I to go into the city, and also stop in for a delicious drink and yummy goodie directly across the street at The Sycamore Kitchen. Hanna had free reign in the fabric selection. I always like to see what my art student daughter will choose. The fabric is a beautiful, drapey, single knit jersey. I regret to say that I’m not sure of the fiber content. It looks and feels like a cotton/rayon blend. I pre-shrunk it in the washer and dryer, and it came out beautifully. We bought 1 1/2 yards at $12 per yard. Hanna also chose a waffle ribbed knit for a contrasting waistband.
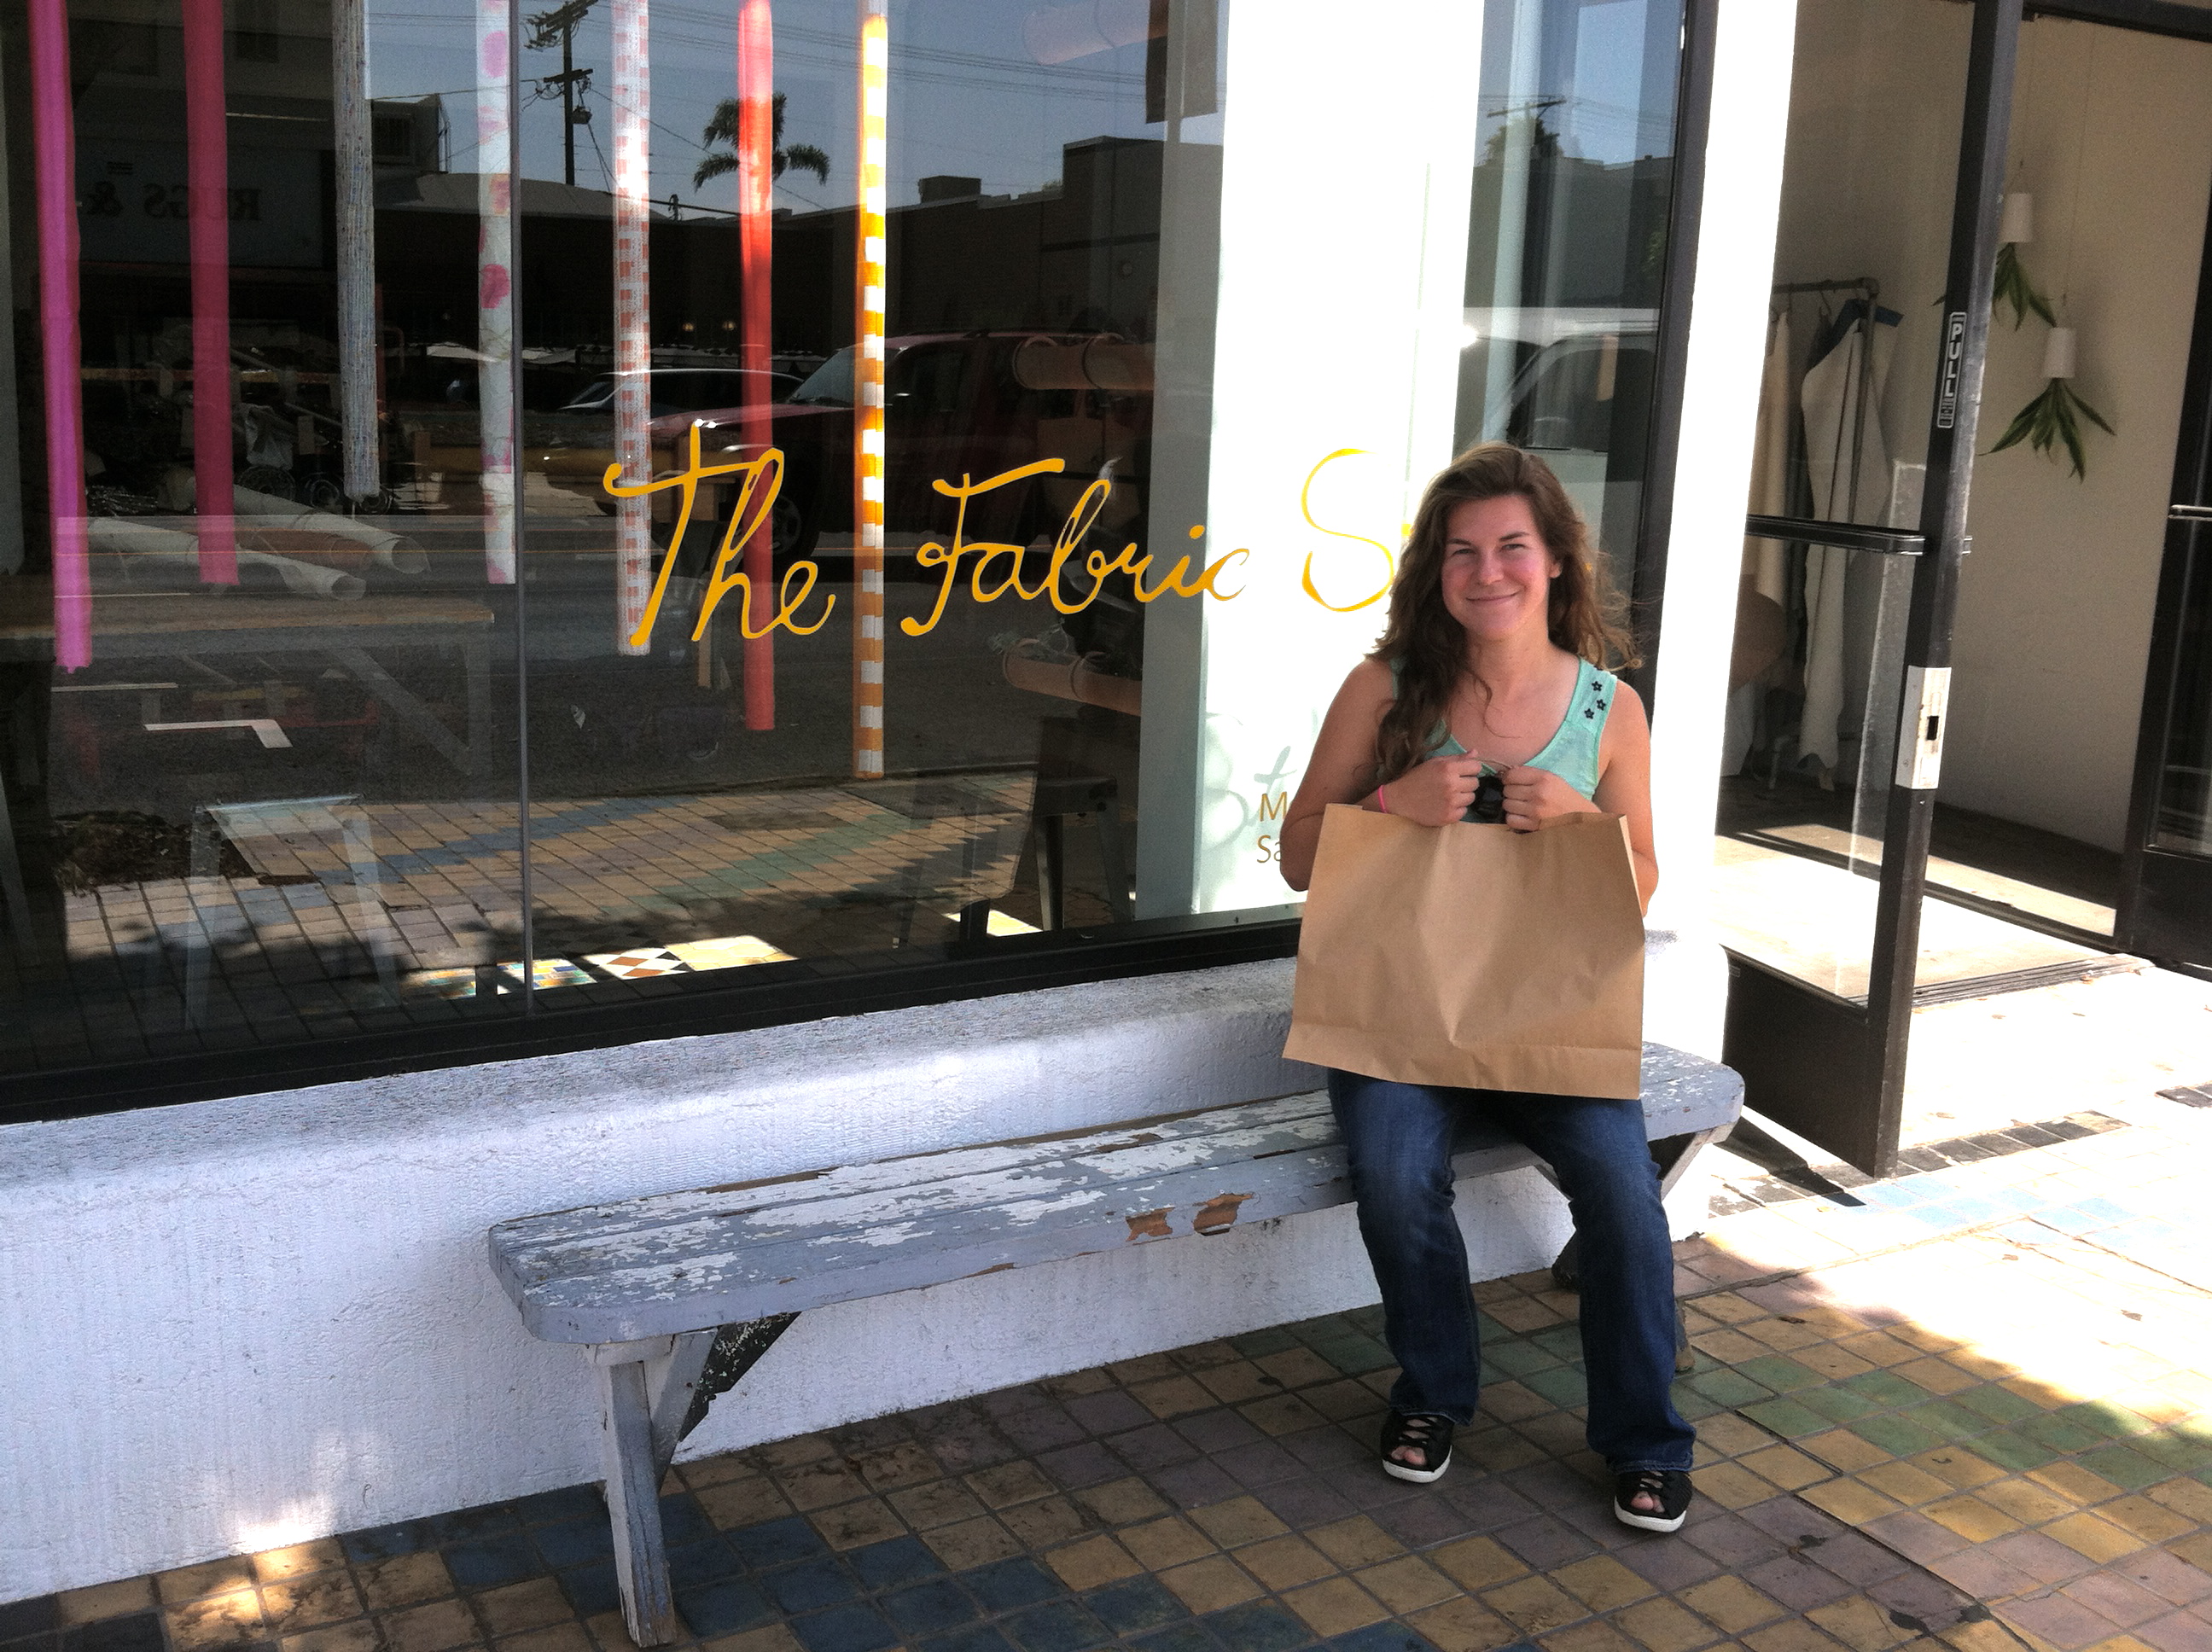
Fabric in hand on La Brea Avenue.

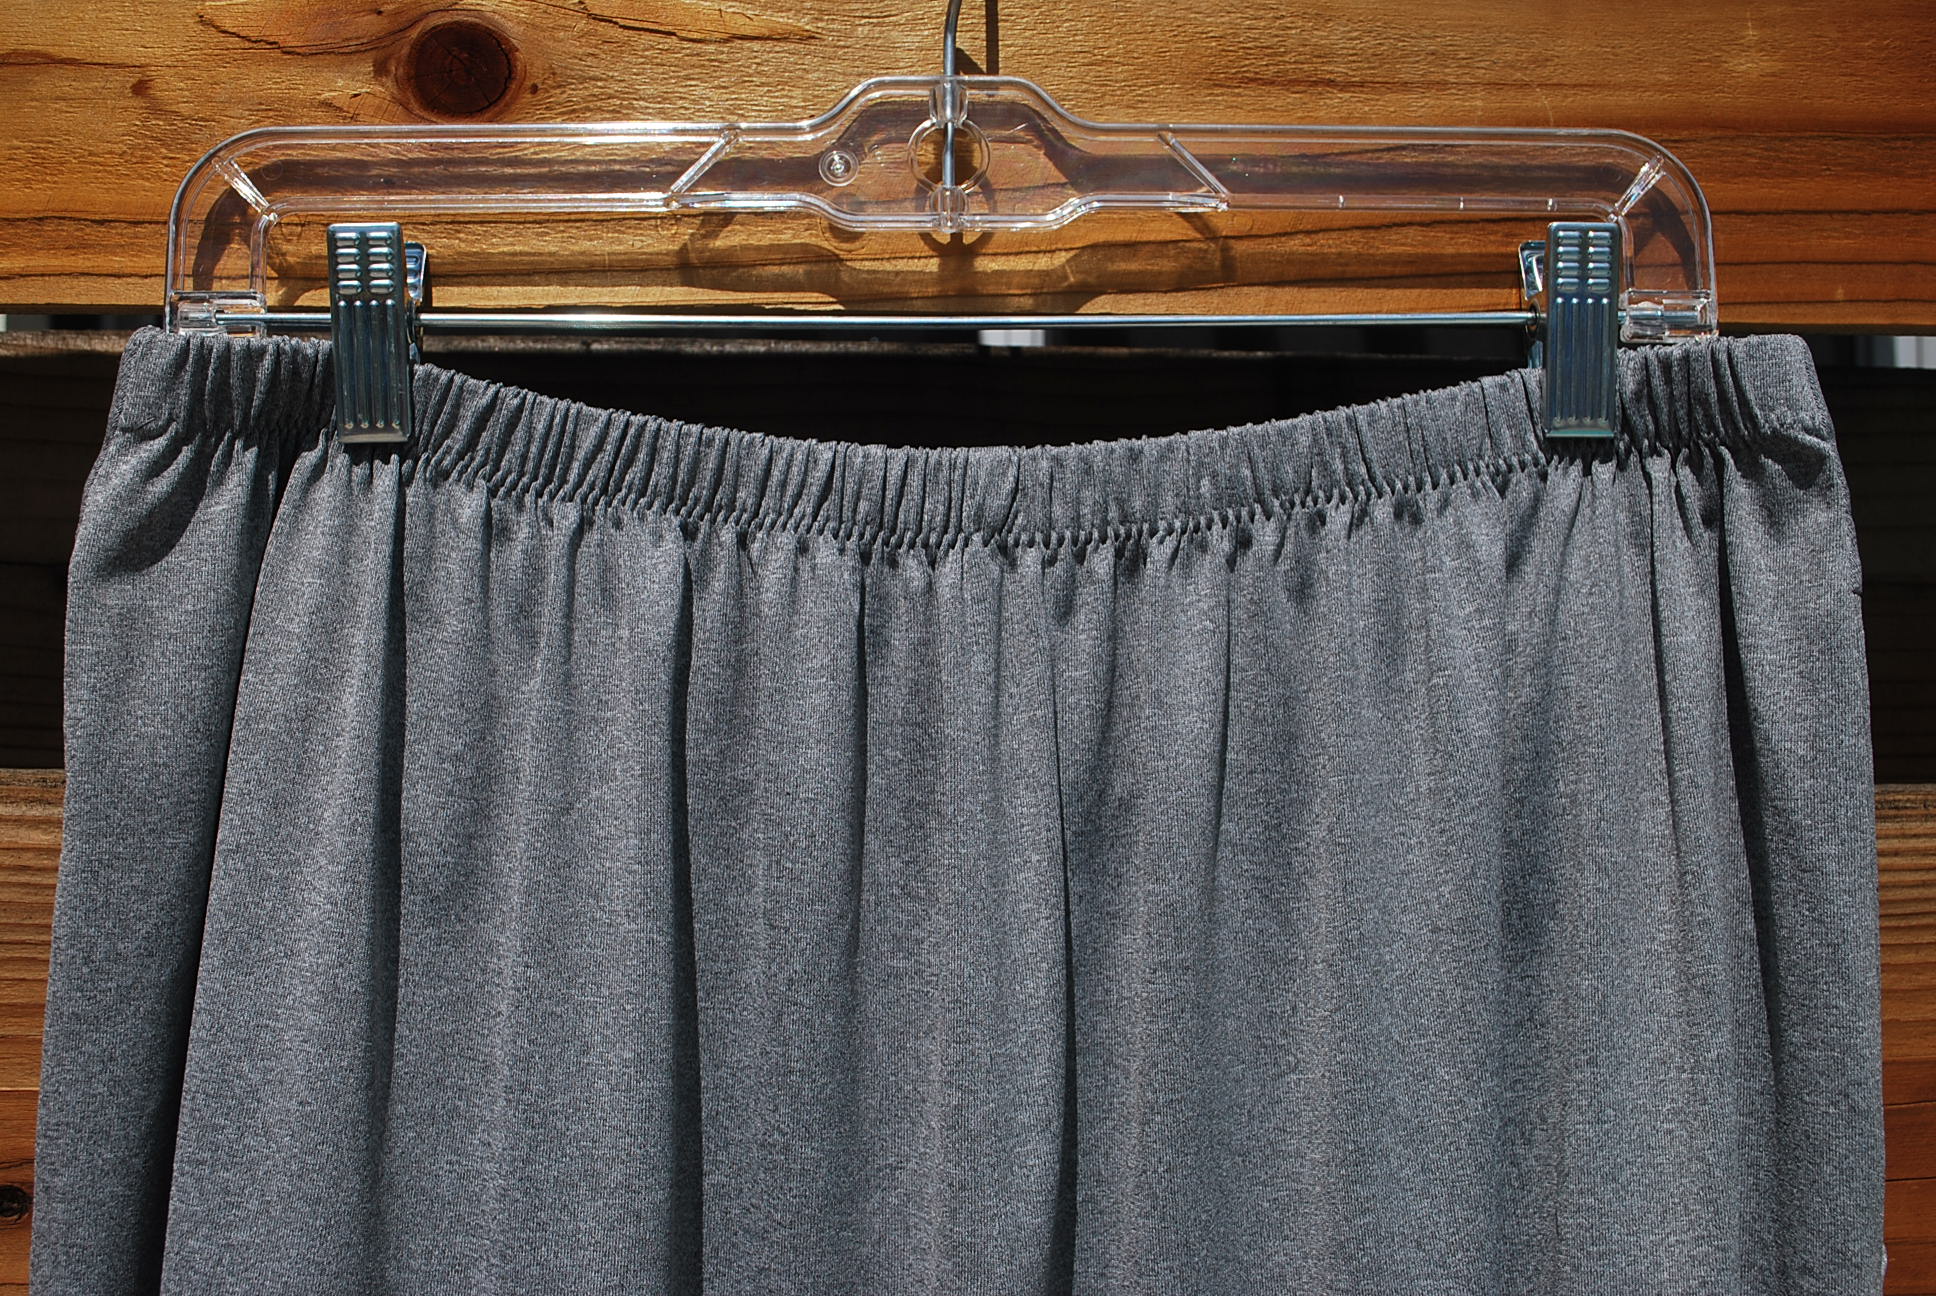
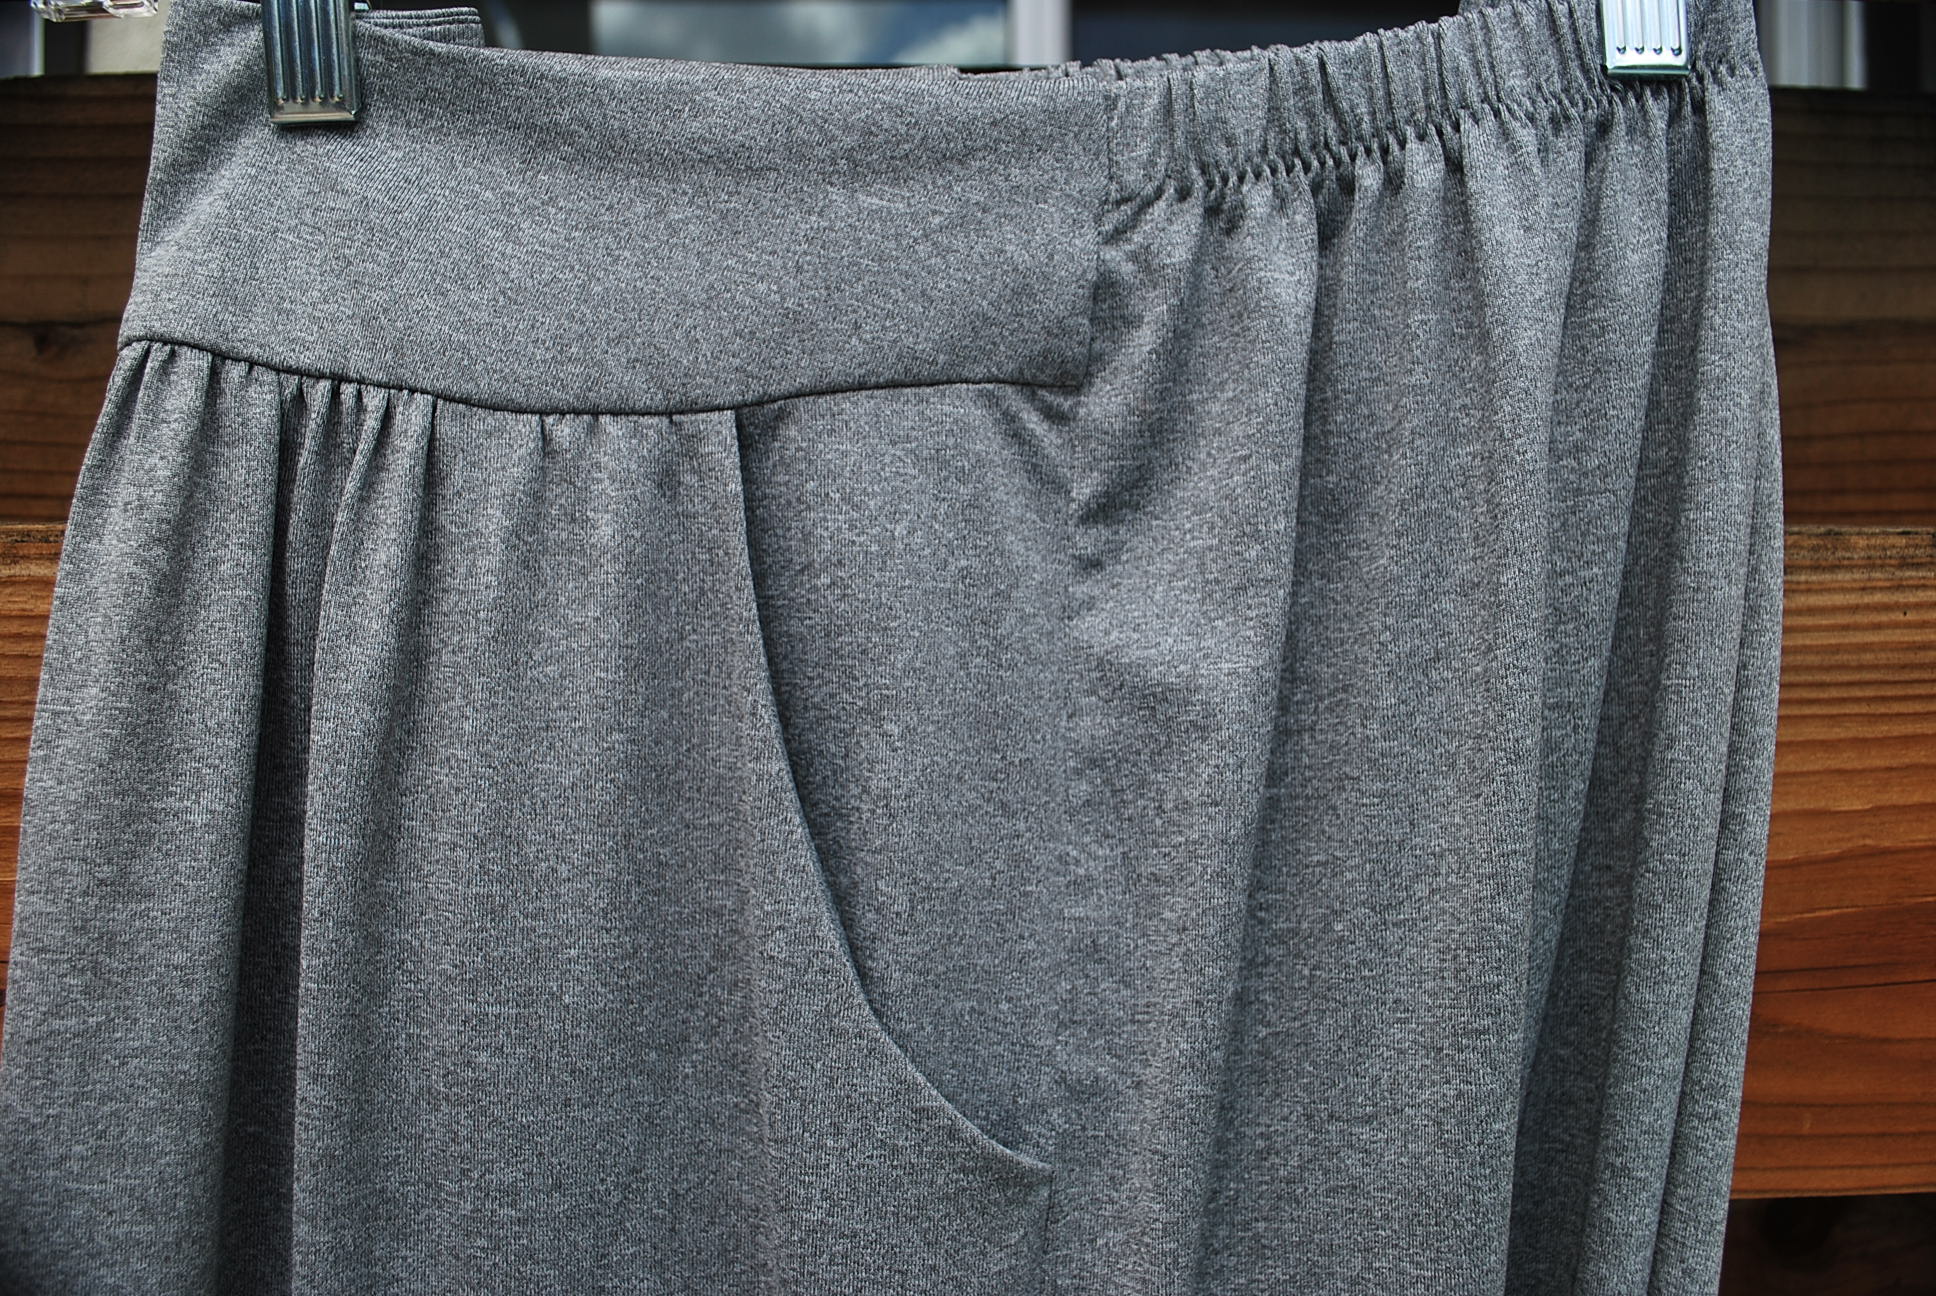
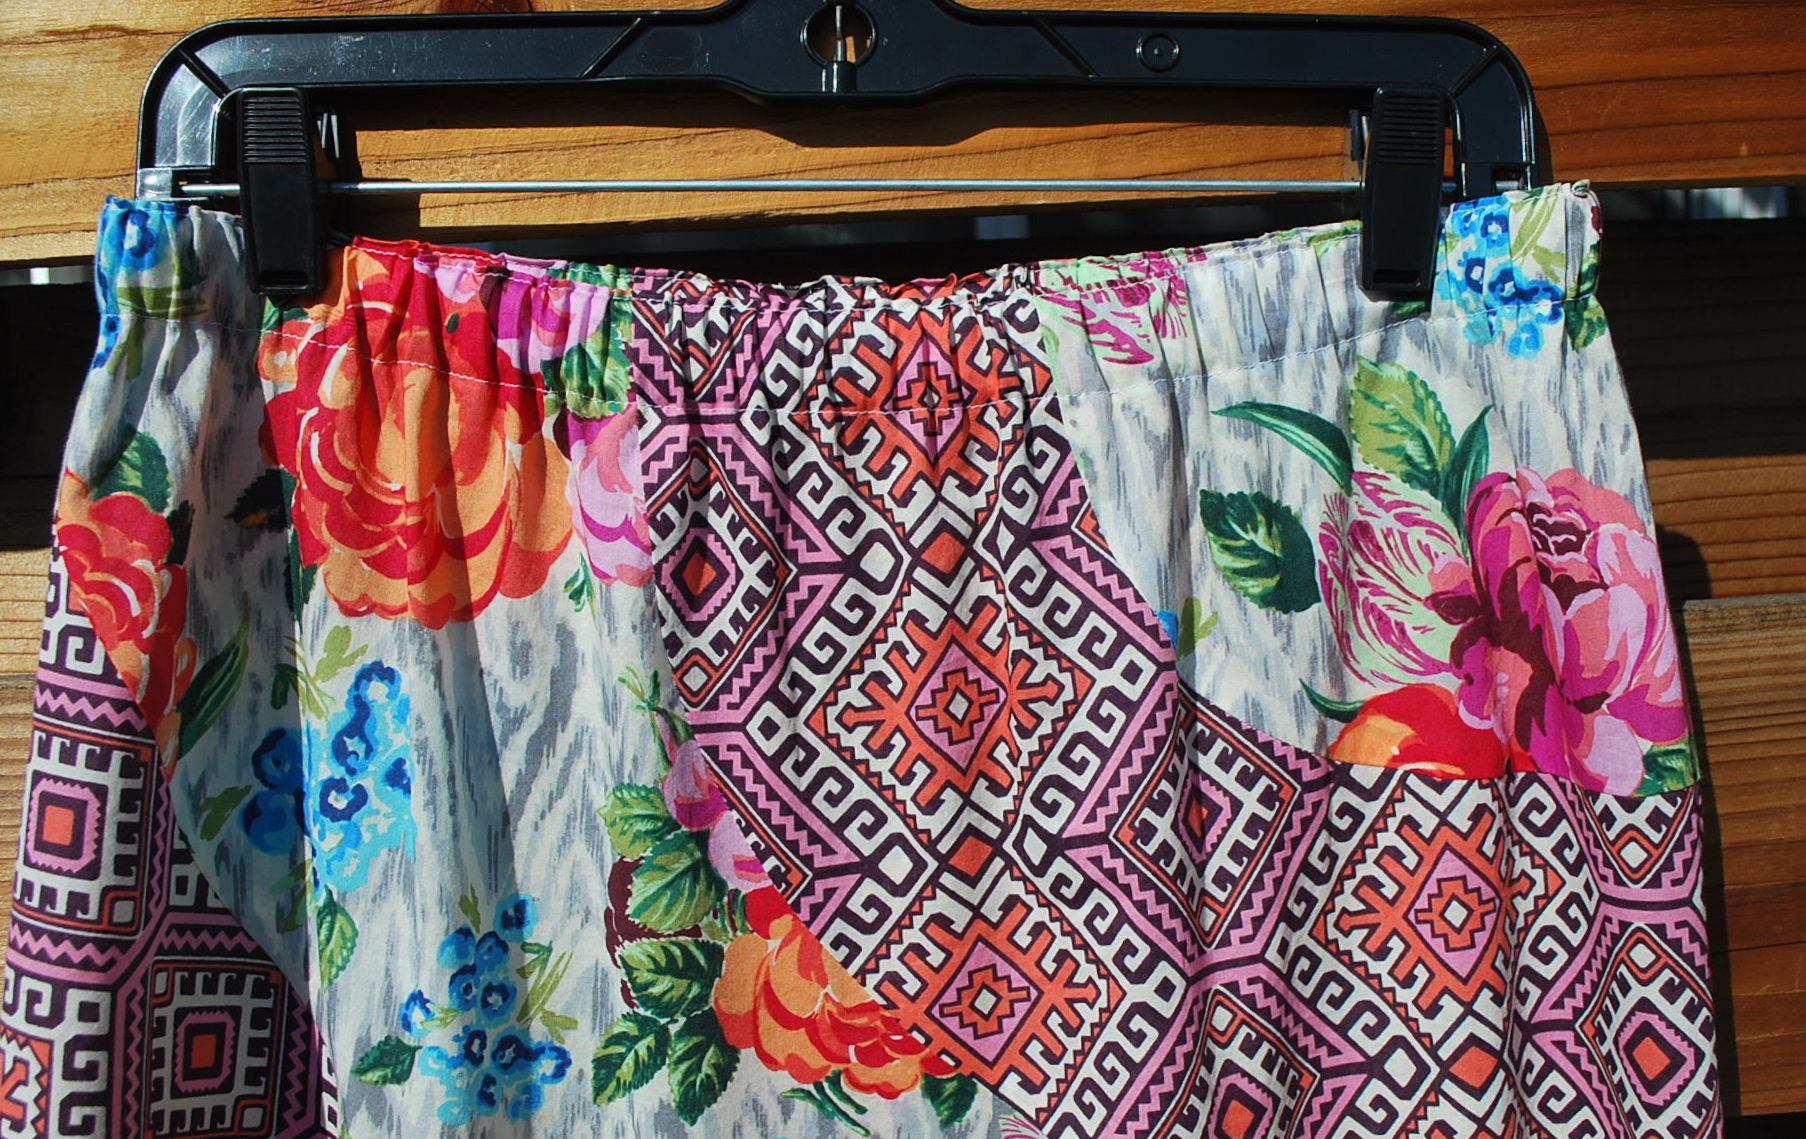
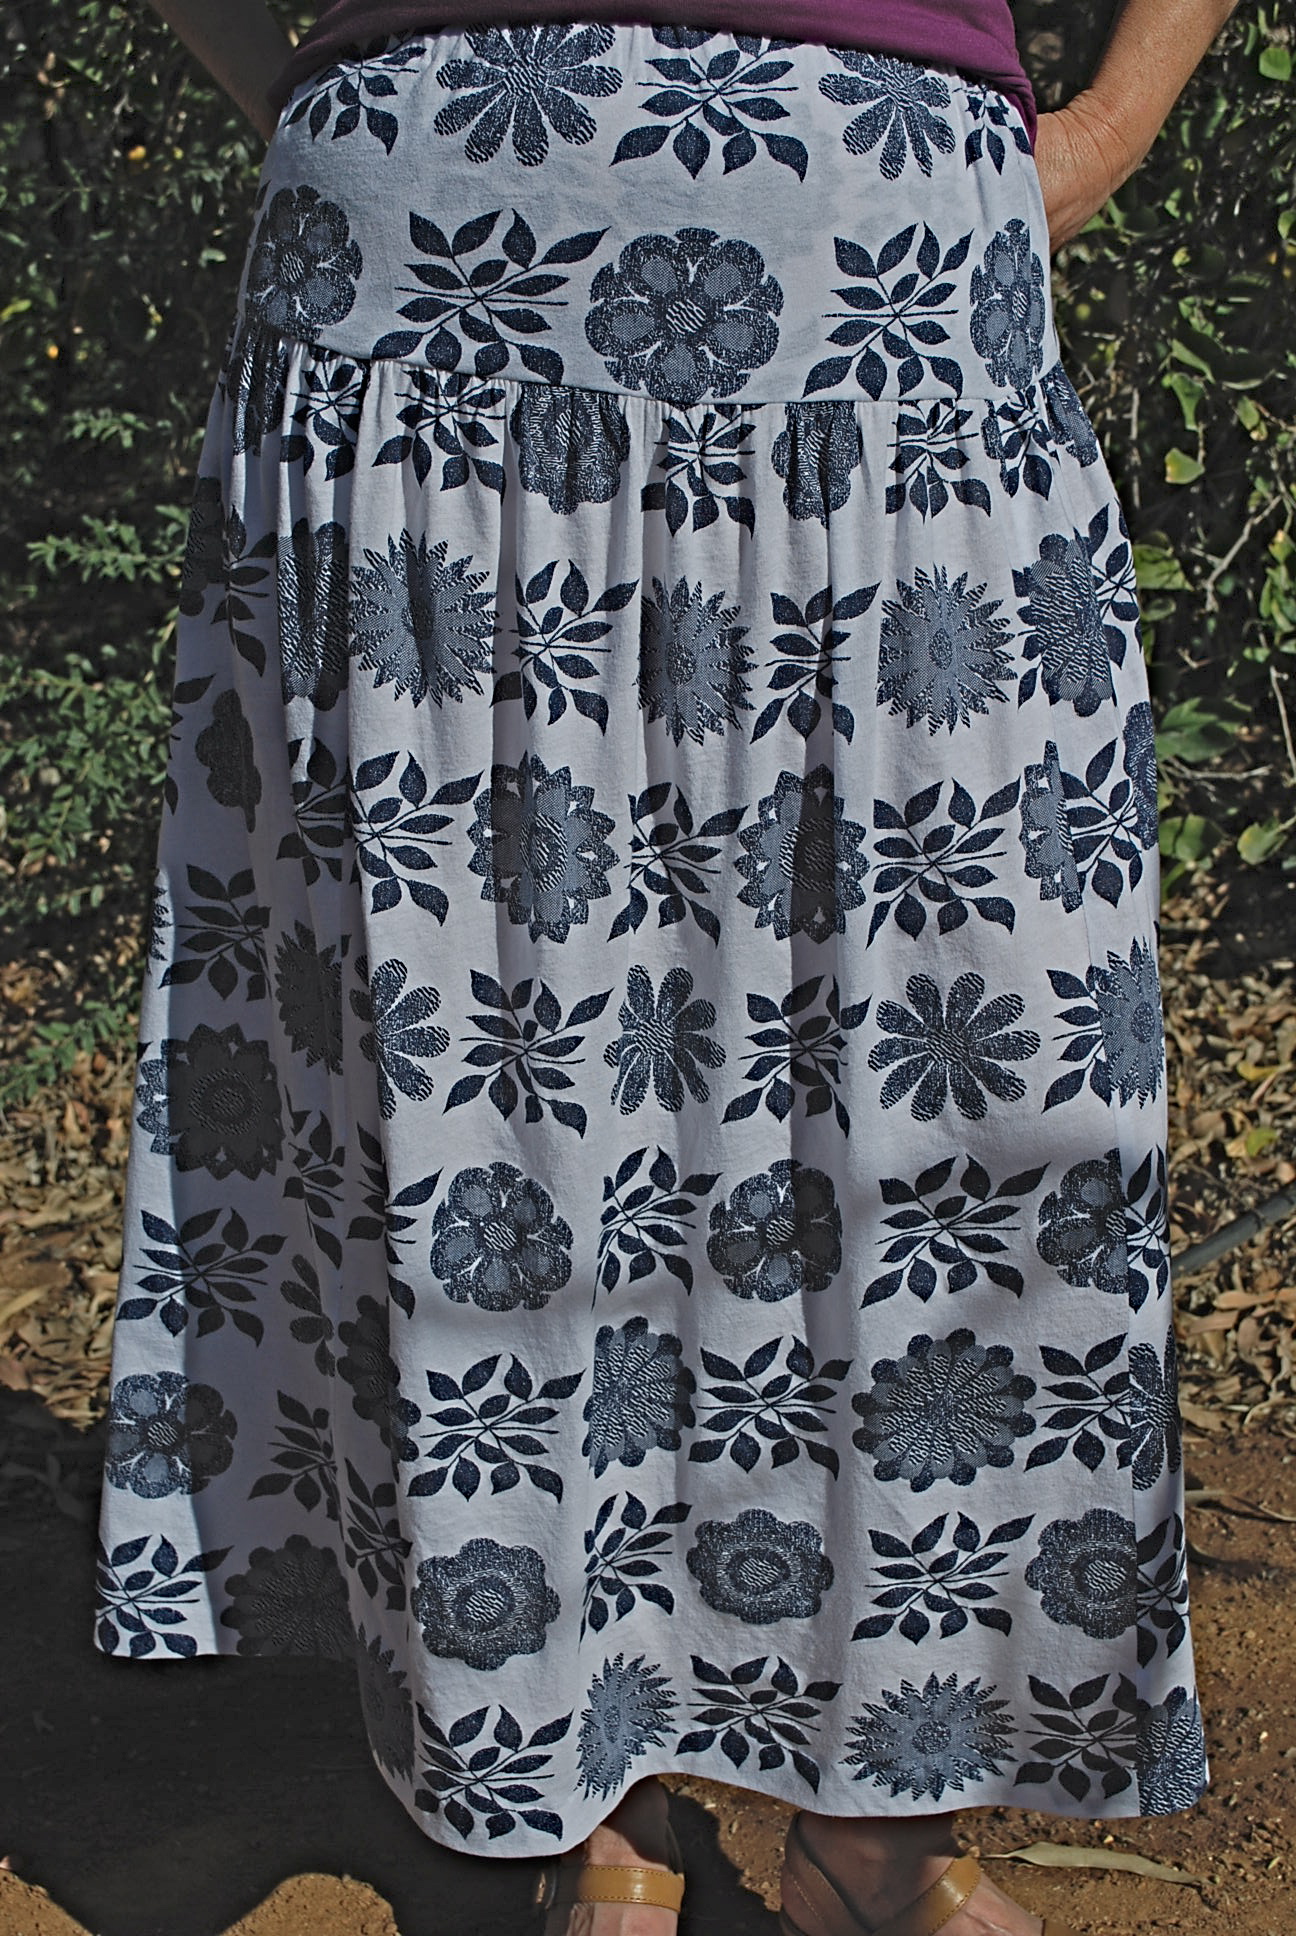
The waistband is made with 2″ wide elastic and a drawstring. My buttonholes did not end up in the middle of the waistband, so I put an extra row of shirring at the top, different from the pattern instructions.
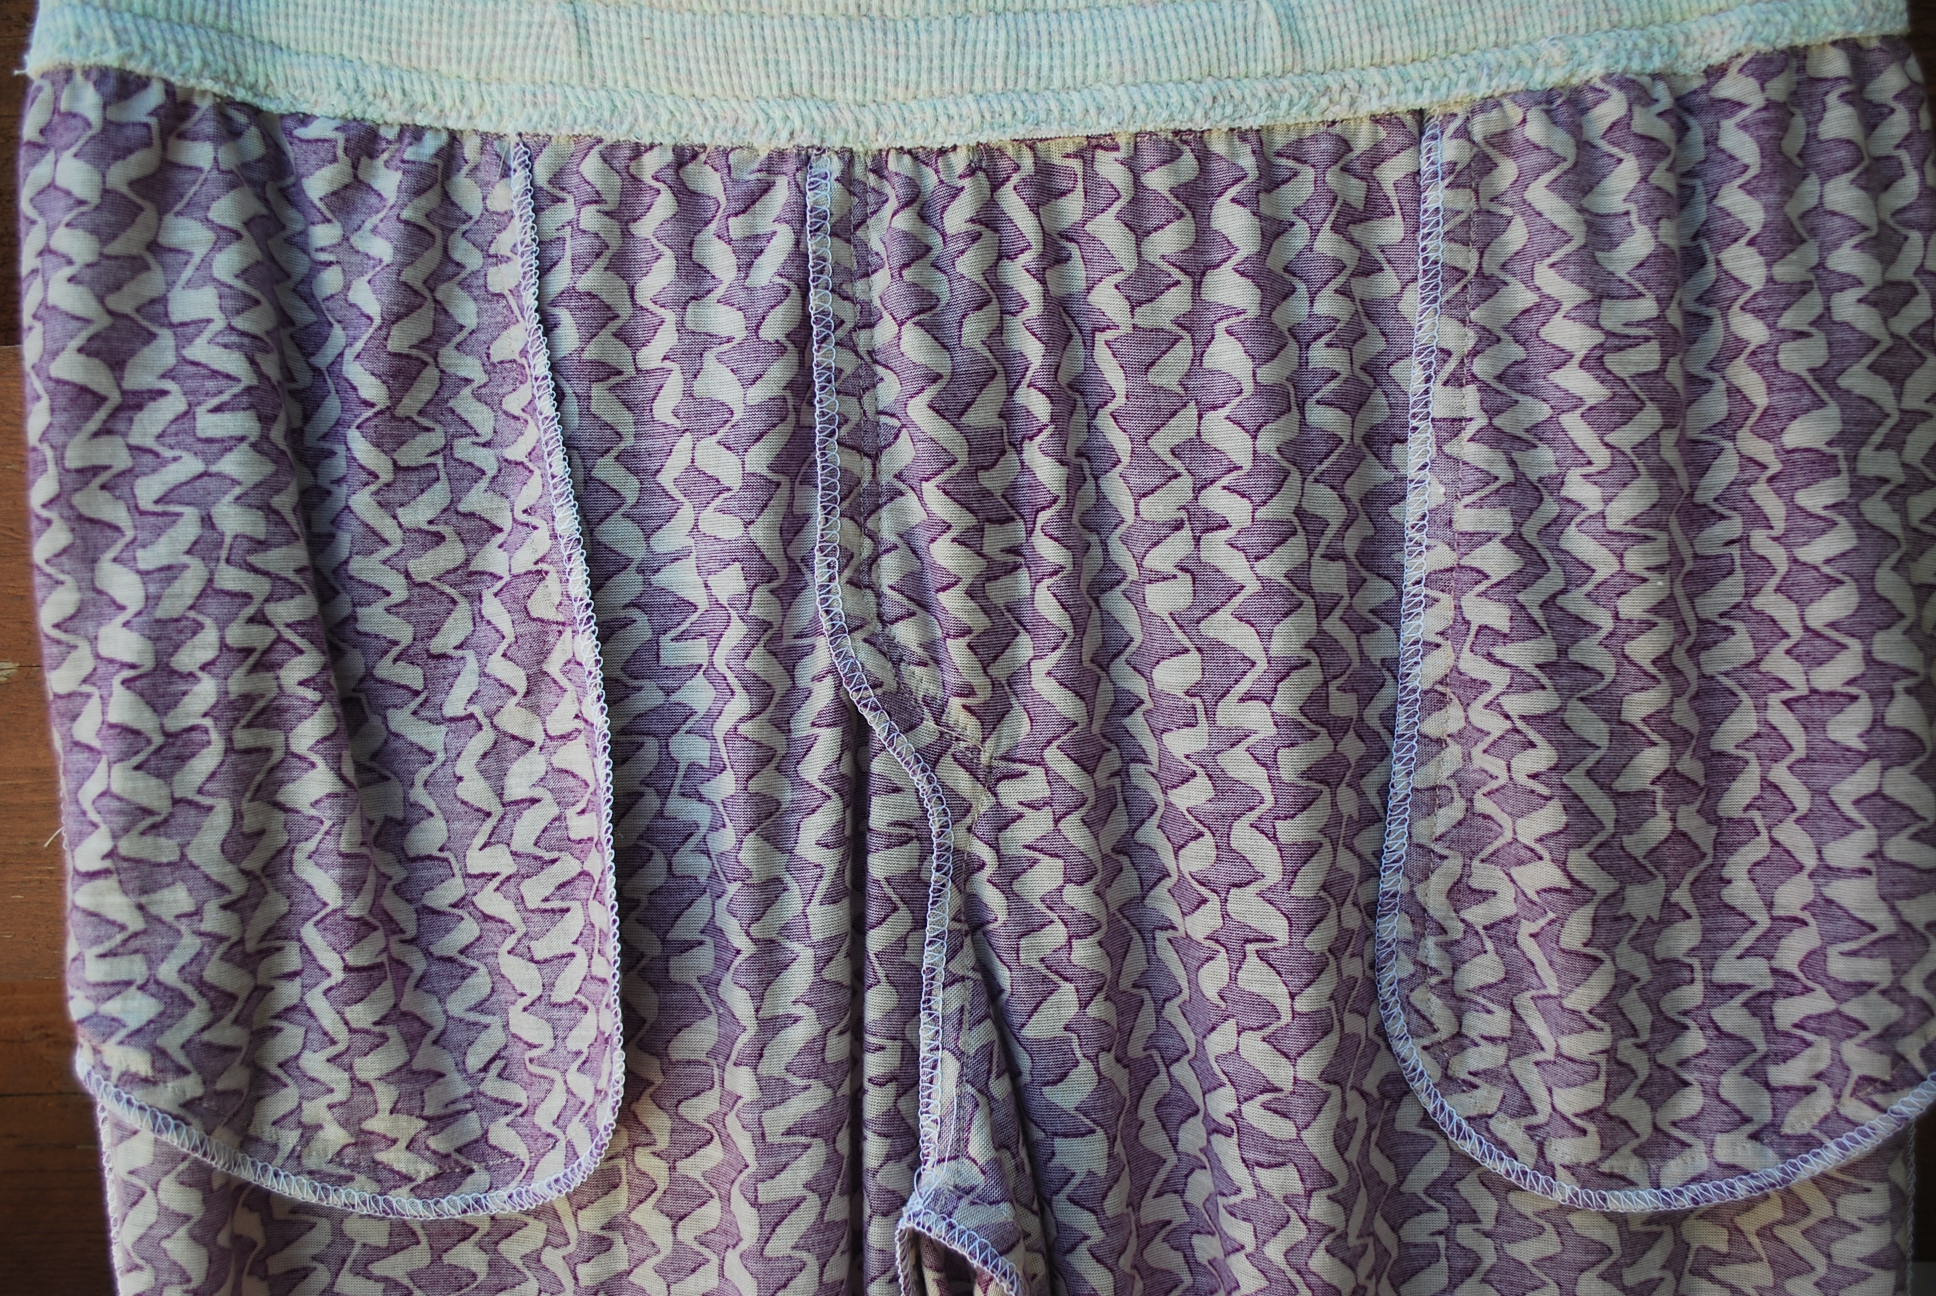
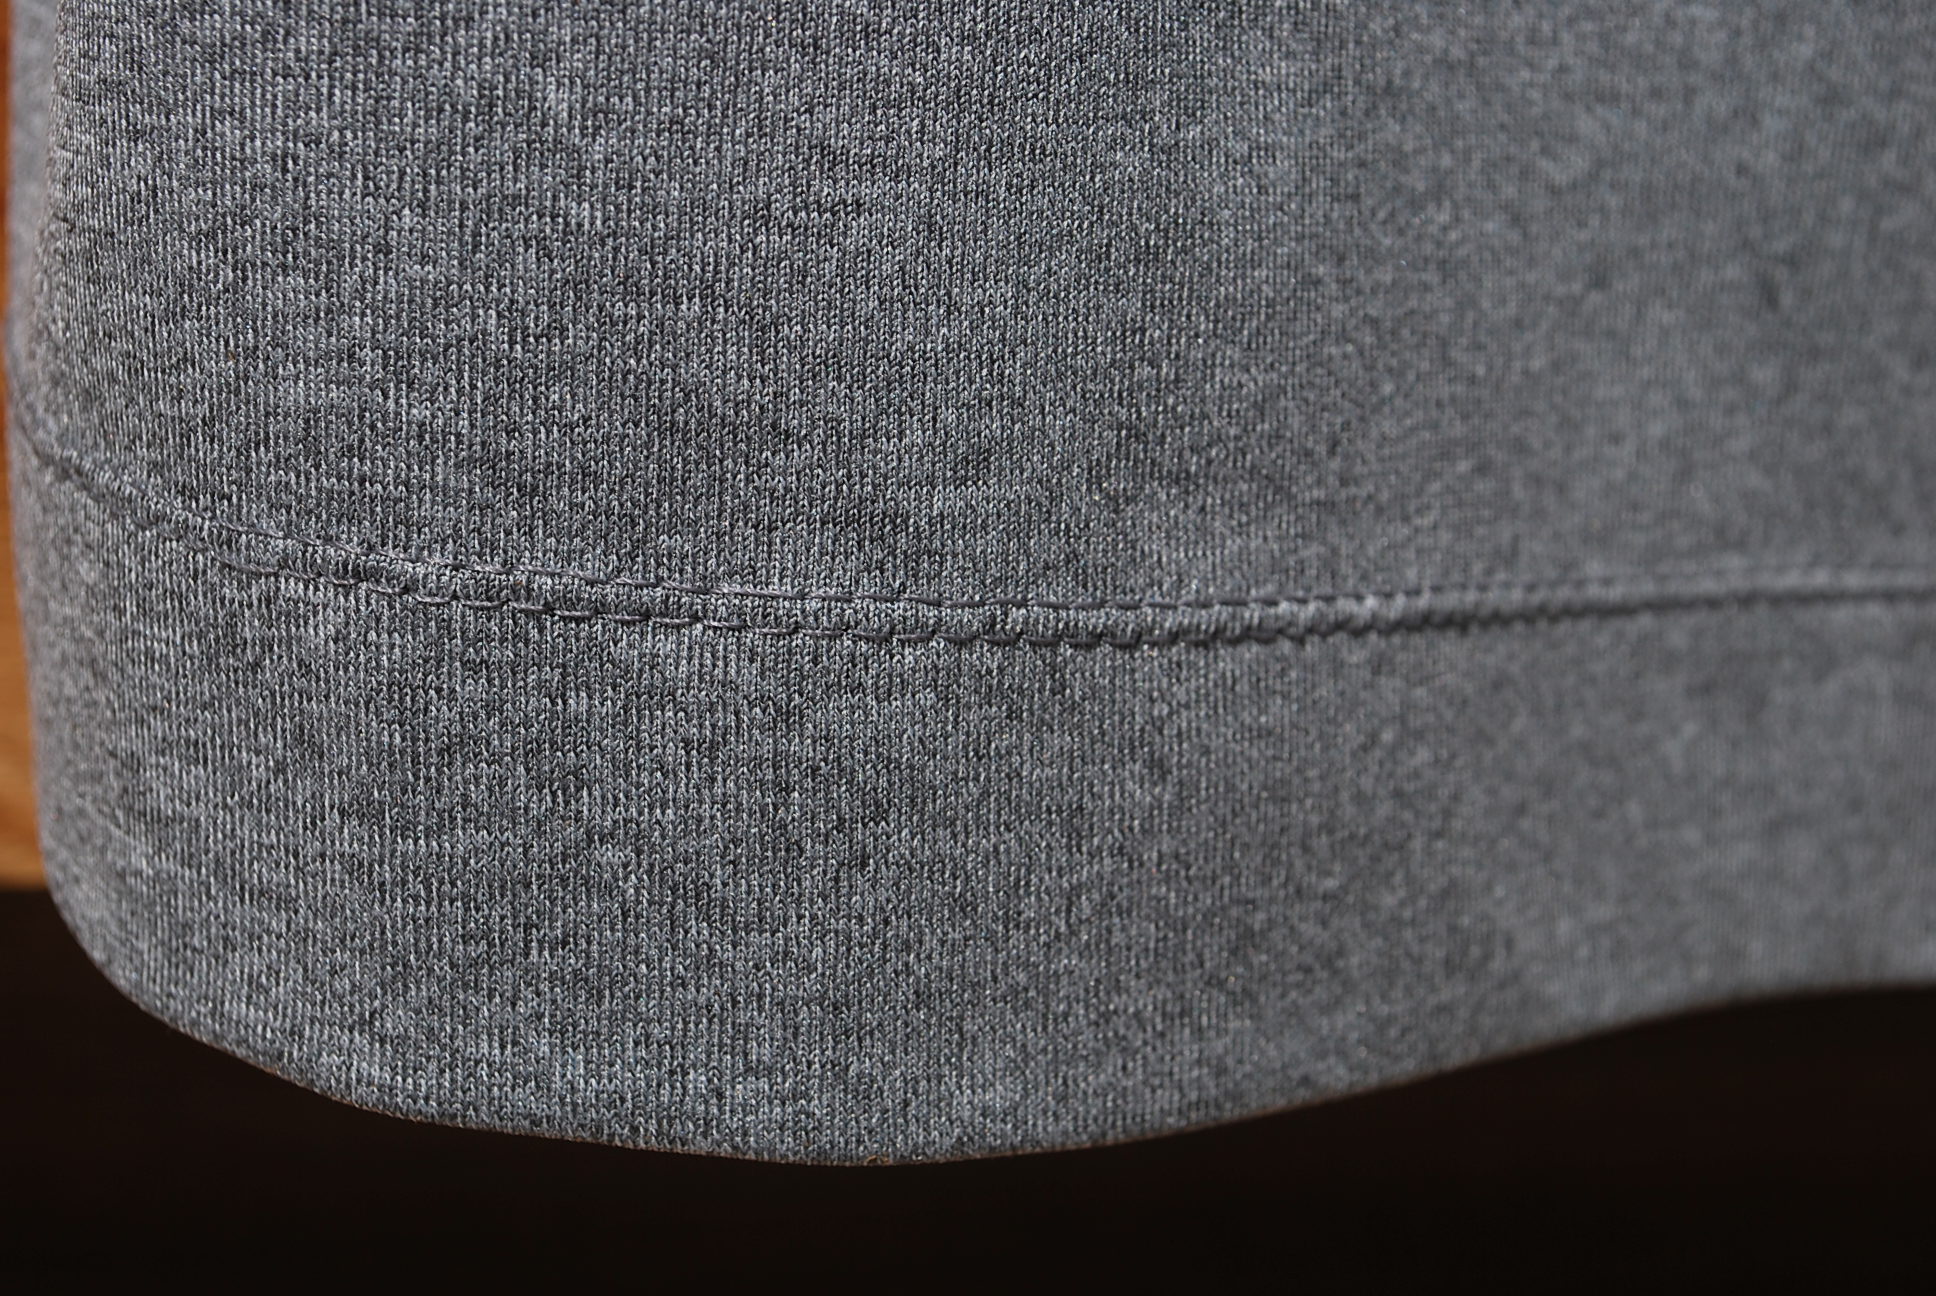
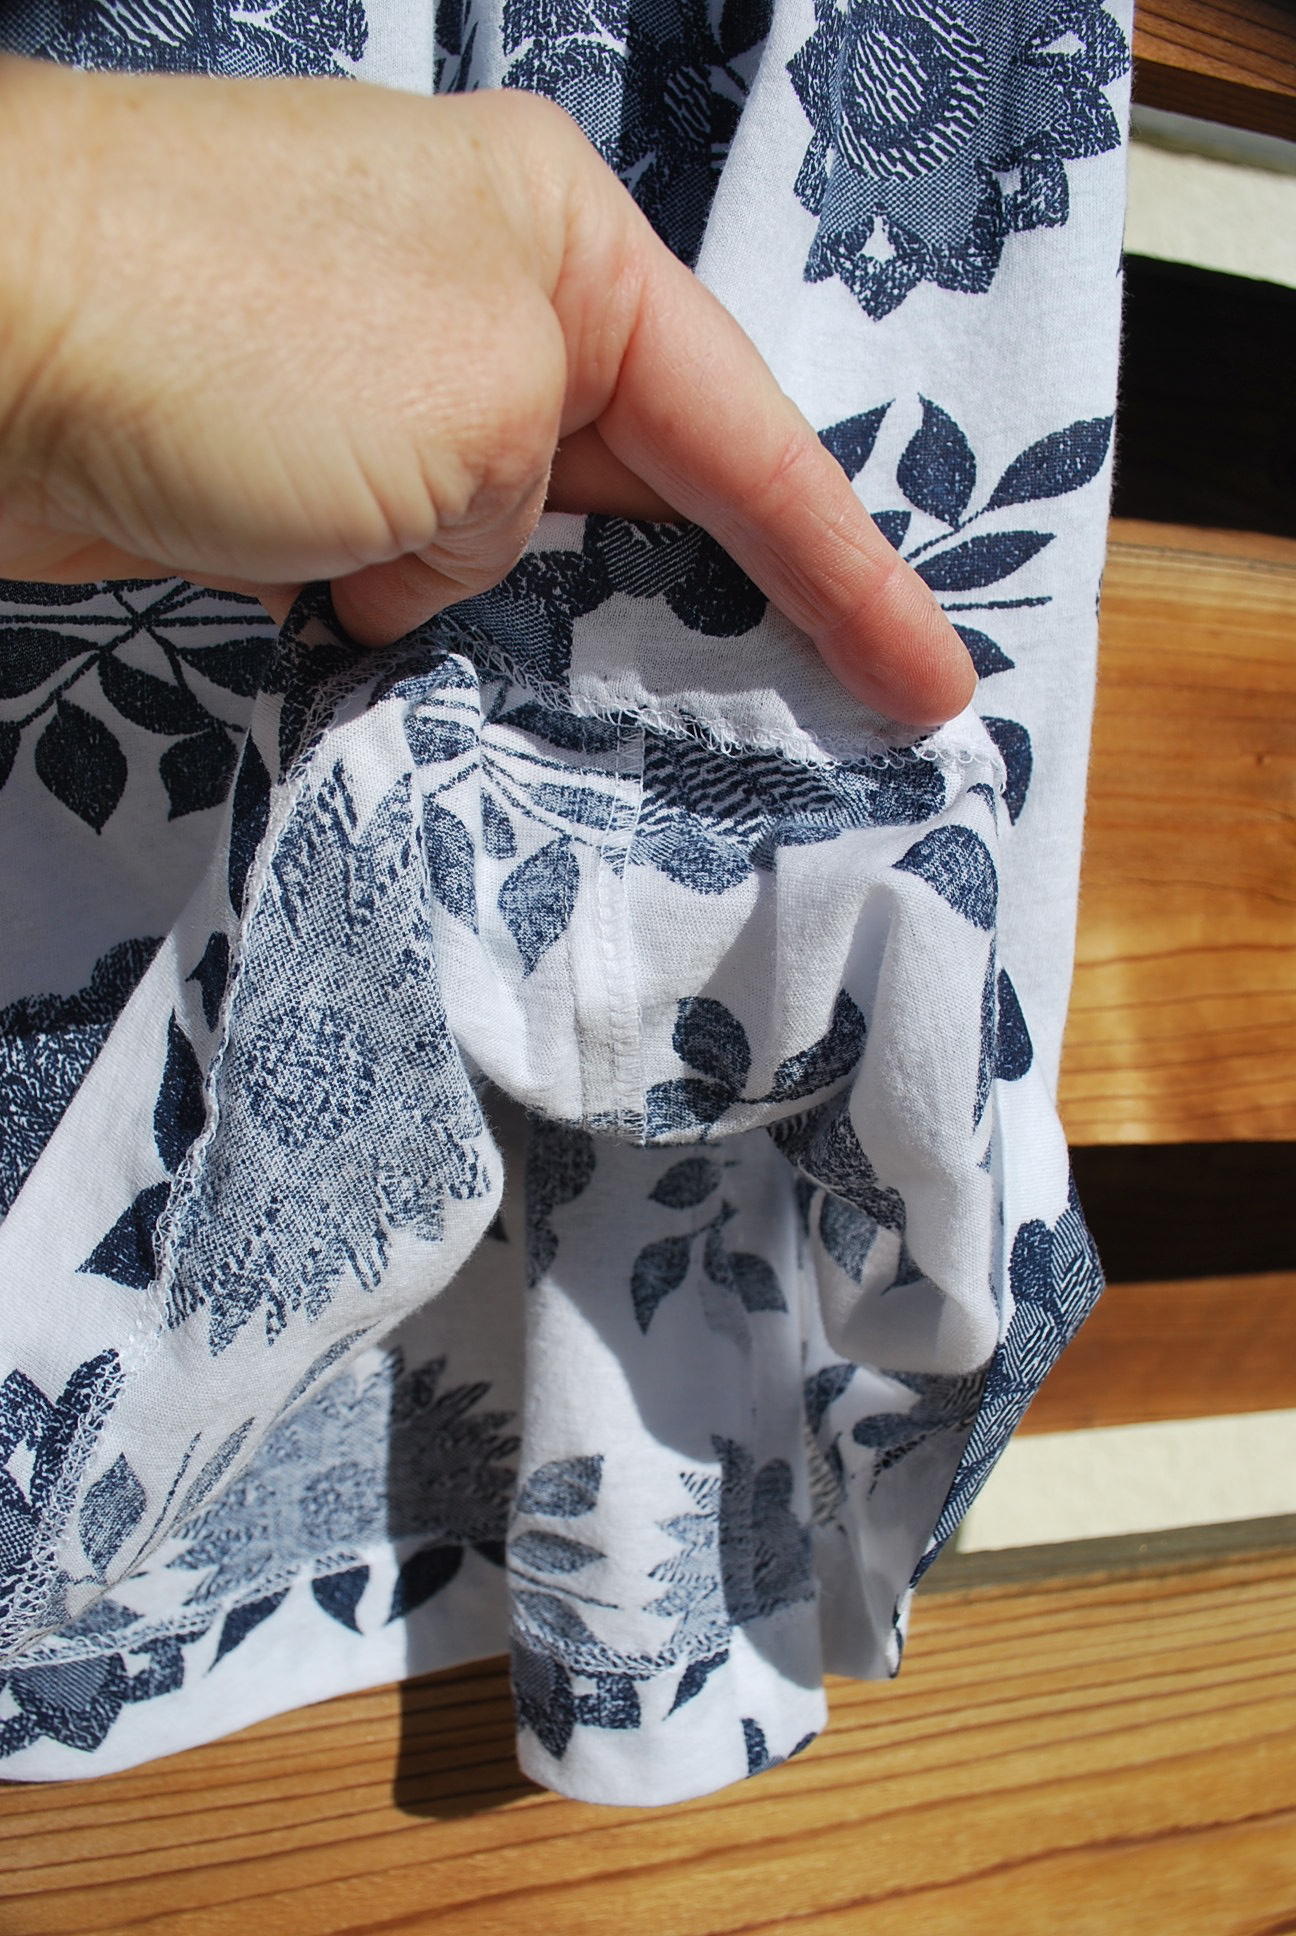
I sewed the seams with my regular machine and then serged them together.
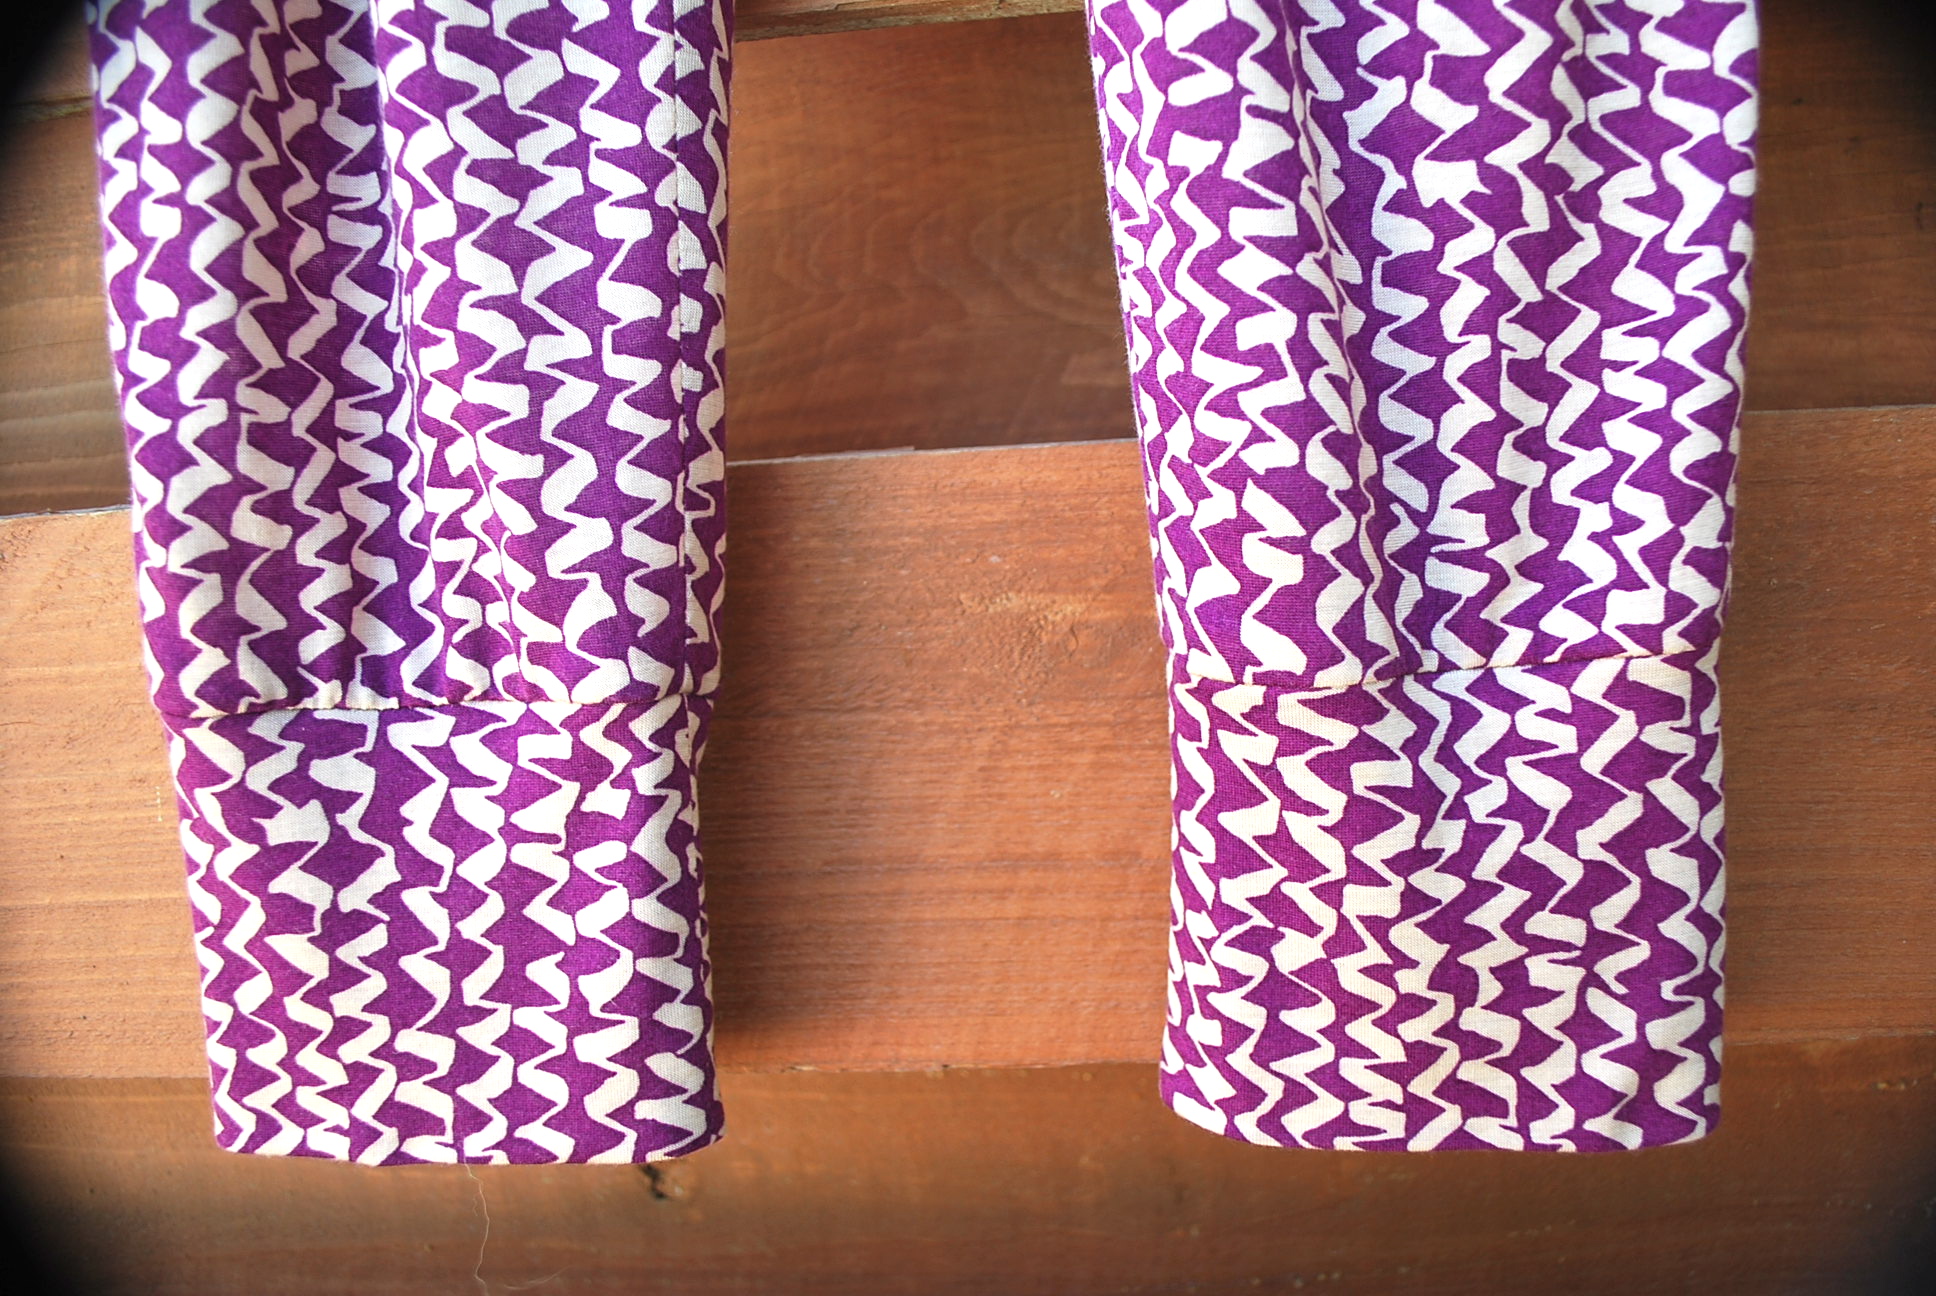
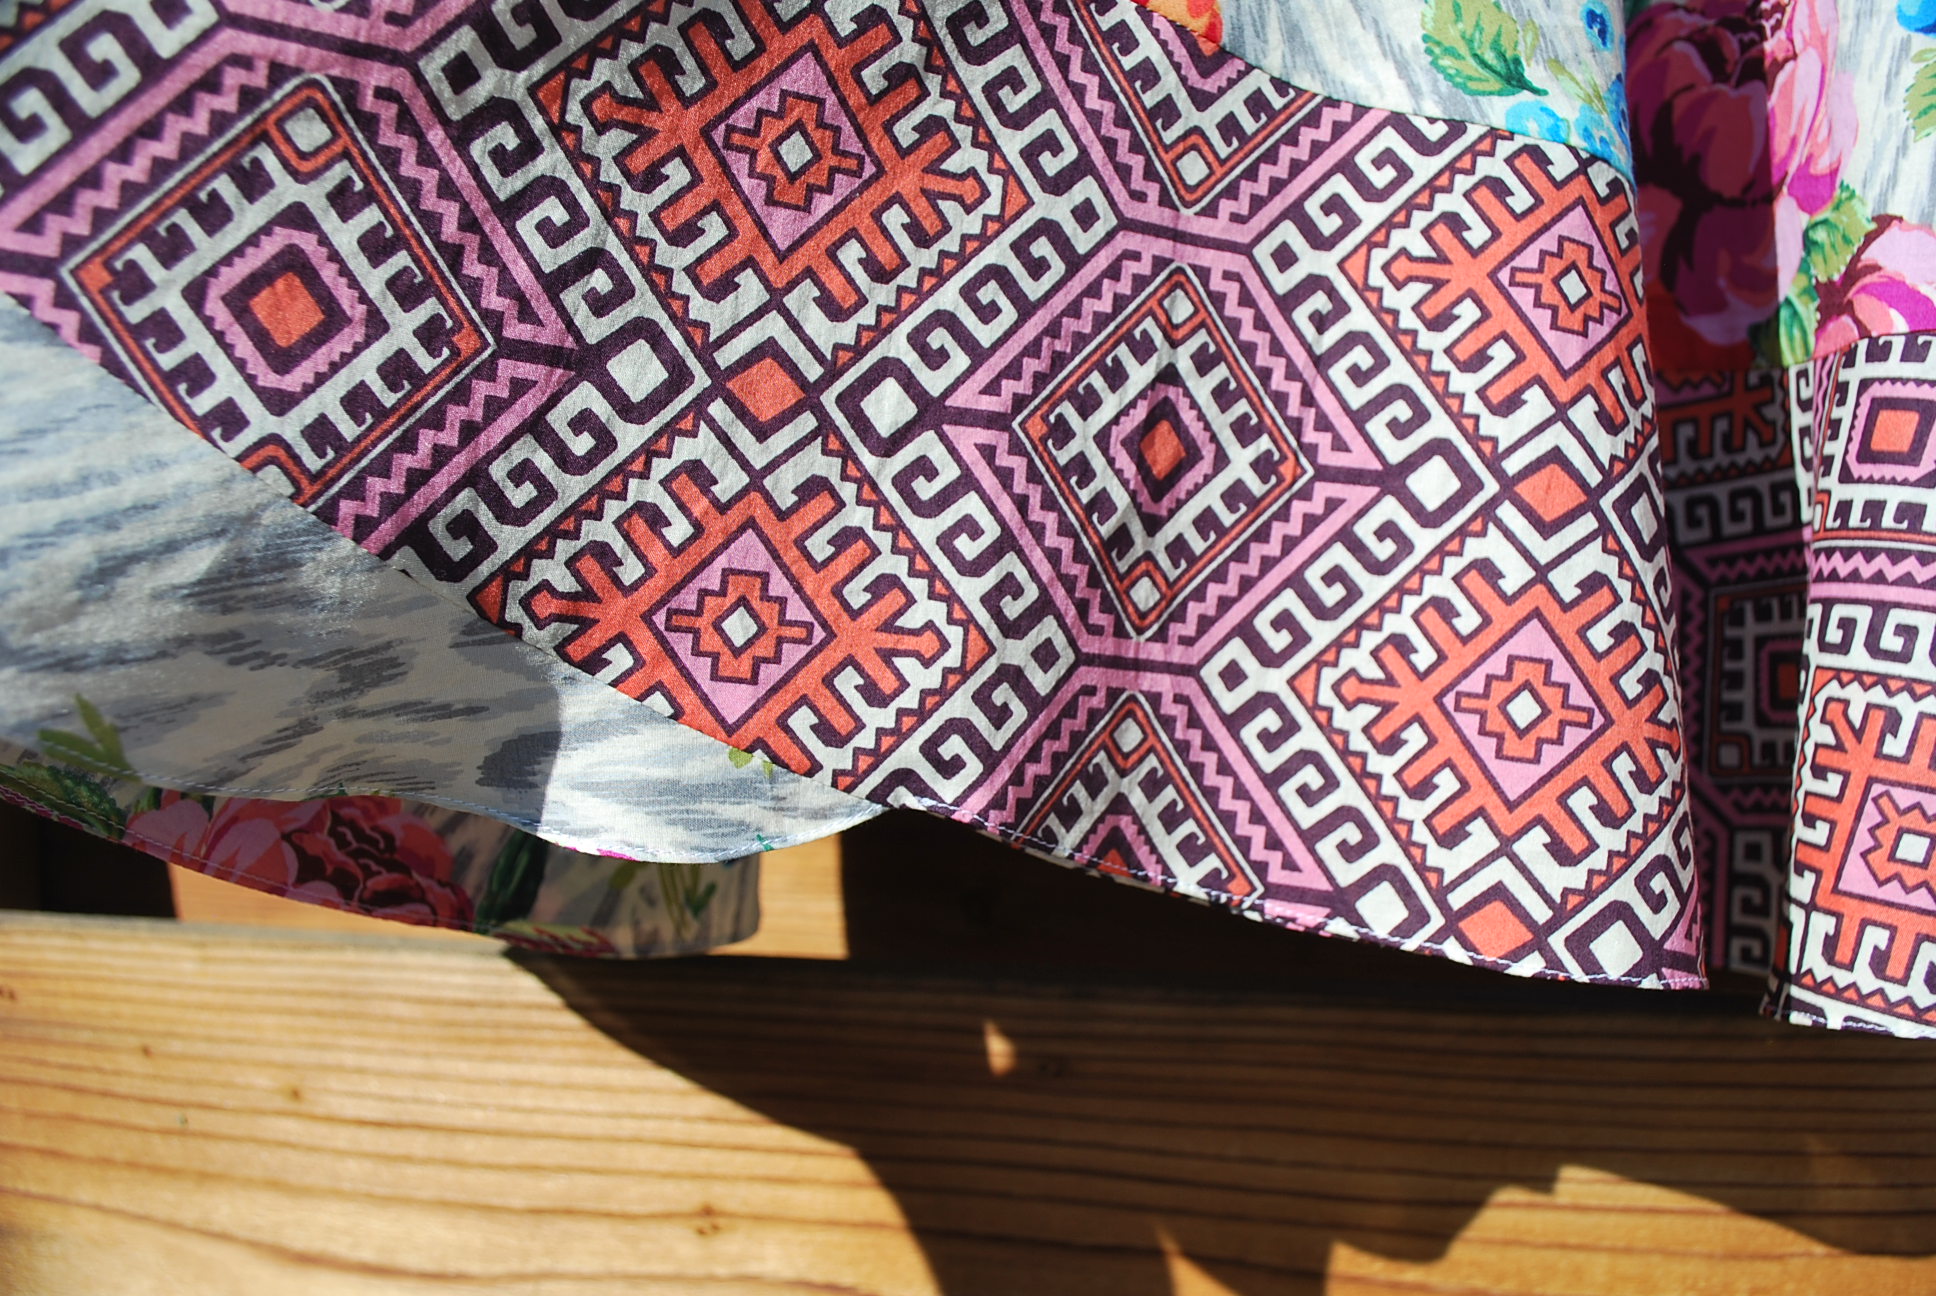
The pants have 4″ cuffs at the leg bottom.

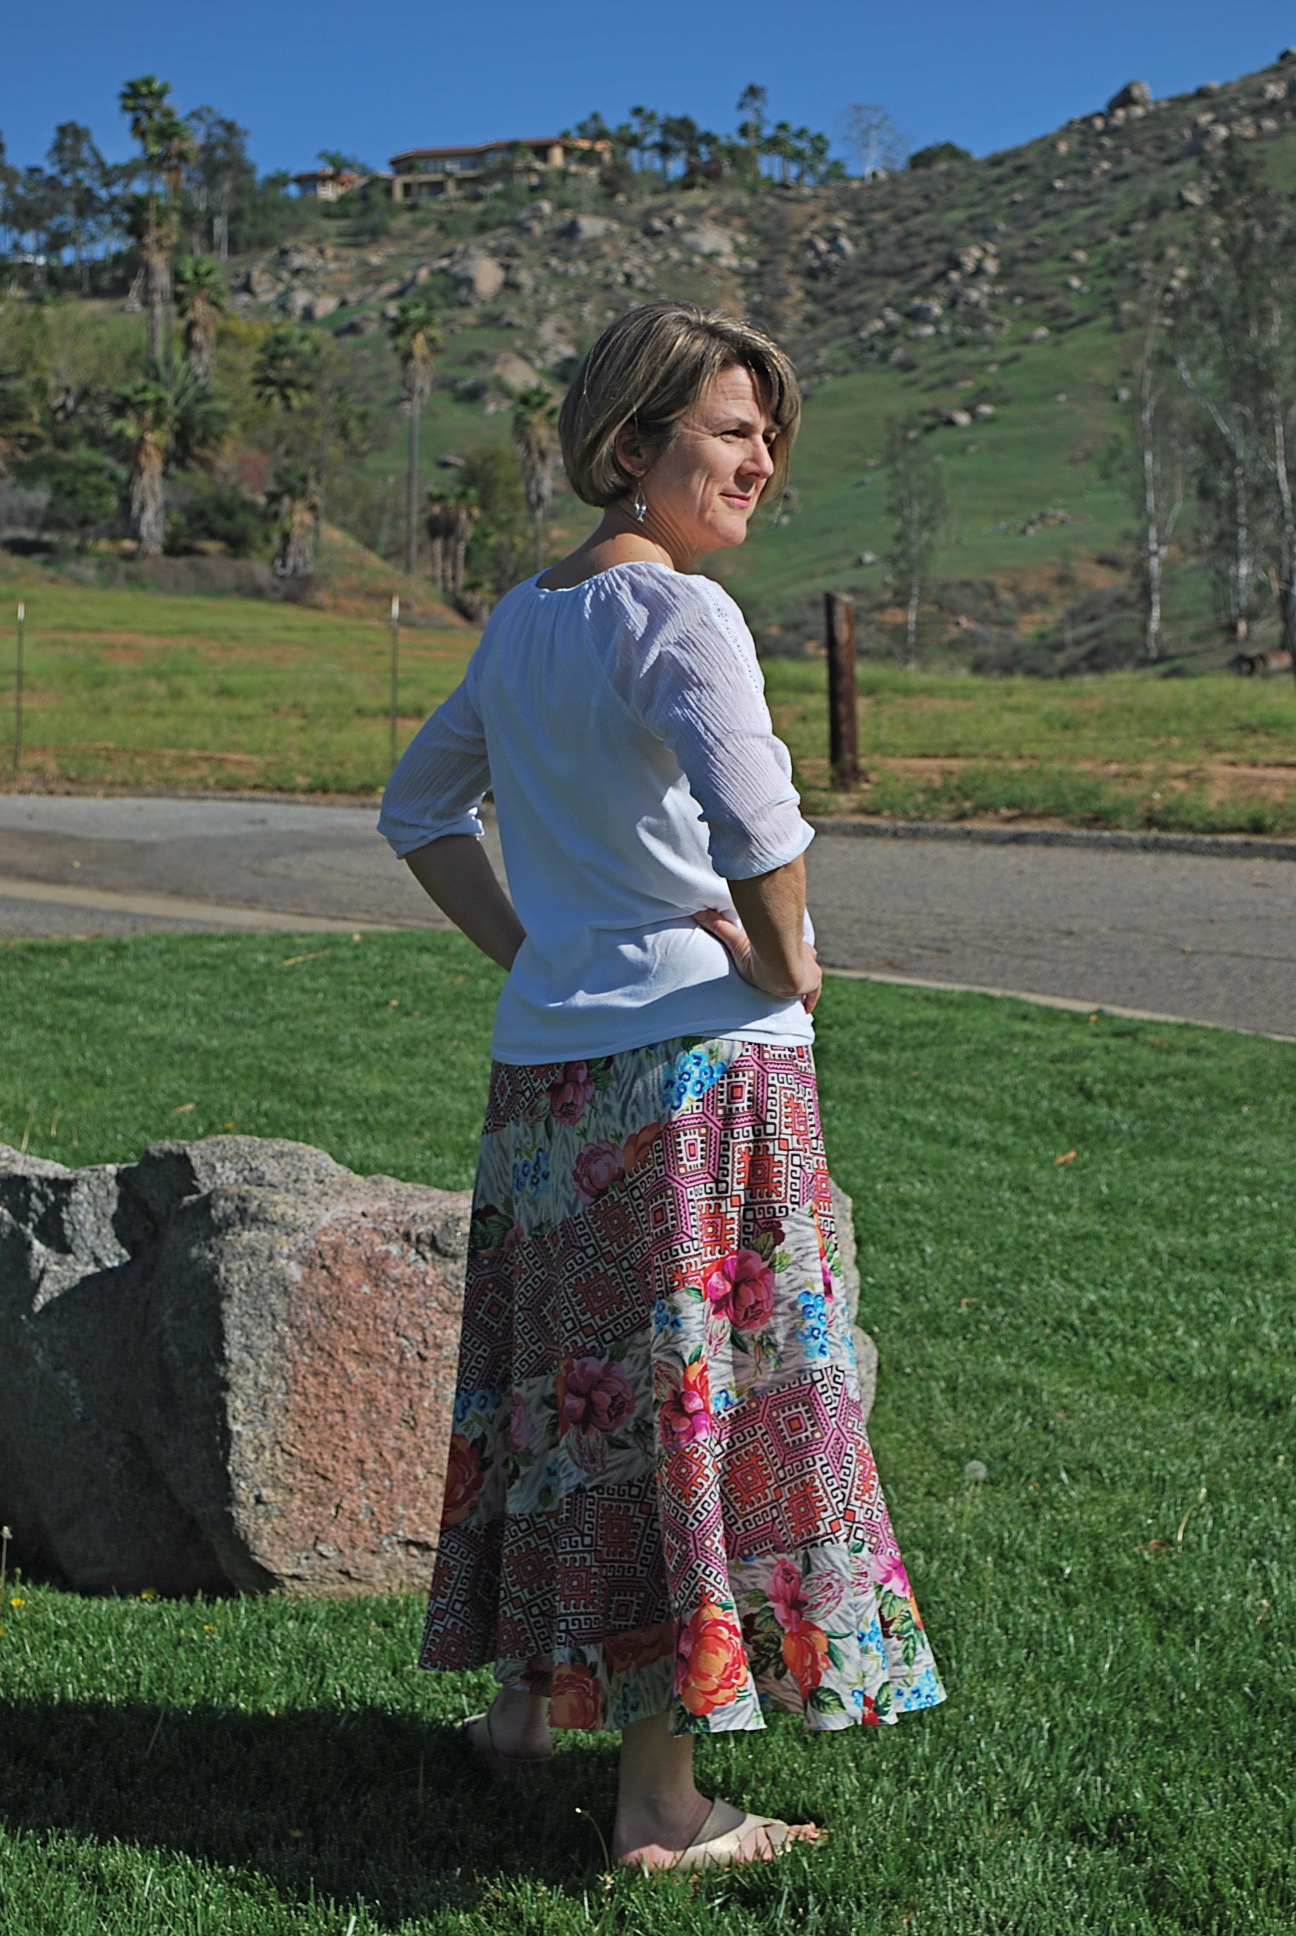
Back side.

LET’S BE HONEST:
1. The pattern comes in sizes XXS to XL. For Hanna, I cut between a XS and S, and it fit perfectly. Her hips are about 37 1/2″. The rise on the waist/crotch was also perfect for her, not too low, not too high. (I have to say that it is definitely styled to flatter a young, fit gal. And there’s nothing wrong with that. At this point in my life, the most effective way, even more so than watching what I eat, to avoid a “muffin top”, is to wear my pants at my waist!)
2. Besides cutting in-between sizes, the only adjustment I made to the pattern was on the leg length. Hanna’s legs are on the shorter side, so I took off 2″ with a pattern adjustment before cutting out the fabric, and another inch at the bottom once she tried them on before attaching the cuffs.
3. I wrote quite a bit about pattern instructions on my last post about the Moneta Dress, so I won’t repeat a lot of my comments here, except that I feel the same way about this pattern’s instructions. It has a fun graphic presentation printed on brown paper bag like paper. But again, just like on the Colette pattern, and many of the big 4 patterns, the details just aren’t there for the novice sewist.
4. The waffle knit ribbing that Hanna chose for the waistband actually did not end up being a practical choice when it came to sewing with the elastic. The fabric was super stretchy and was difficult to attach the 2″ elastic to it without getting a lot of puckers on the back side. (I finally told myself – Who cares? – no one will see the inside. And it certainly doesn’t matter to Hanna.)
5. I have to say again that this a fabulous, modern, fresh, knit pant pattern. It drapes perfectly on Hanna. The leg width is perfect too. I know for a fact that Hanna will be wearing these pants a lot when she returns to her college campus this fall.
Thanks again for reading my post! Happy sewing! Lori