I’ve only made two skirts since starting this blog, and my go-to Jean Skirt now has a rip in it from being caught on a metal edge and is out of commission. I thought it was time to sift through my ever growing pattern stash and find a fun skirt to make for Fresh Make #17.
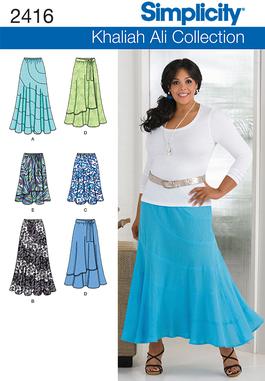
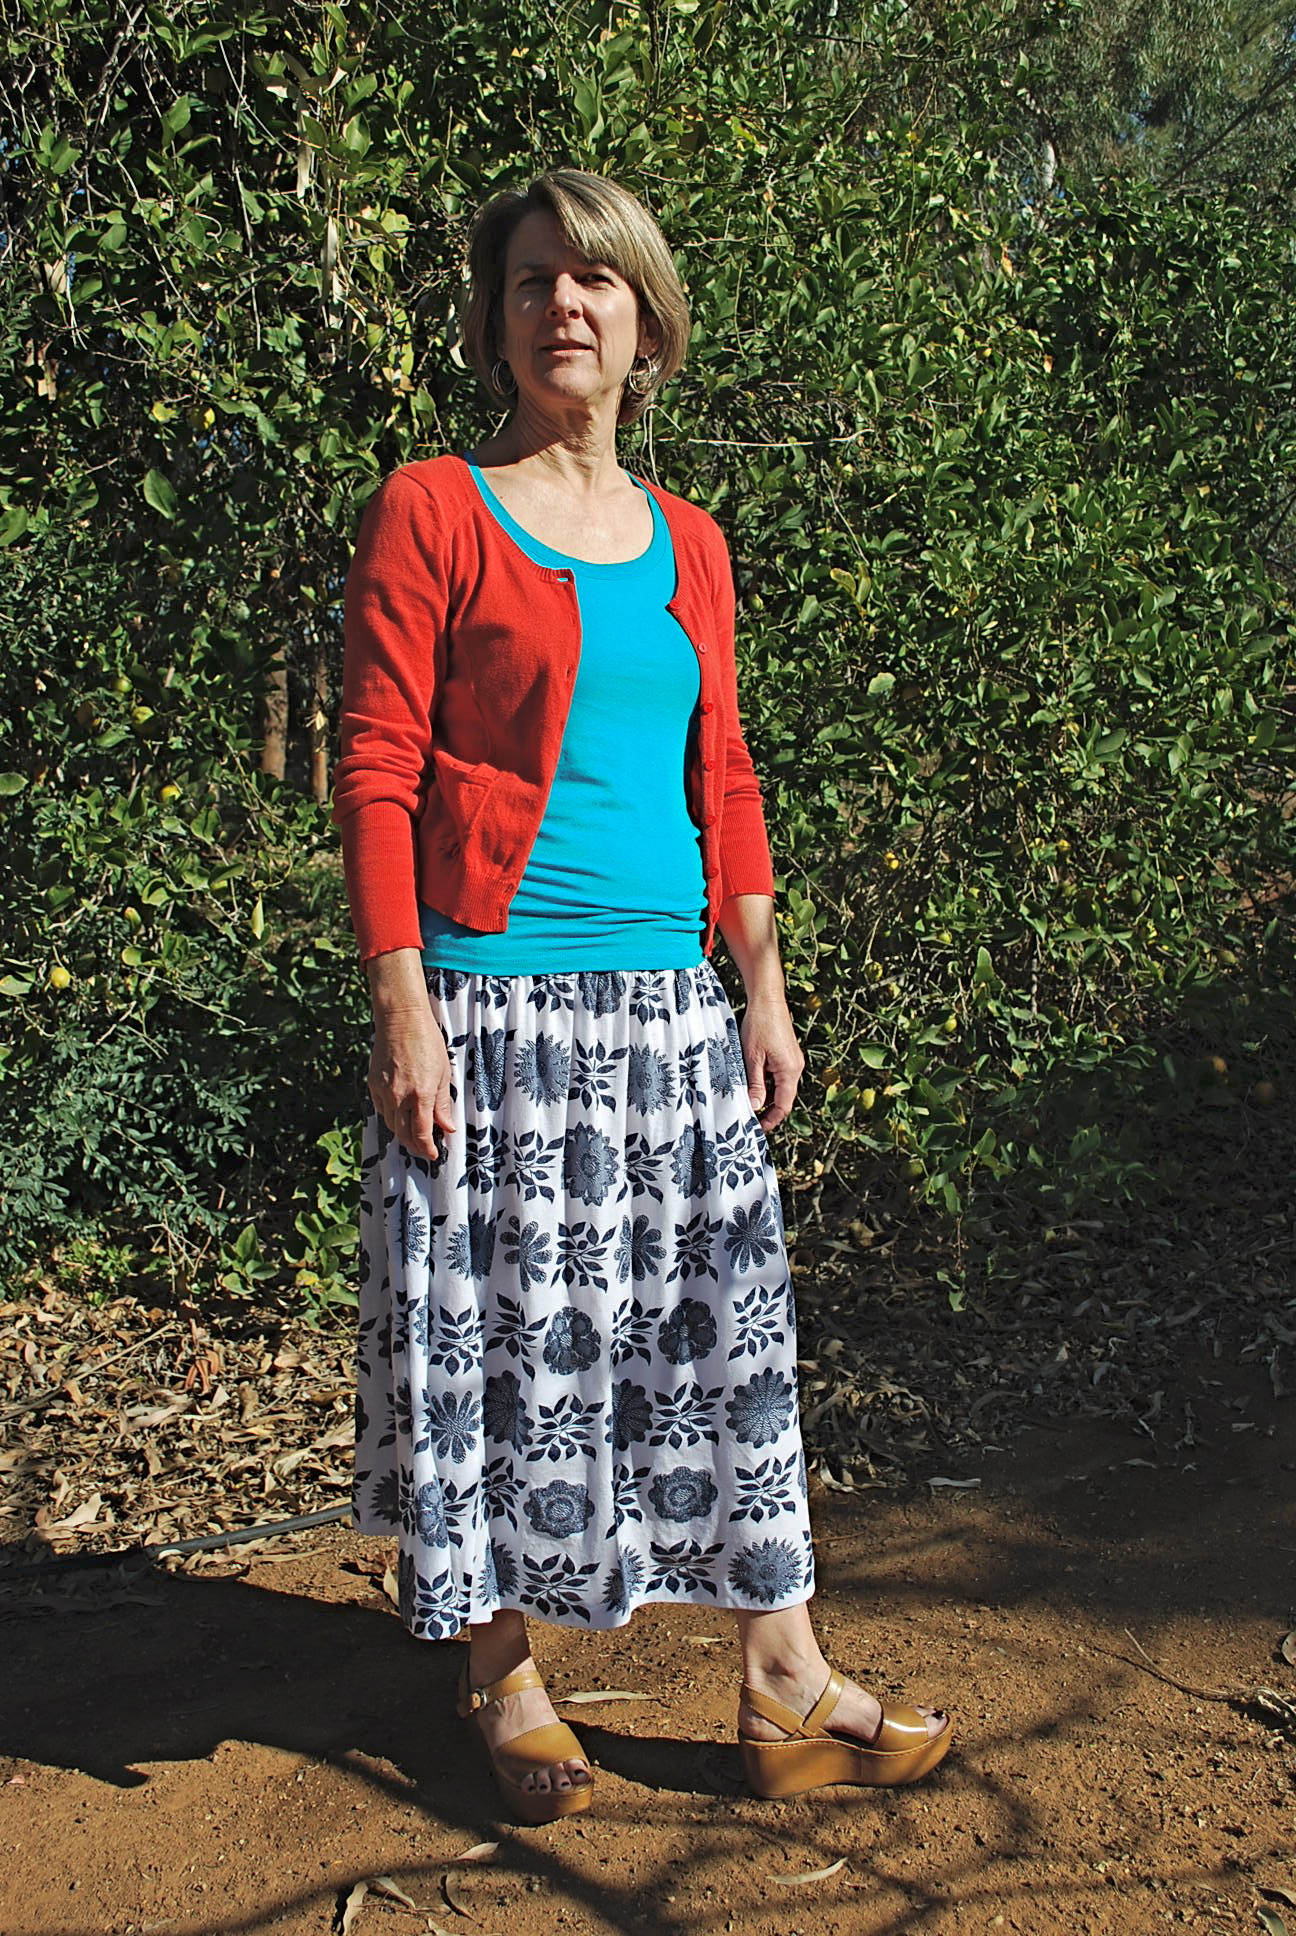
 The pattern I chose is Simplicity 1888. I bought it several months ago during a pattern sale at JoAnn’s, most likely for $1.00 but possibly $1.40. (JoAnn’s 5 for $5.00 recently have become 5 for $7.00. Hey, you can still count me in!) I was drawn to this pattern because it looked like a good balance between fitted and flared, and the gathers were where I like them – at the bottom, not the waist! I named it the Happy Folk Skirt because, depending on the fabric, this skirt can either have a hippy folk feeling or ethnic folk feeling.

I made view C.
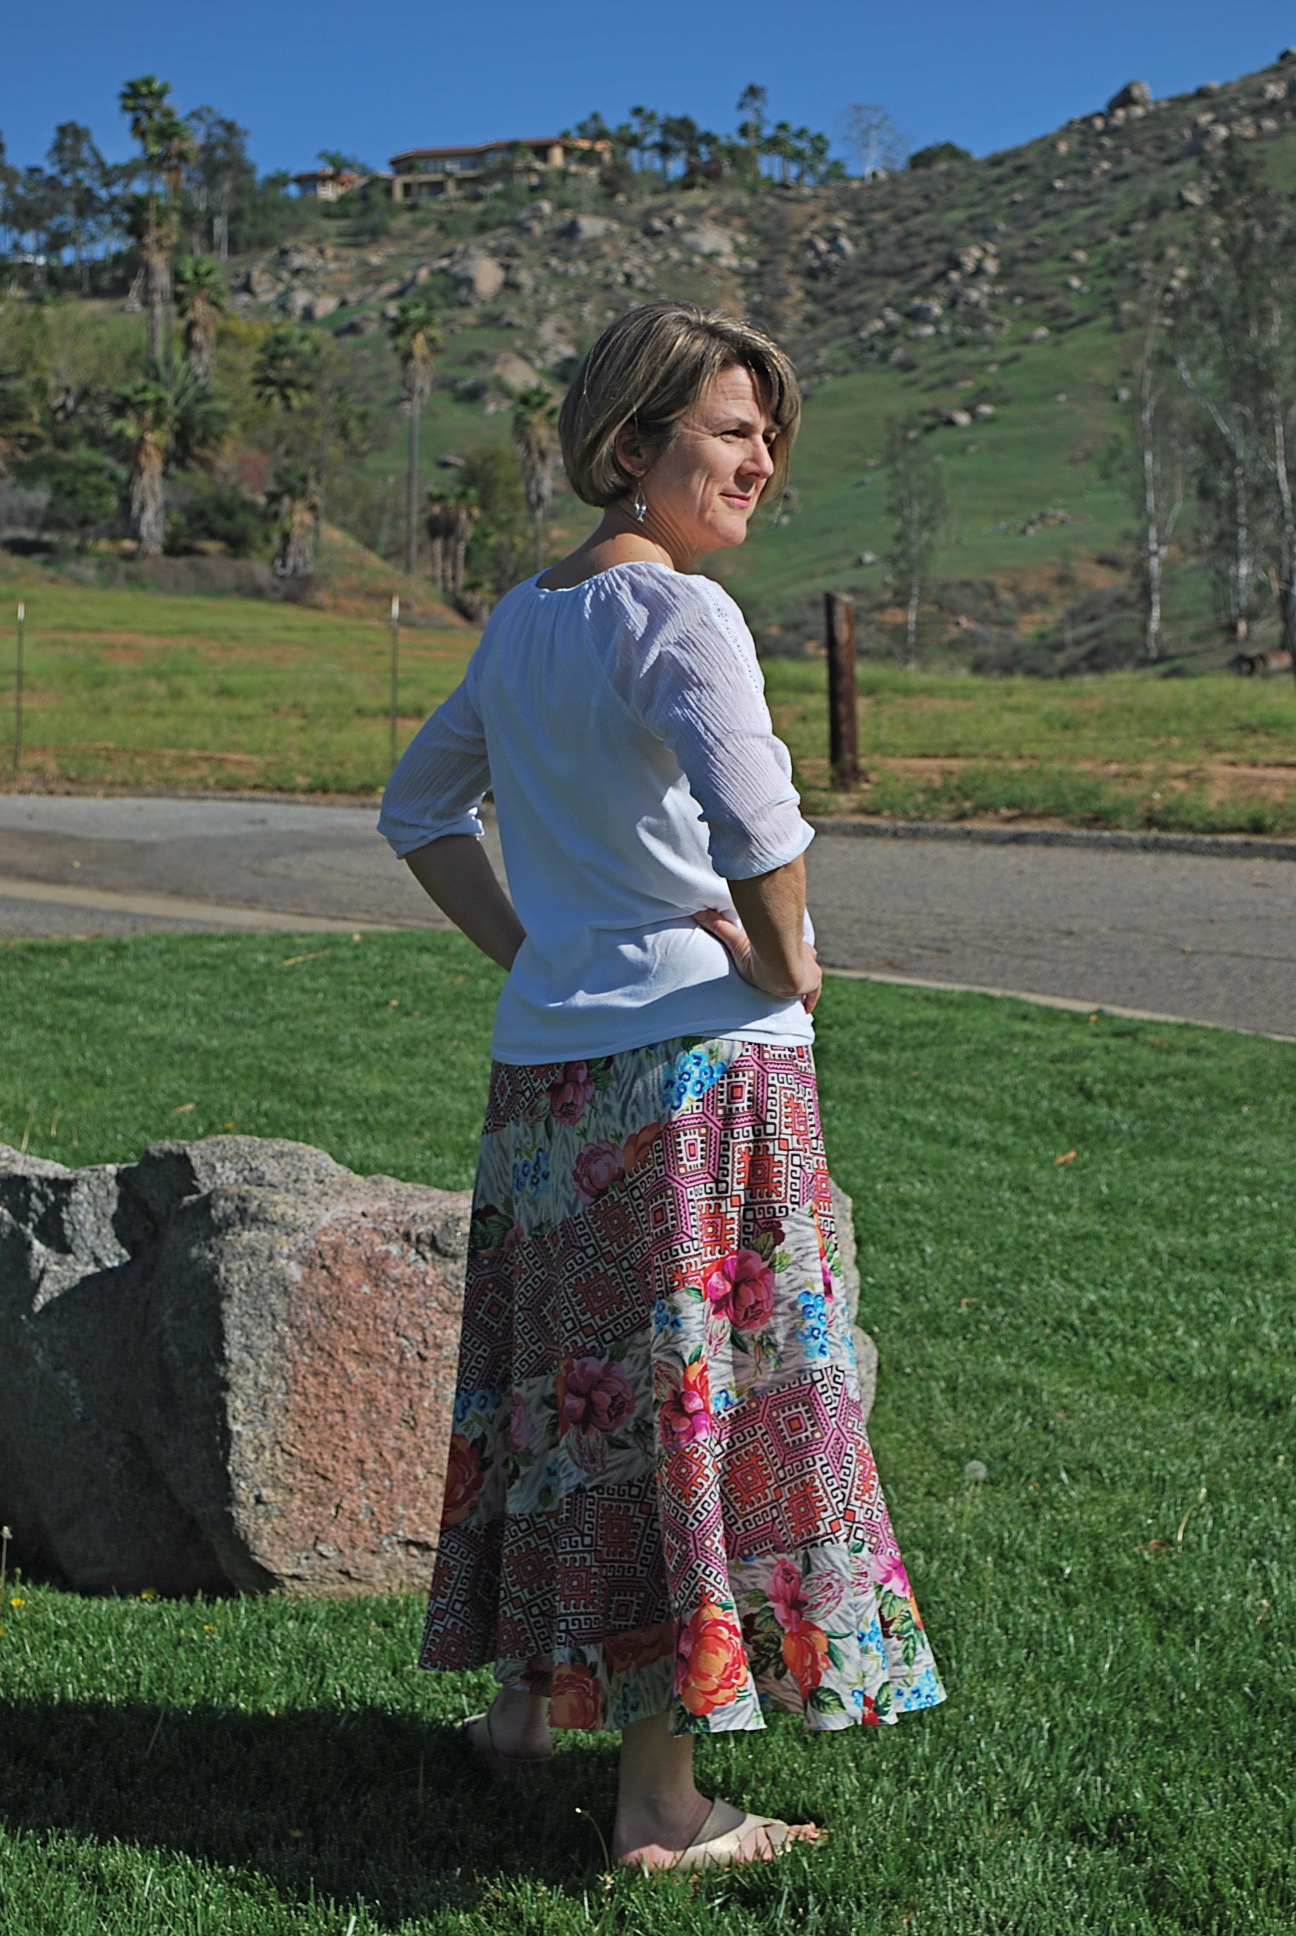
I purchased the fabric at Mood on La Brea in Los Angeles. I was excited to stop by there on my way home from seeing my sometimes model and always daughter off at LAX for her second year of college. I hadn’t been to Mood in six months, and as it usual it was overwhelming. I forced myself to focus in the task at hand. This is a cotton woven fabric with lycra. It’s actually stretchy! I bought the indicated amount of 3 1/4 yards at $12.00. I managed, however, to have quite a bit leftover and probably could have gotten away with 2 3/4 yards.

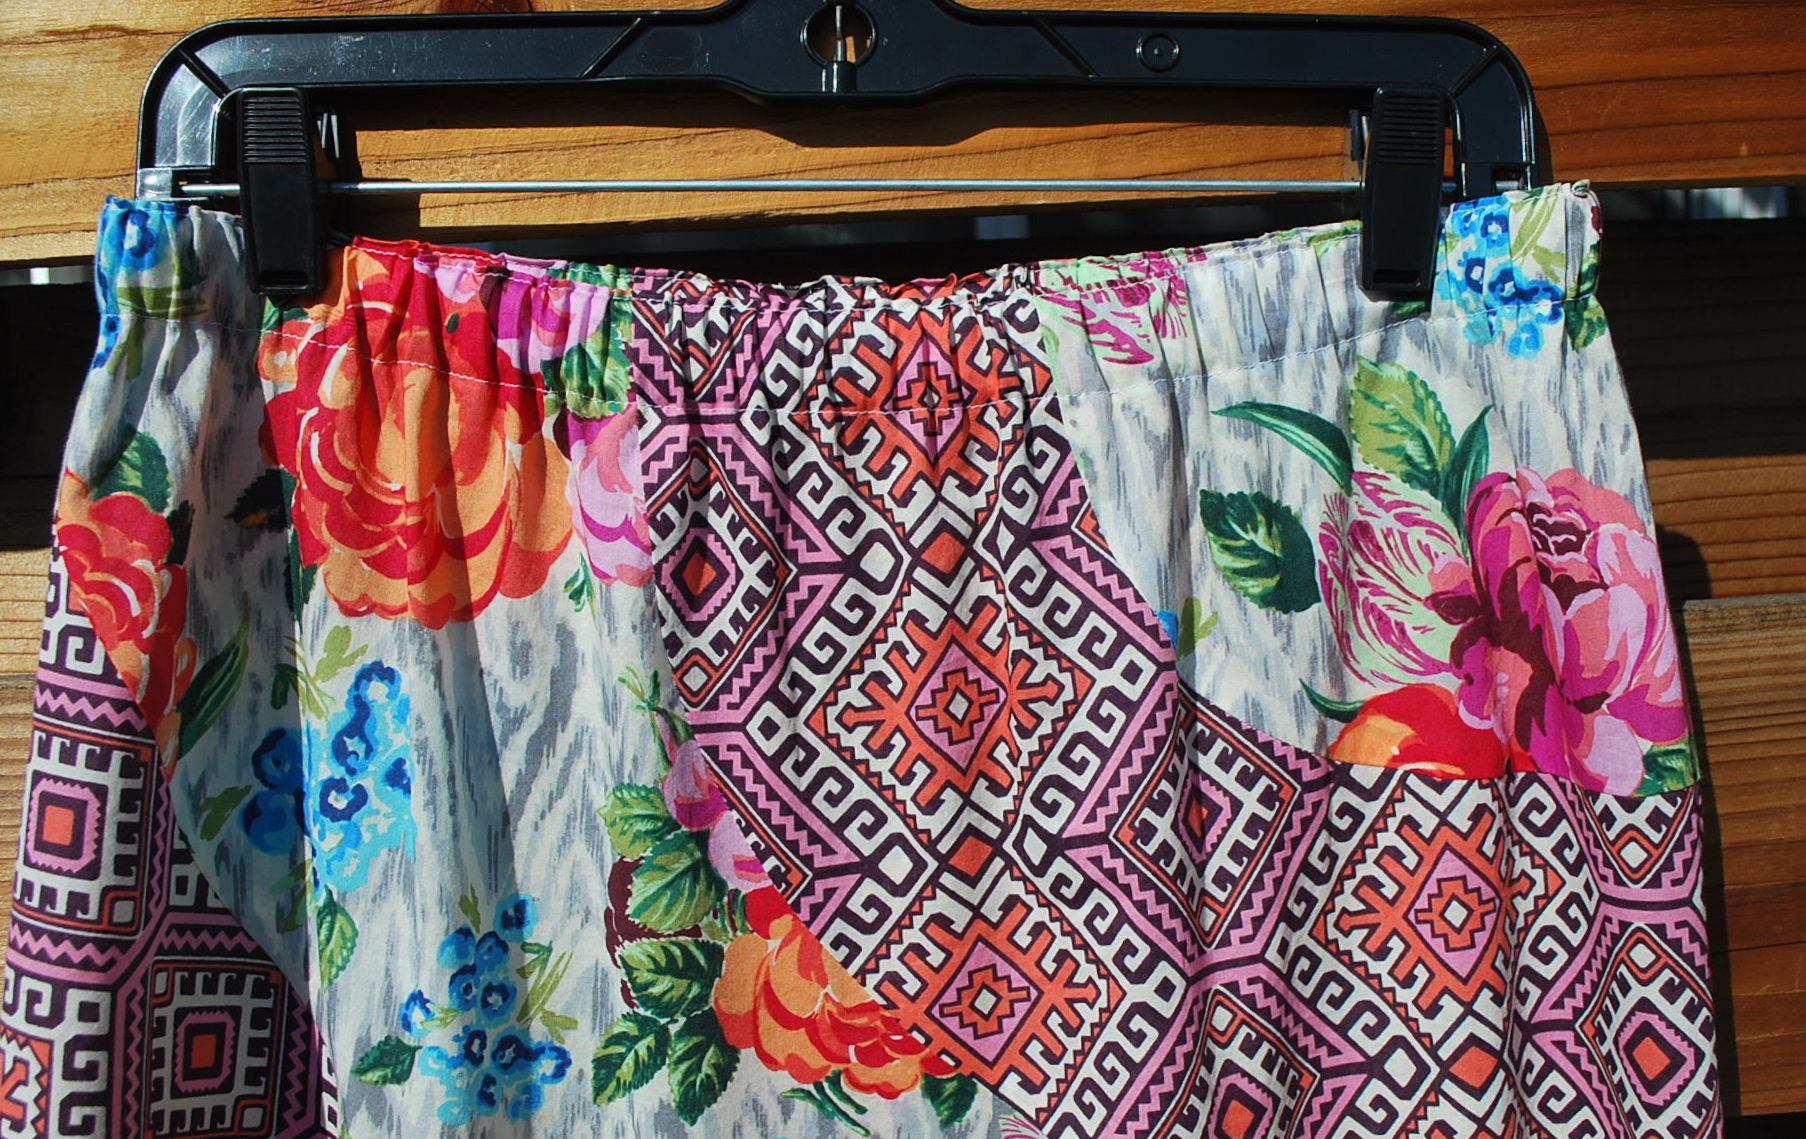
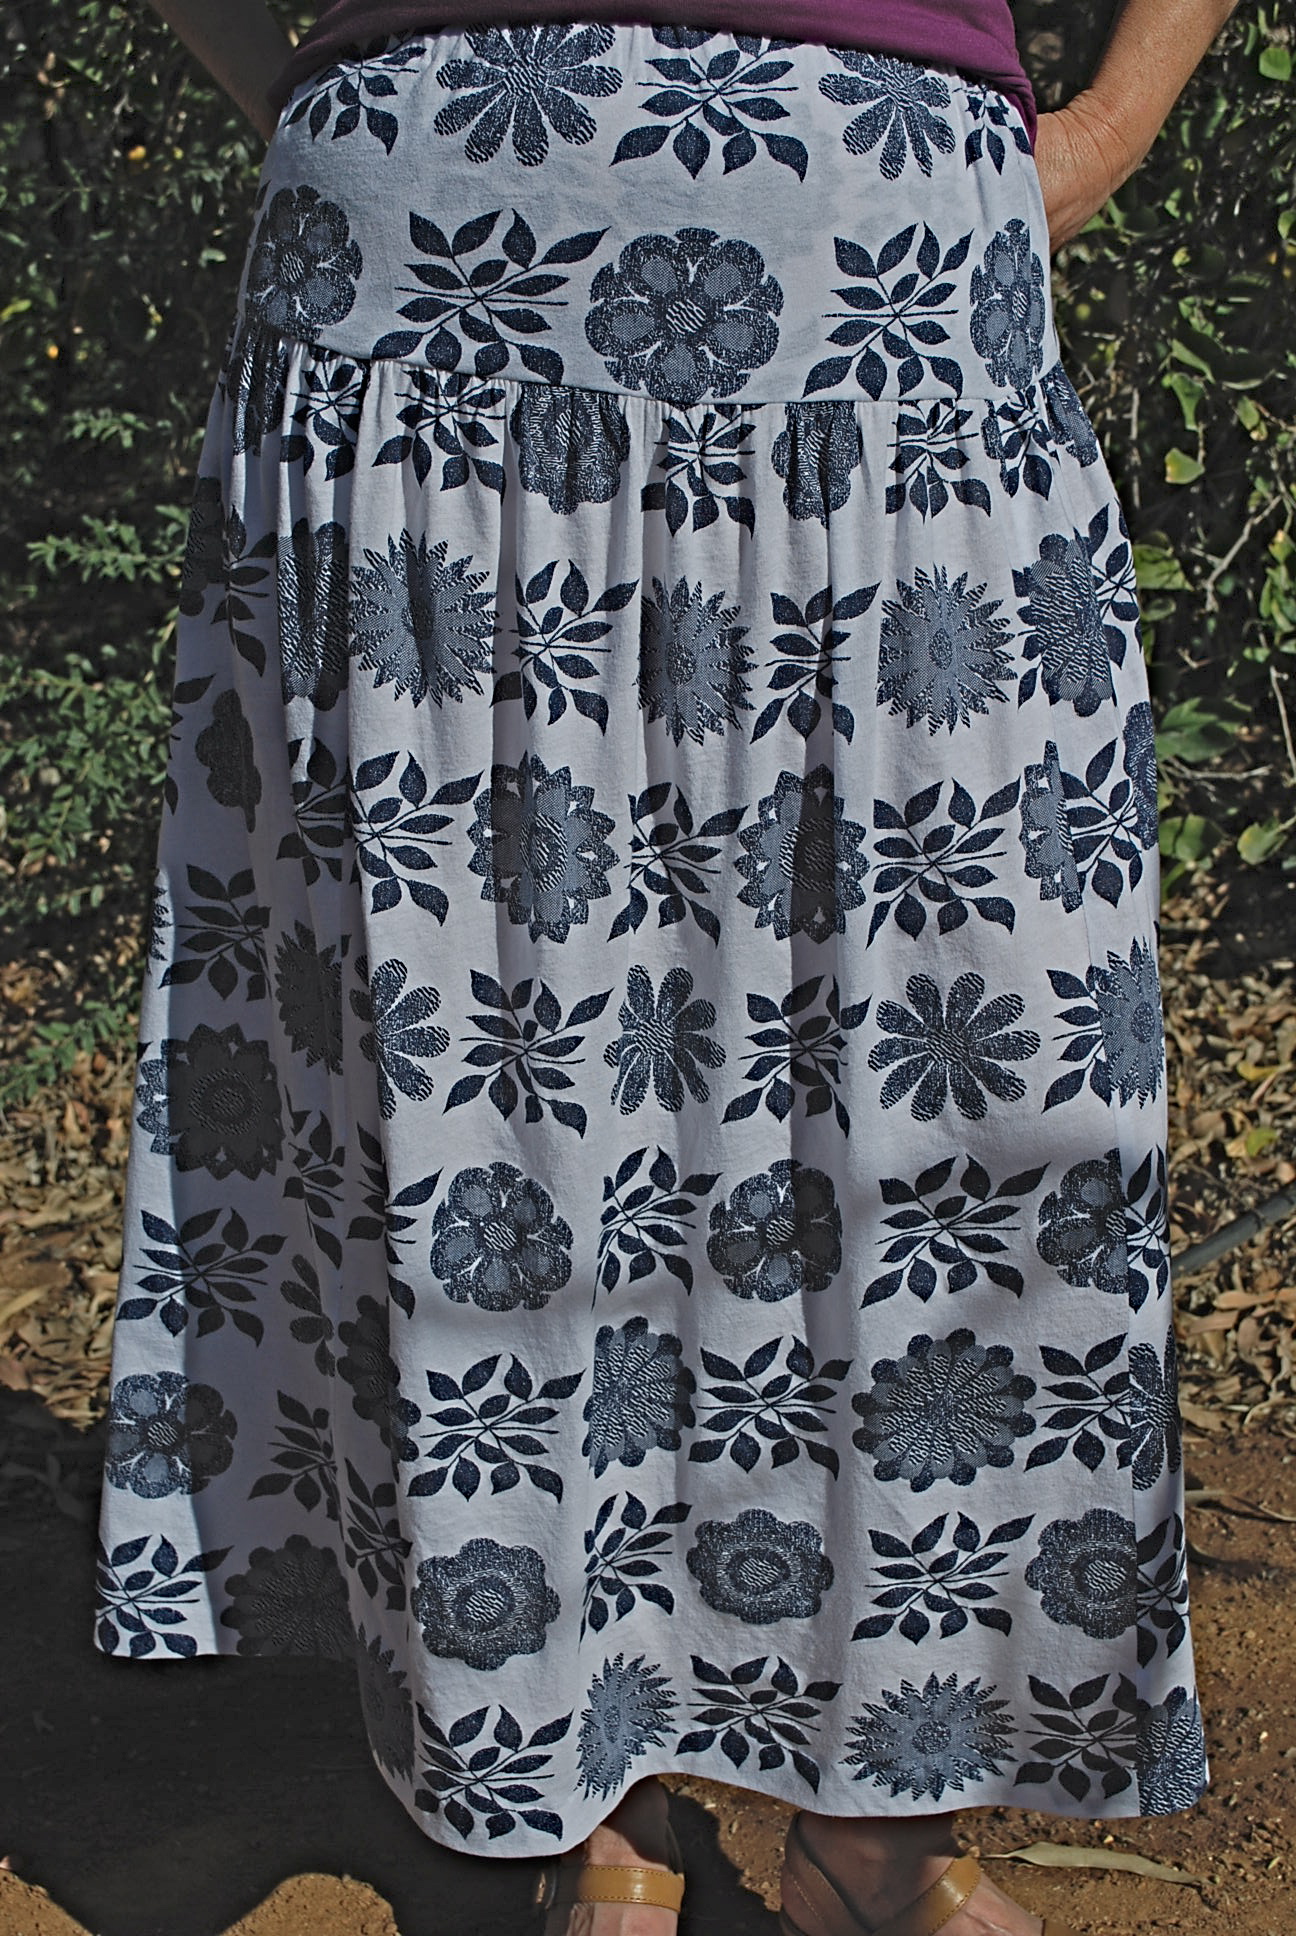
The skirt has a wide, curved waistband that sits best a few inches below the natural waistline.

I top-stitched the seams and waistband with quilting weight thread.

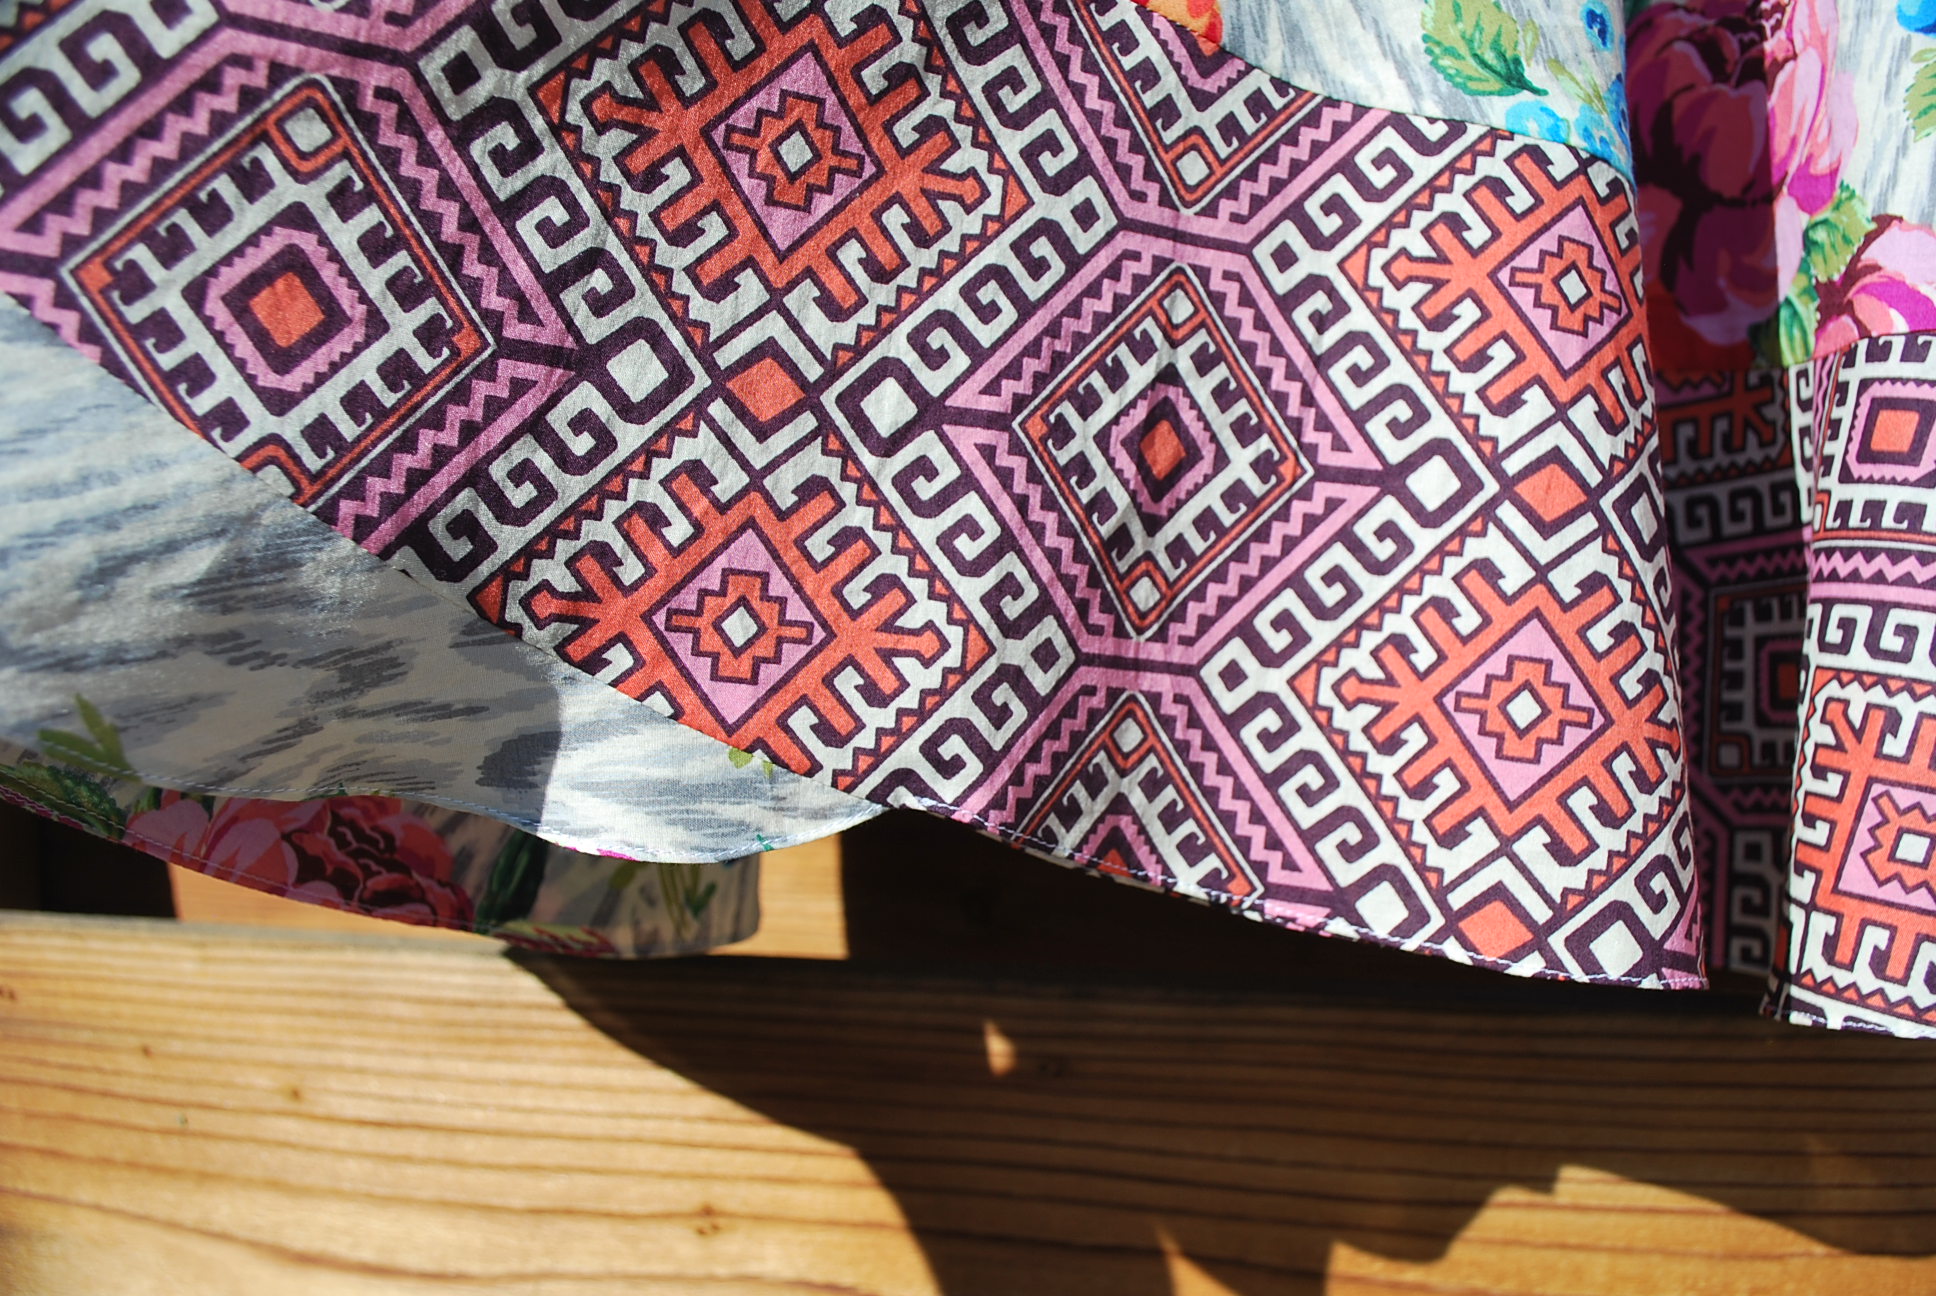
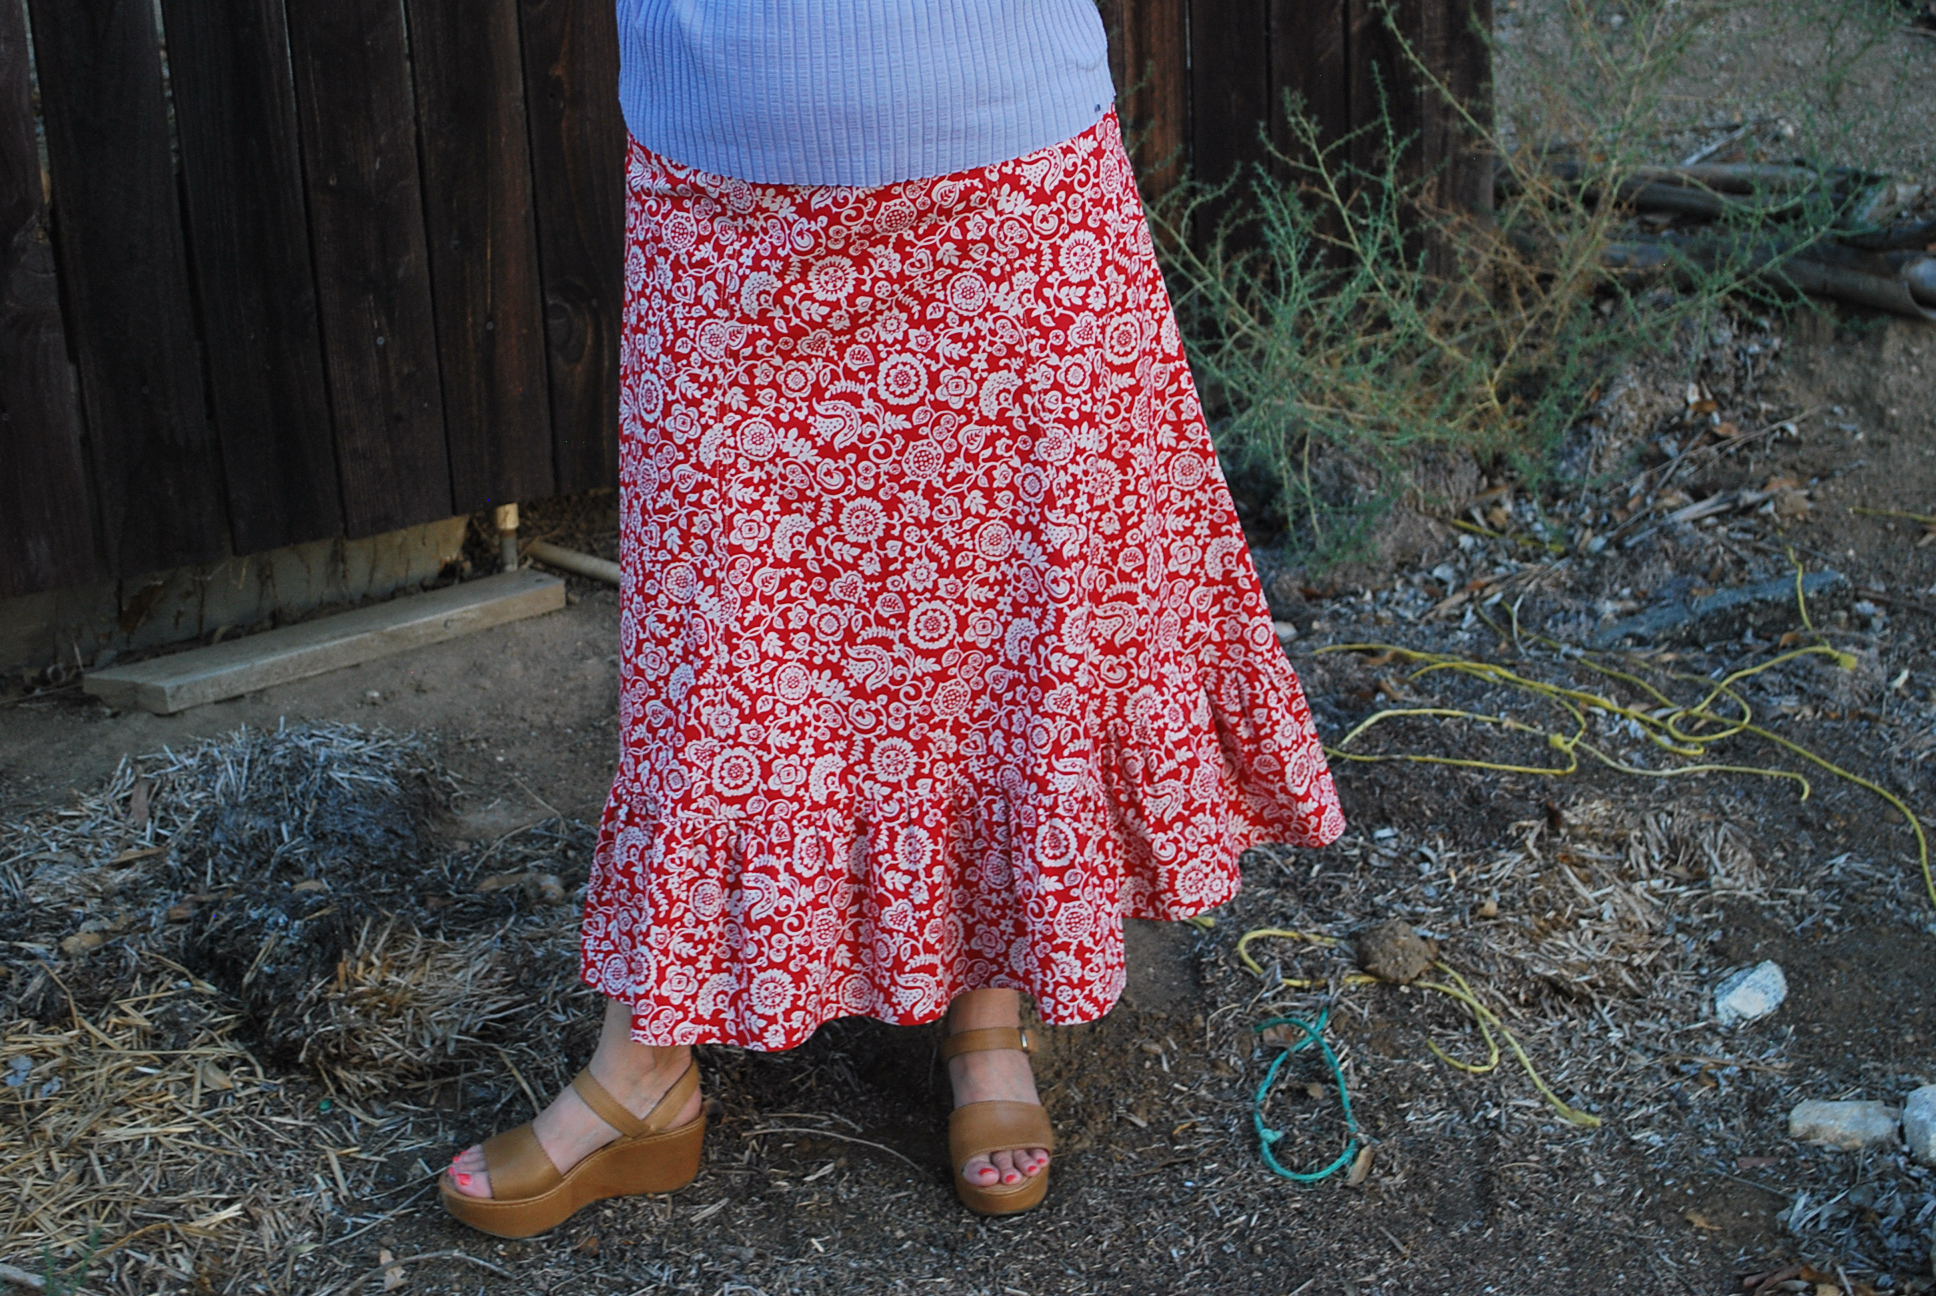
There is a 7″ ruffle at the bottom.
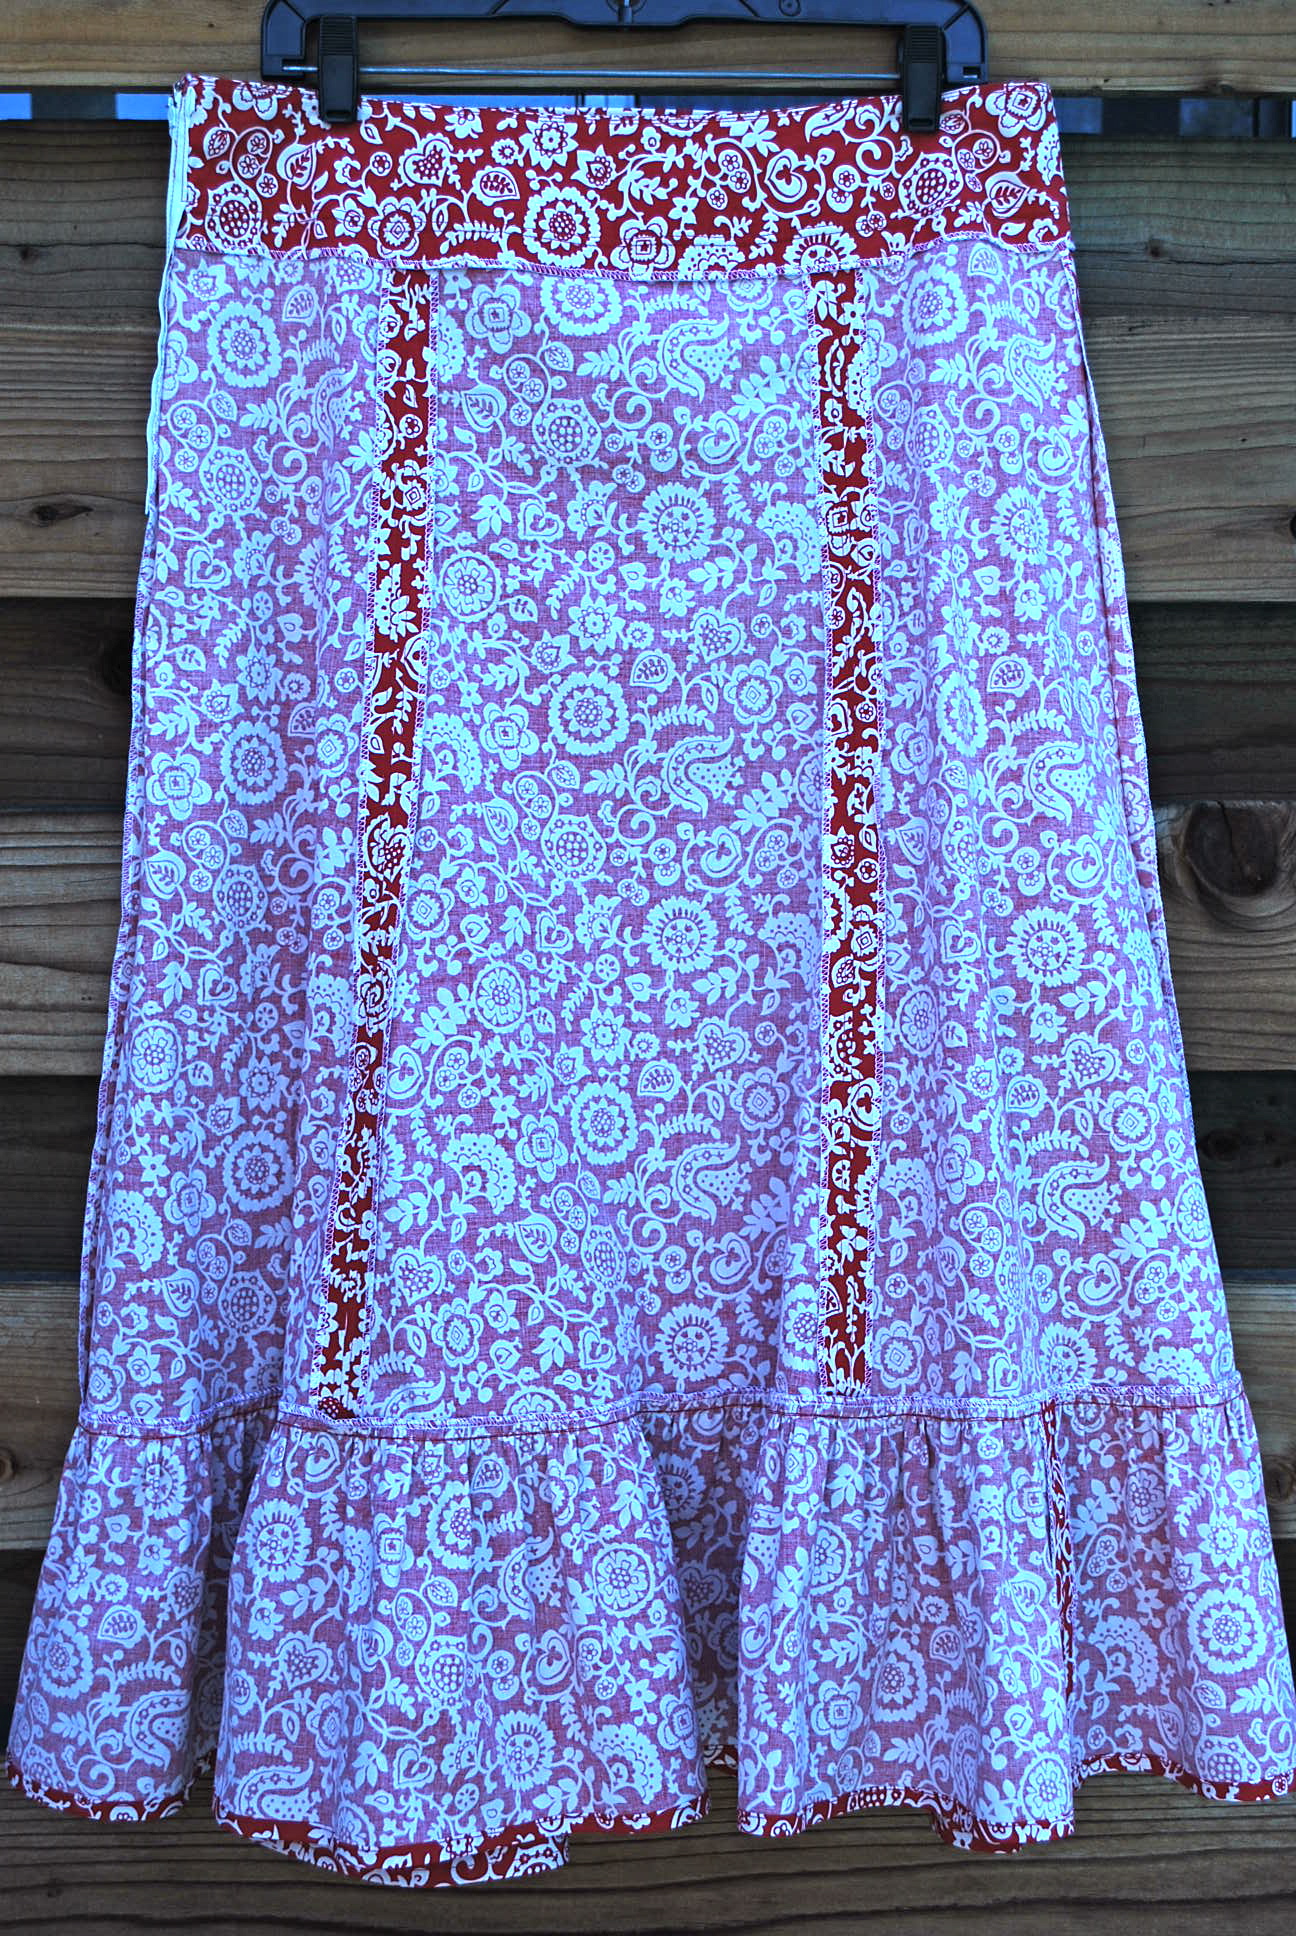
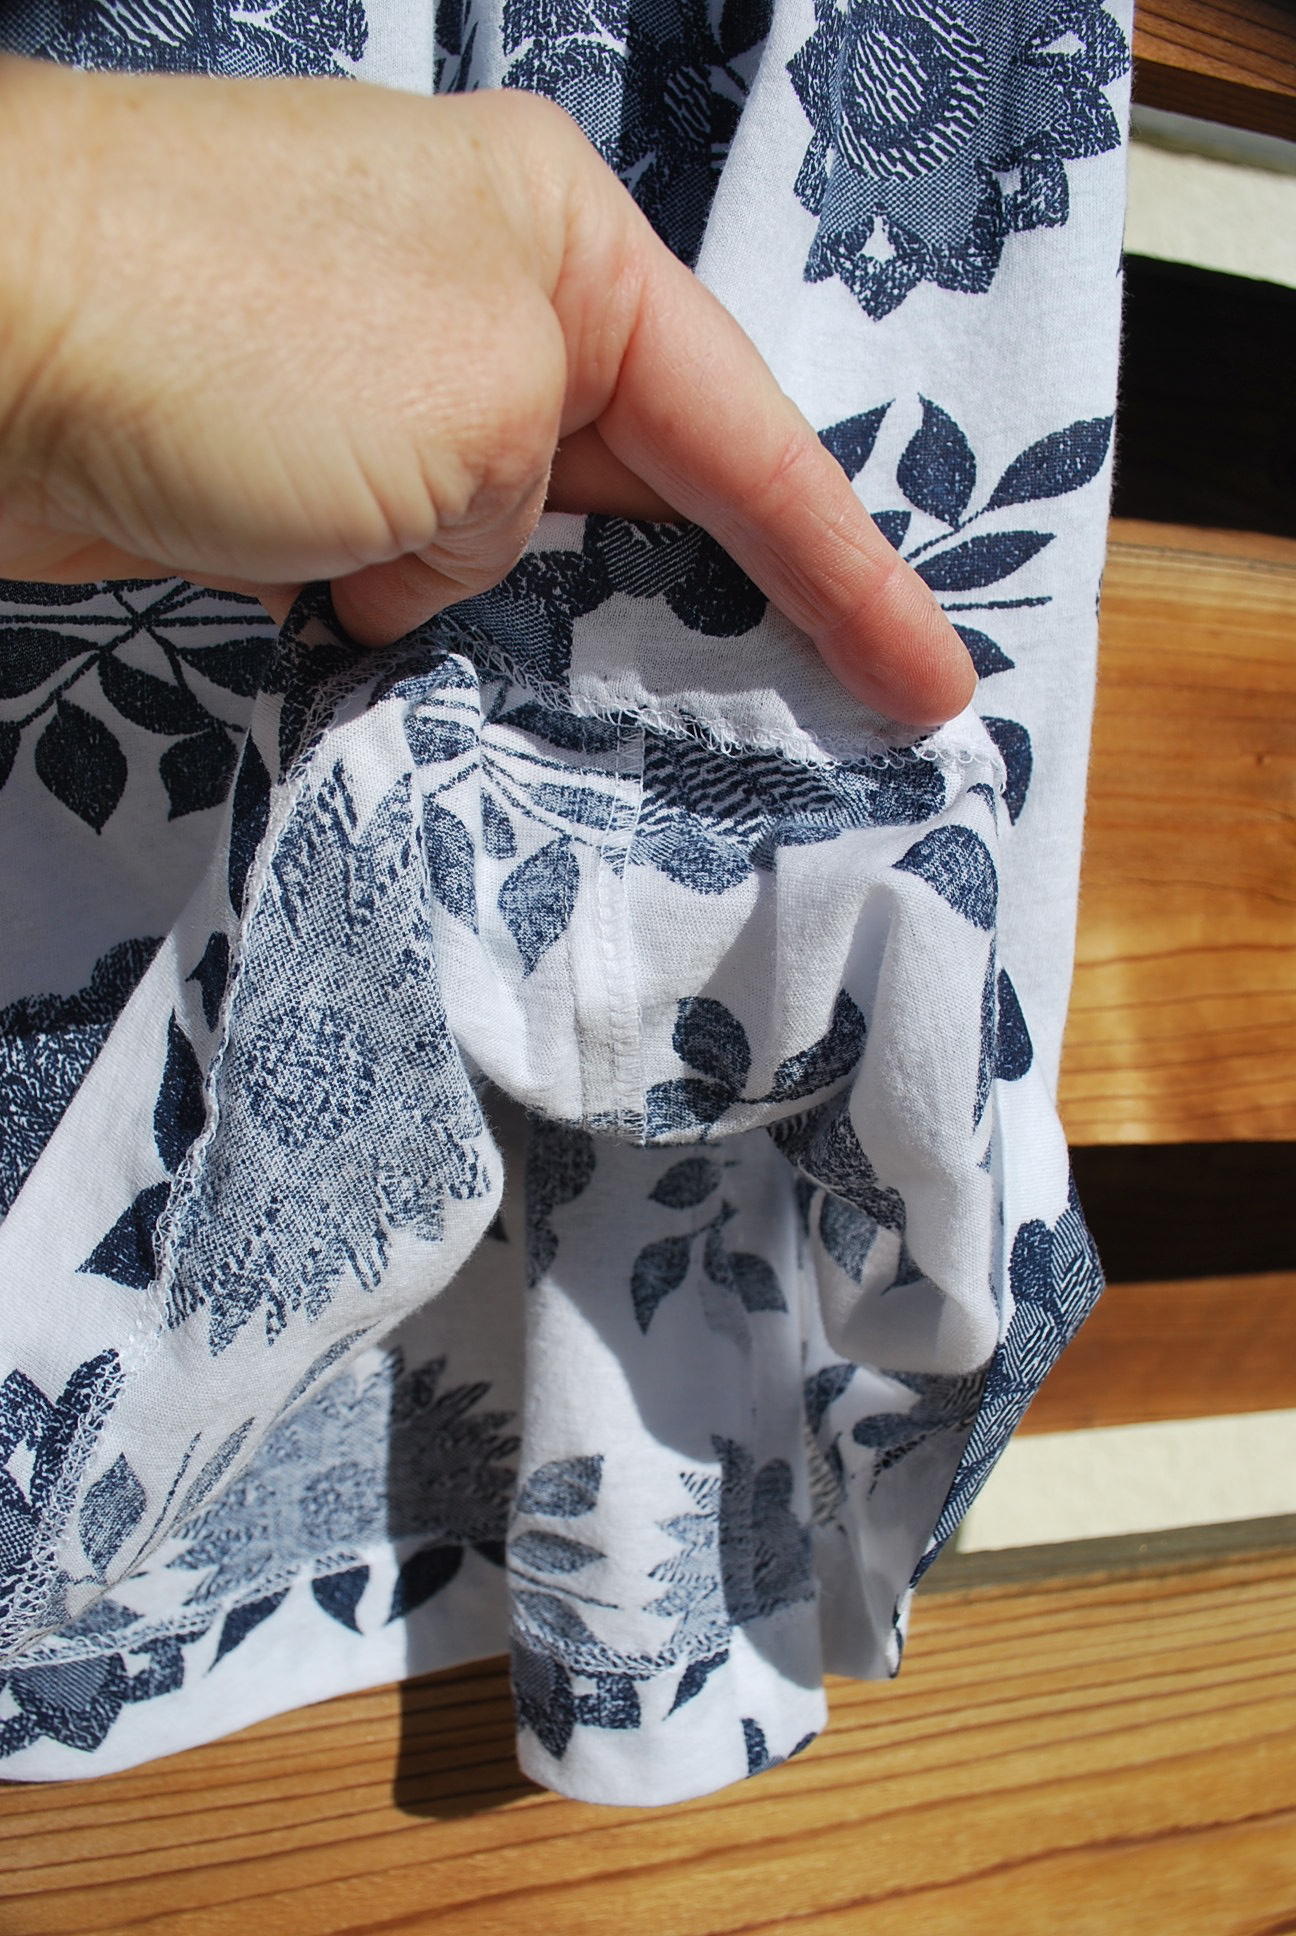
Inside peek. I serged all the seam edges and the waistband edge.
LET’S BE HONEST:
1. I had a hard time on sizing with this one. My waist and hip measurements put me between a 16 and 18. I usually measure the actual pattern pieces and adjust accordingly. With this pattern, there was no information about where the waistband/yoke should sit – at the waist, slightly below the waist? According to the photos on the pattern envelope, it looked like the skirt sat a few inches below the natural waist. I just decided to cut a straight 18 and let the skirt fall where it may. The skirt panels turned out too big through the waist and hips, so I trimmed off 3/4″ from the side side seams (3″ total) and 1/4″ (1″ total) from the sides of the waistband. (Totally embarrassing update: literally 5 minutes ago, I discovered on the back of the pattern envelope, in the yardage chart “Skirt C – worn 1″ below the waist.” Now wouldn’t that have saved a lot of aggravation if I had read that!)
2. I love the styling on this pattern. The panels create the perfect amount of flair for a flattering fit and the ruffle is a fun touch. I love the fabric, too. I do feel however, that the fabric is not optimal for this pattern. This fabric had the folksy feel I wanted for this pattern so I ended up overlooking the fact that it was a bit heavy and stiff for this skirt. I think it would be perfect for a pair of shorts or capris.
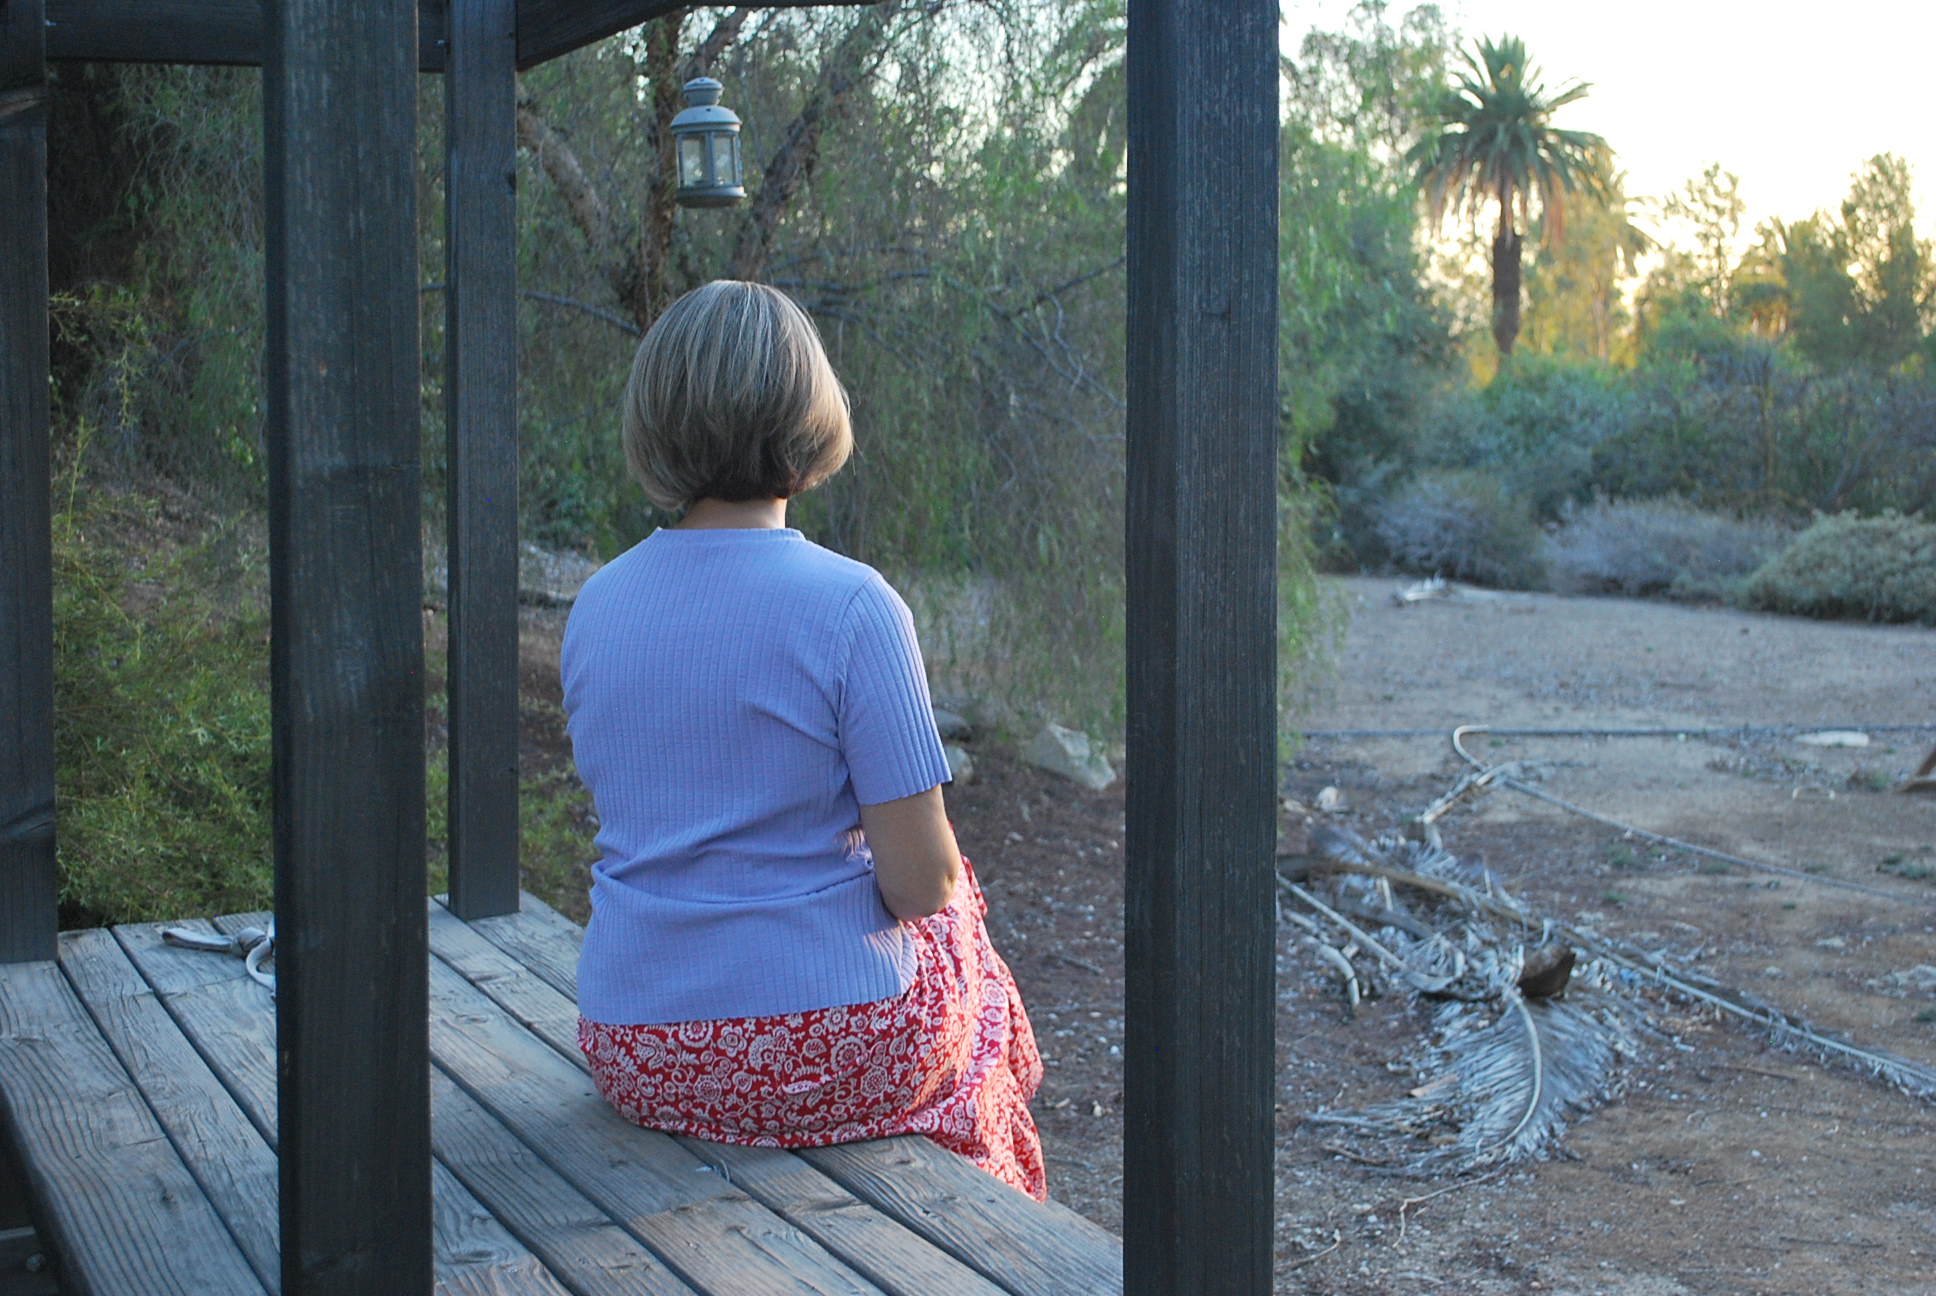
3. I should have cut 2″ off the bottom before attaching the ruffle. I already shorten the skirt panel pattern pieces 2″ before cutting the fabric, but it still turned out a bit long. I think am getting lazy or impatient, because I tried it on several times before adding the ruffle but just didn’t carefully evaluate how much length a 7″ ruffle would add. Oh well. It looks fine with my 3″+ platform sandals that I love.
4. I made the t-shirt that I’m wearing also. It is Butterick 5215. More on this pattern another day. This wide ribbed knit fabric is also from Mood. I love the lilac color with the red and white print. I think it actually acts as a neutral against the bold red.
Overall, I do like my Happy Folk Skirt and I know I’ll be wearing it plenty this fall. Have you got any fun skirts in your sewing queue? Cheers, Lori