I have made 25 garments since starting this blog, and I have probably mentioned in most of my posts, “When I make this again, I’m going to…….” So how many have I actually made again? I will admit that 90%+ of my makes are one-time adventures. Mainly because with the limited time I have to sew, I find the most enjoyment out of trying a new pattern from my large pattern stash each time I make a garment. But there are two that I have been compelled to revisit, and I’m excited to share these Take Two makes with you.
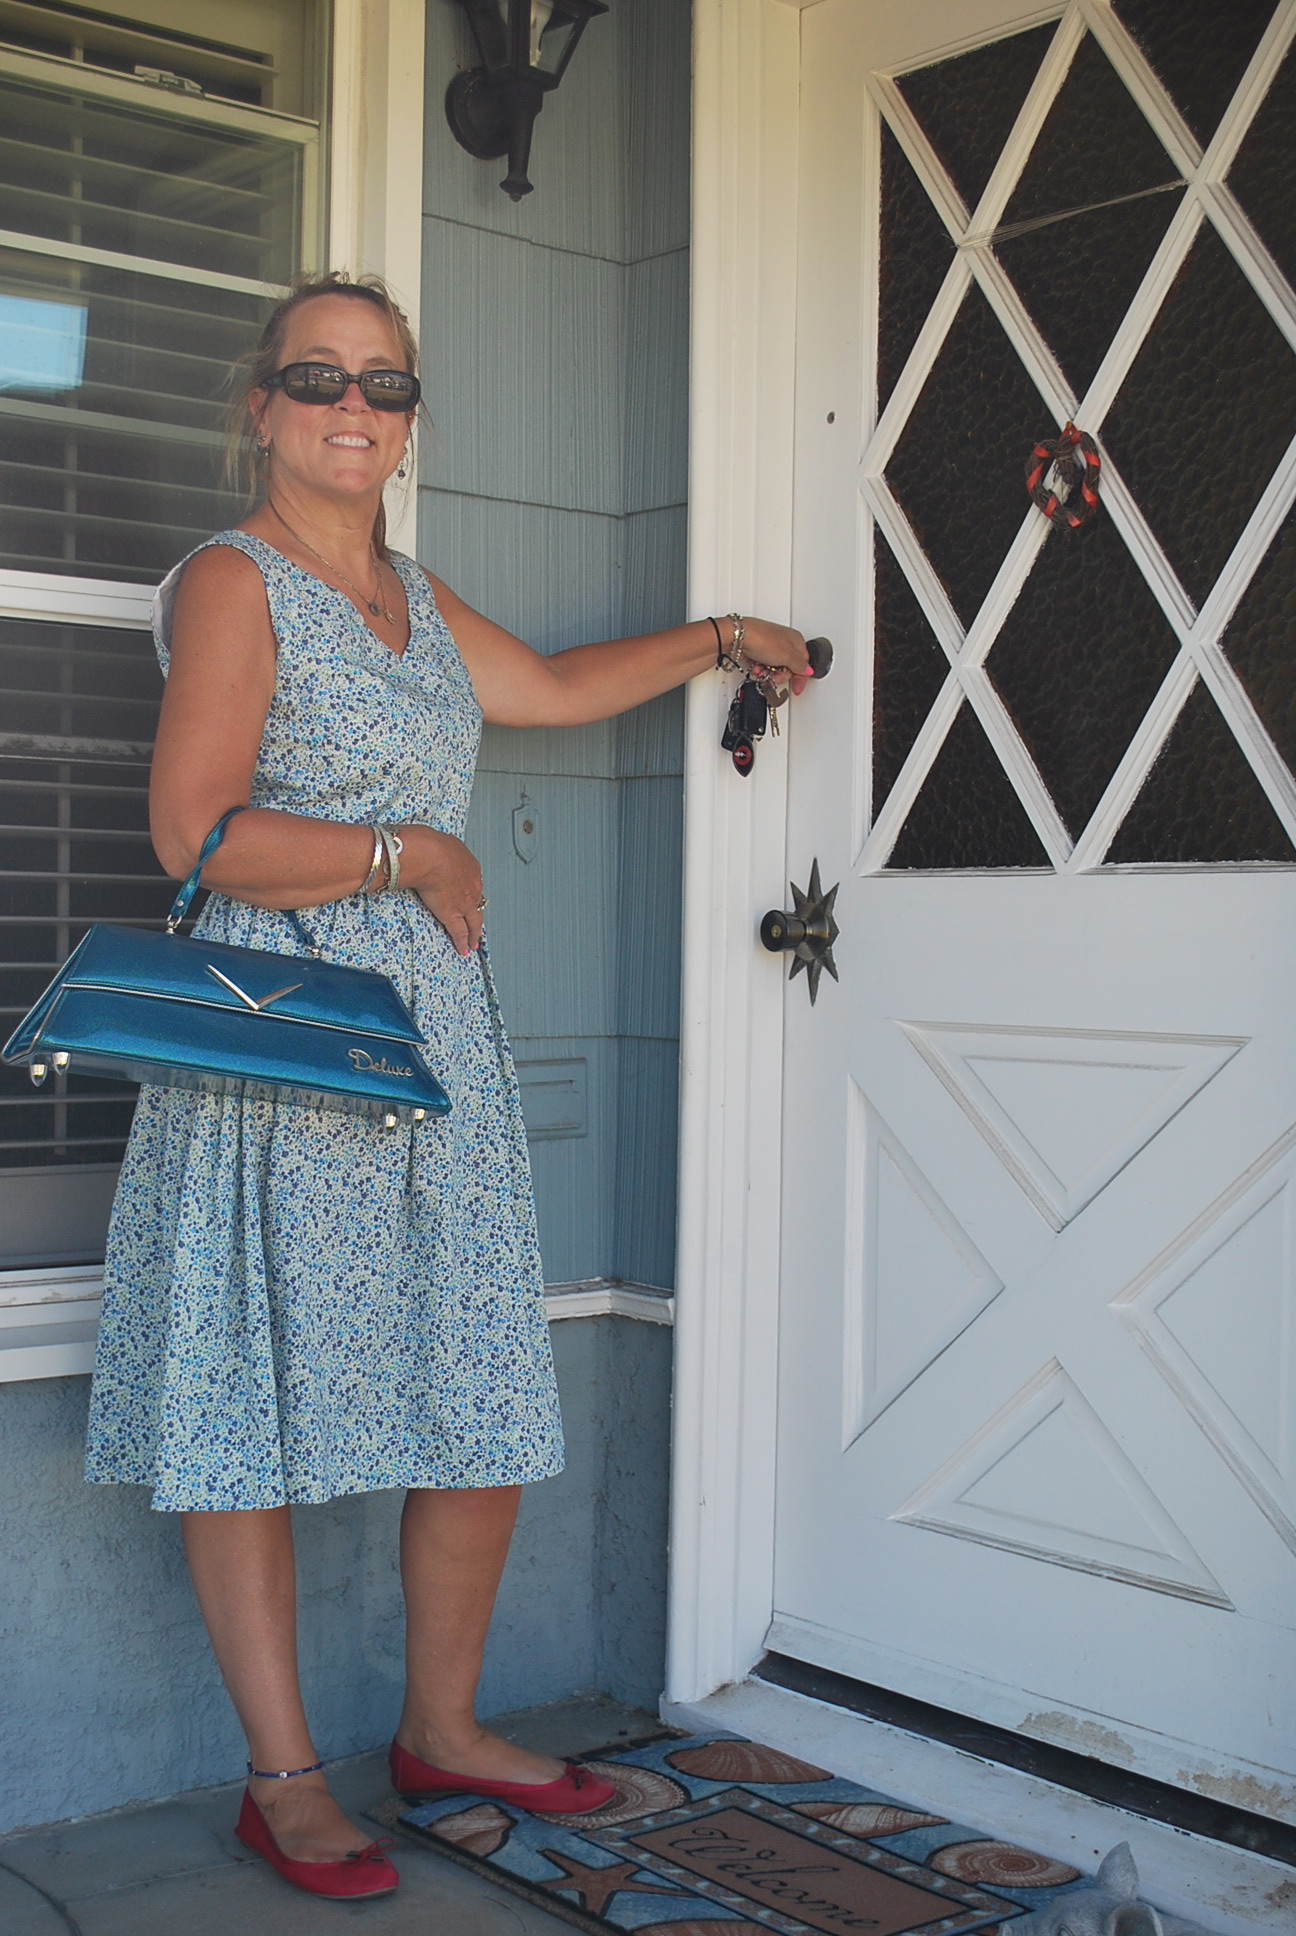
The first Take Two is The Jean Skirt, Fresh Make #1. Sometimes the garments that “wow” the least are the ones we grab the most because they are a great basic. And that is the case with The Jean Skirt, Simplicity 1616. I really like how it fits, lays flat across the stomach, yet has plenty of width through the hips and thighs. AND it is quick and easy to make. I wanted to make another as soon as I finished the first and what finally spurred me into action was, sadly, I tore my first Jean Skirt.
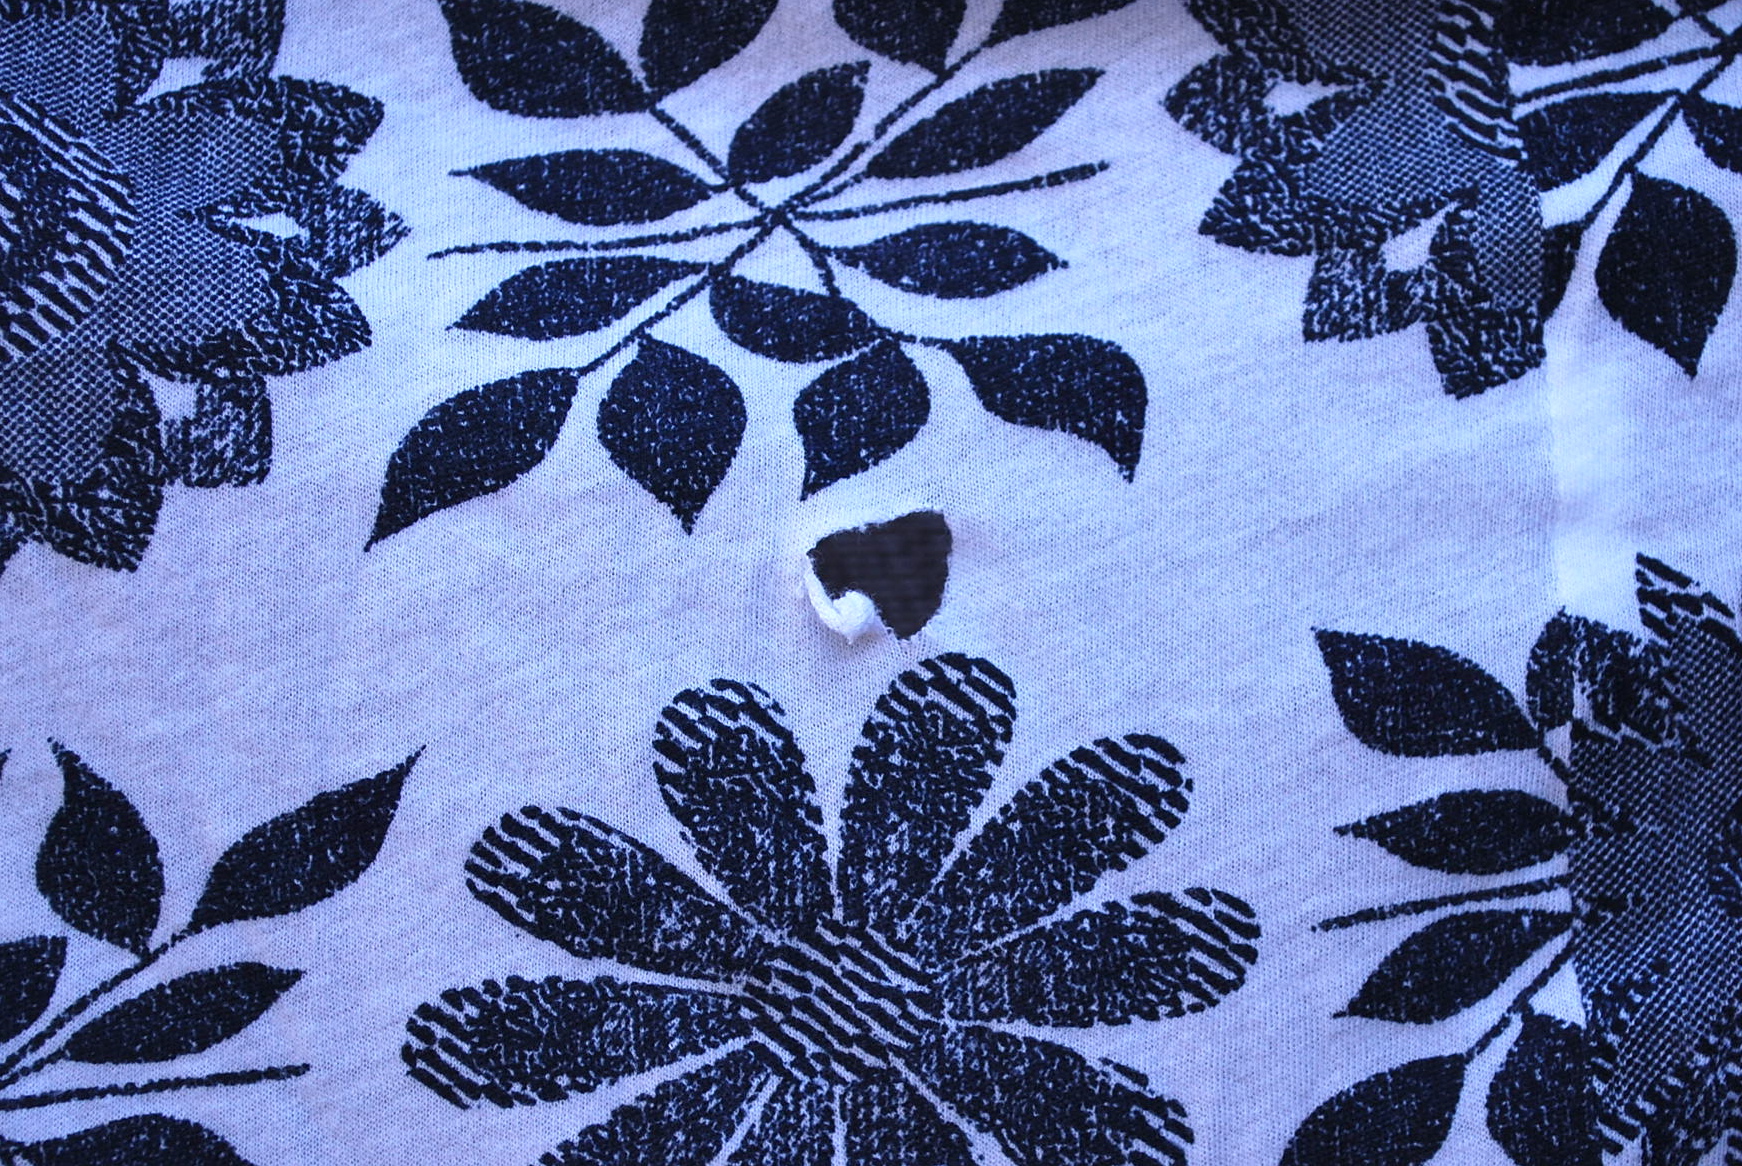 The fabric, which I ordered online, was disappointingly thin. While wearing it, it got caught on something, I don’t even remember what, and now it’s wadded up on the top shelf of my closet.
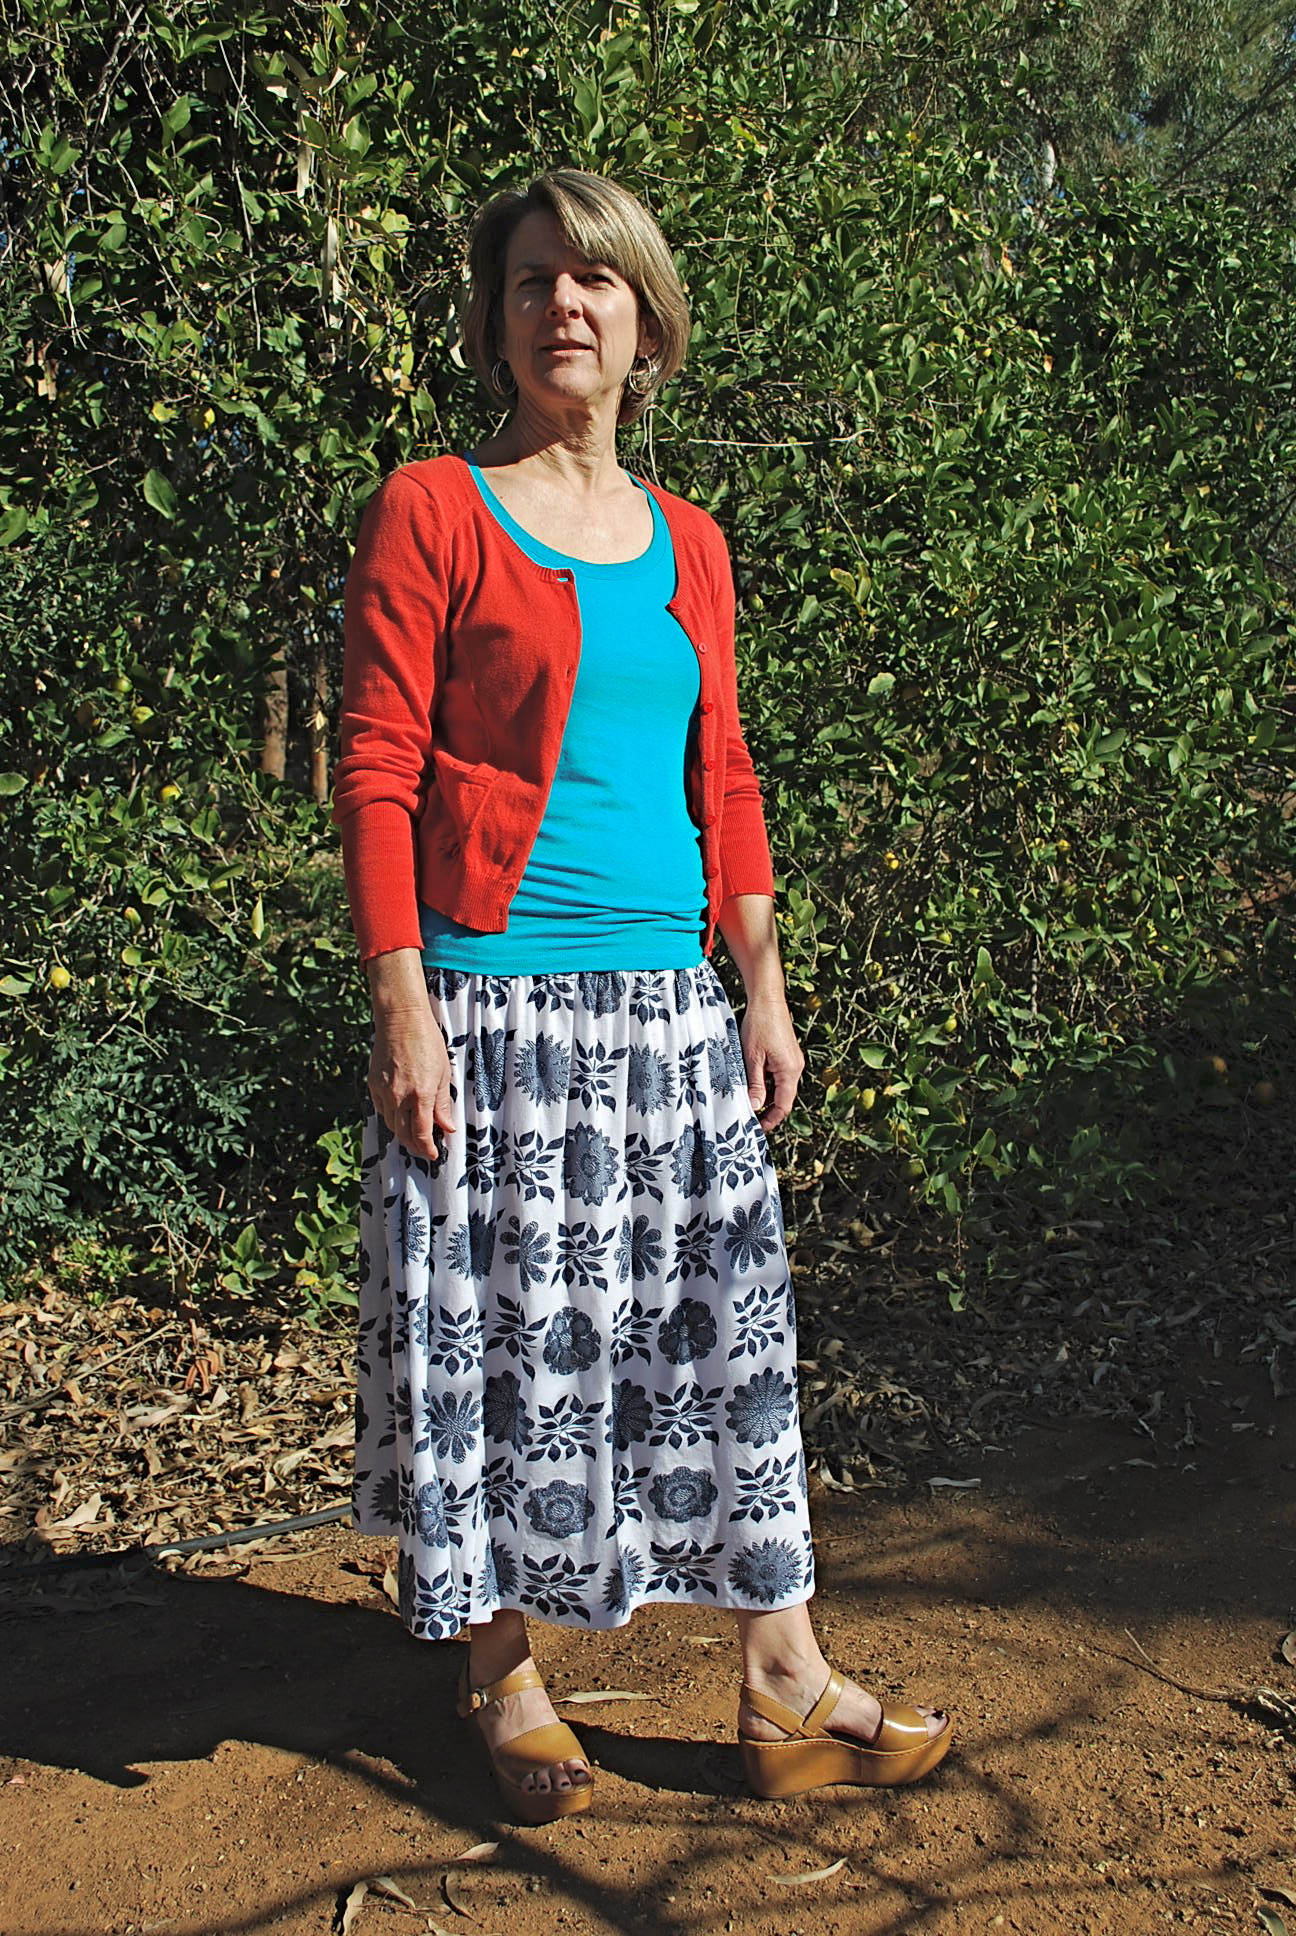
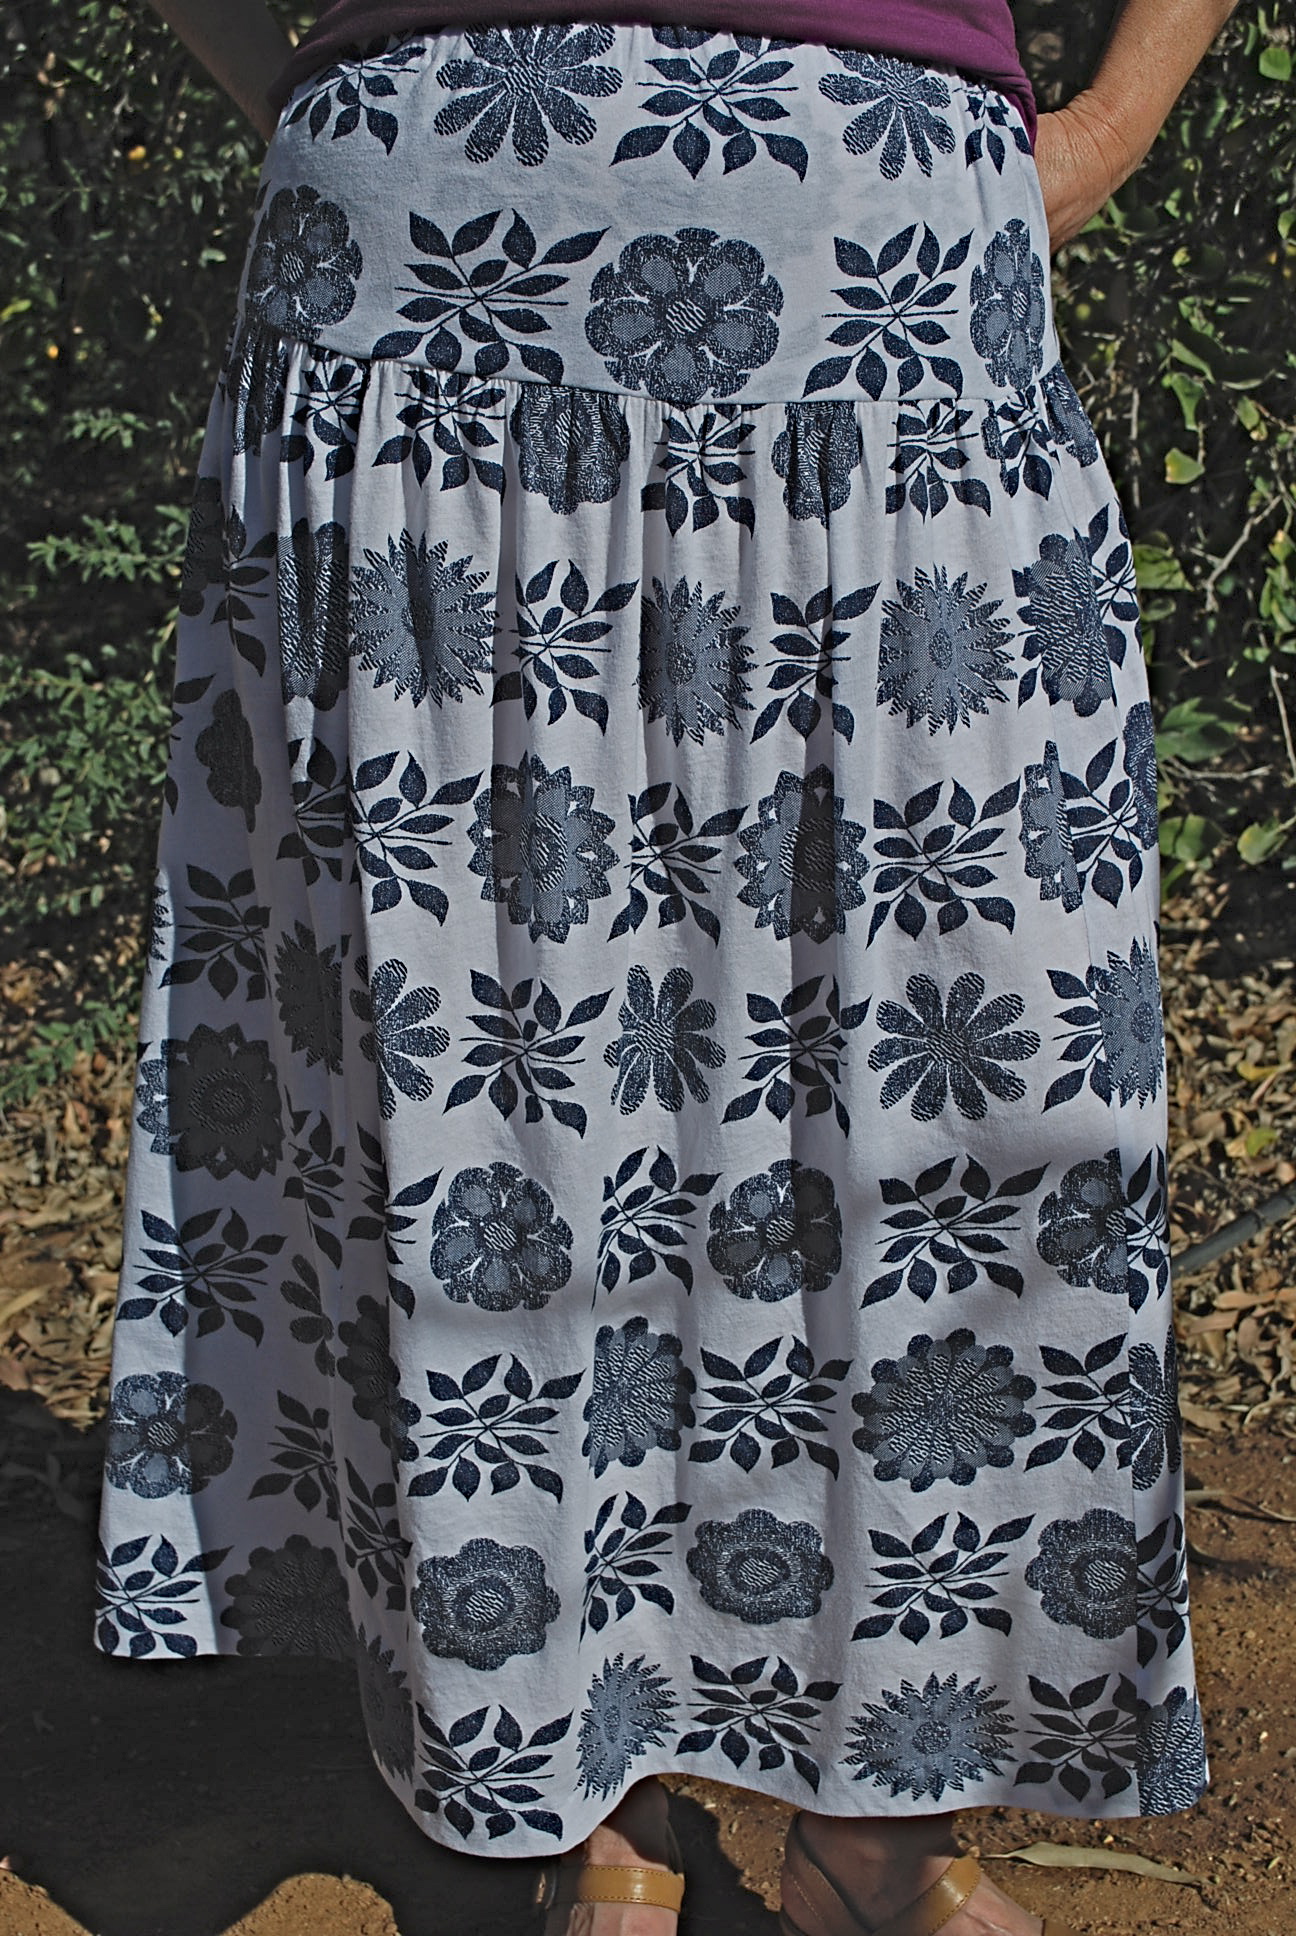
I learned my lesson that you usually “get what you pay for.” So for Jean Skirt, Take Two I shelled out the big bucks for 2 3/4 yards at $14.50 per yard for Anna Marie Horner’s beautiful, thick, soft, interlock knit, Mary Thistle, in navy, from my favorite online fabric store, Hawthorne Threads. This fabric goes through the washer and dryer beautifully. The dark blue with a black print acts like a neutral. You can really pair it with almost any color. A true grab and go skirt.
My second Take Two is The Every Woman Top, Fresh Make #21.
I was initially drawn to this pattern for it’s potentially figure flattering variation of a basic knit top.
My first version of The Everywoman Top, Vogue 8151, was a fit fail from the waist down. The biggest fit fail of my 25 Fresh Makes. I describe this all in my original post, but basically the fabric was too thick and the fit was too loose, resulting in one big belly sag instead of flattering, fabric folds created by the side ruching. BUT I loved the fit from the waist up. The small bust adjustment I did worked well and neck band laid perfectly in front and back.

Through the waist and belly, it’s a bit of a blob silhouette. Go ahead and click to enlarge to see what I mean.
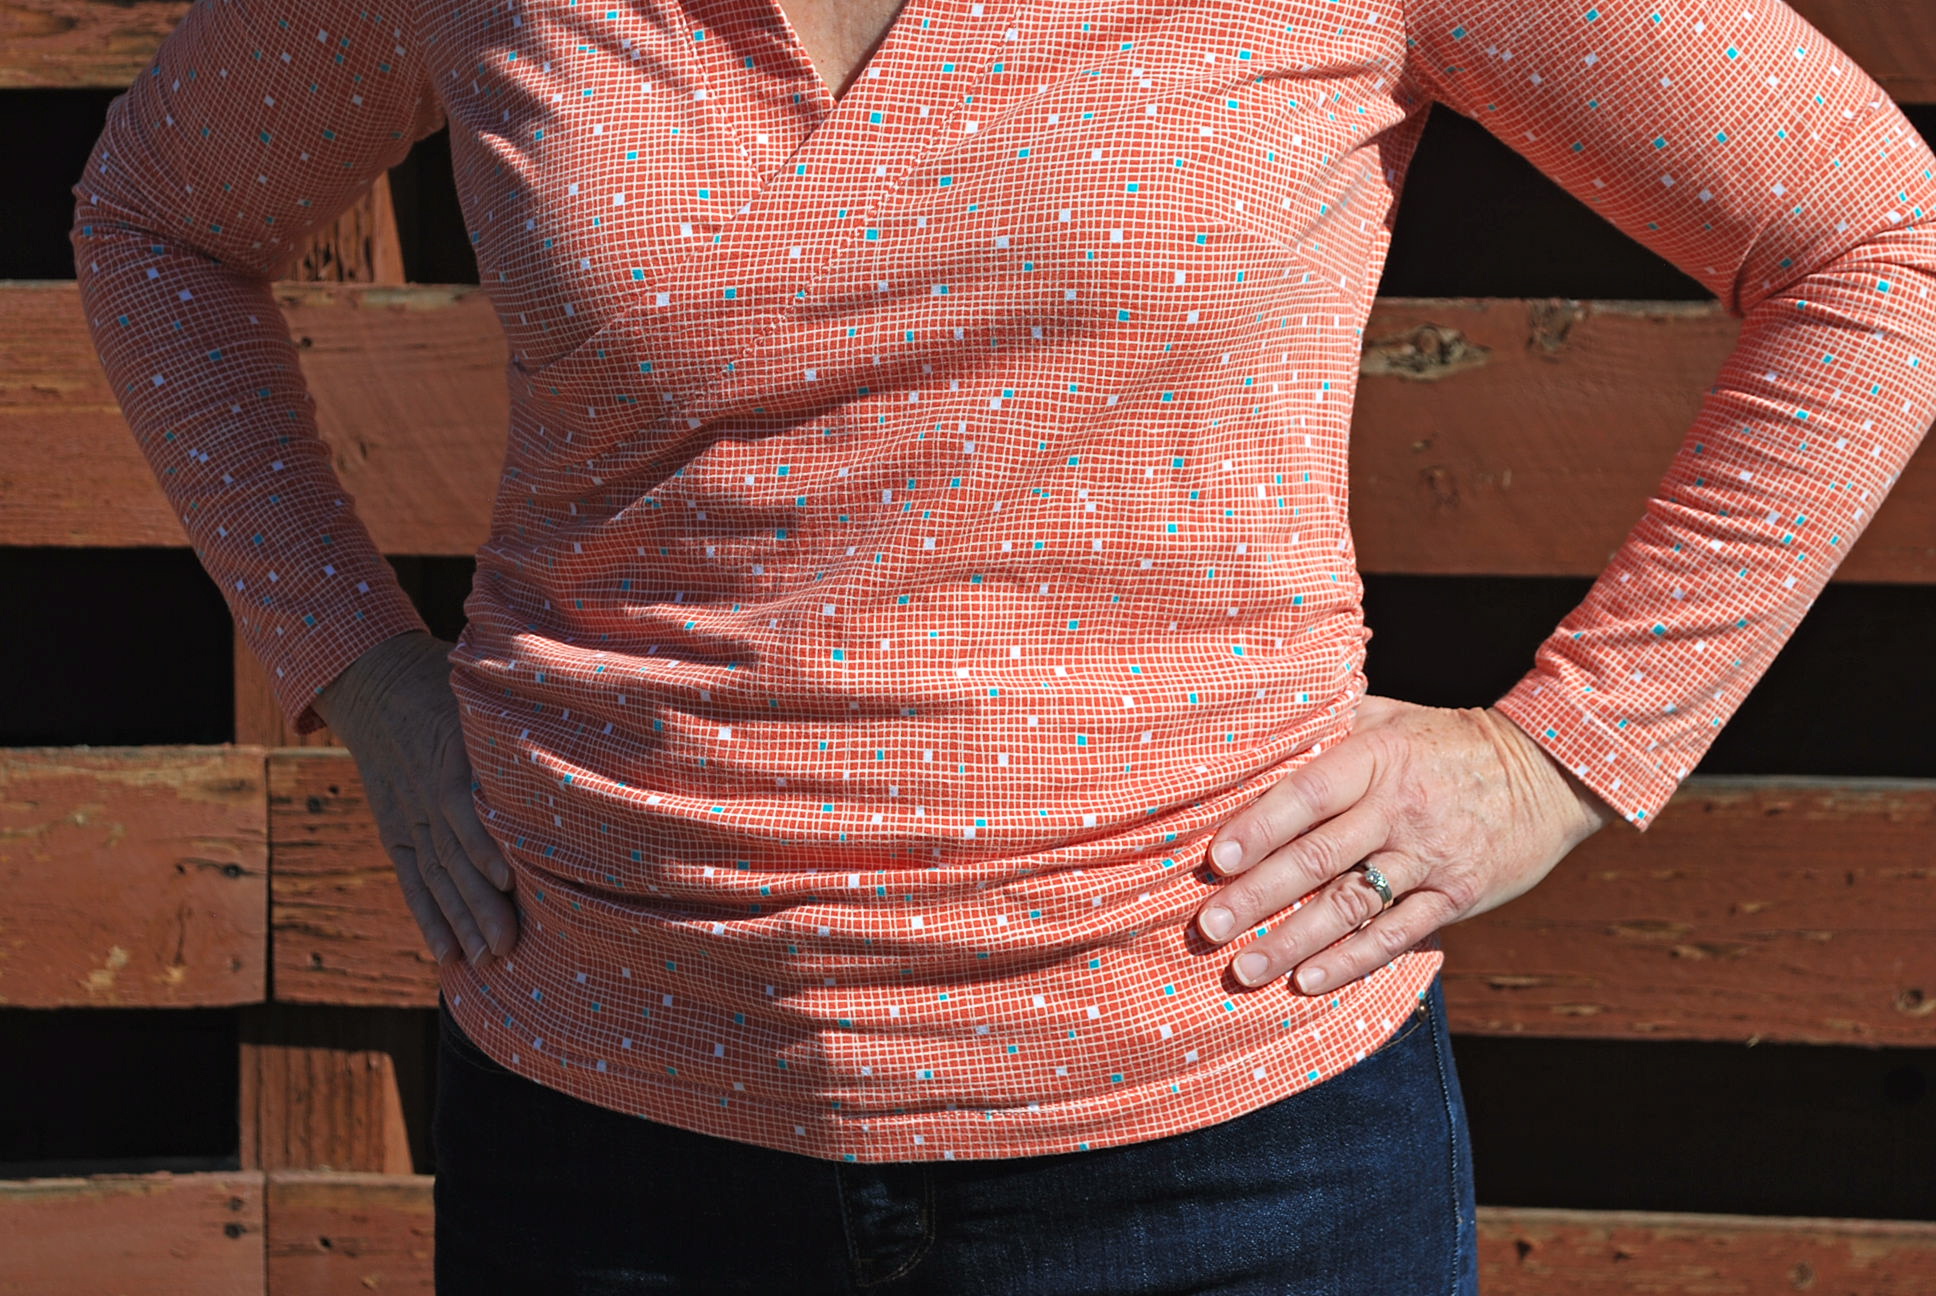
Version two, much better!
I vowed to redeem myself by making another with a thinner, single jersey knit. I did just that with a 95% cotton, 5% Lycra, Threaded Shreds Knit in Mamey, again, from Hawthorne Threads. I splurged in purchasing 1 7/8 yards at $15.95 per yard. I love this fabric. It washes beautifully, and is super soft and stretchy. It is also thin enough that bulk is not created by the double thickness of the wrap front. This time when contructing the garment, I followed the instructions of making a one inch seam allowance down the sleeves and sides. And after trying on, I even took in the side seams another 1/2 inch to get enough negative ease to form the fabric folds across the belly instead of a sag. I am truly 100% happy with the results of this Take Two. It you would like more construction details of these patterns, just go to the original posts, Jean Skirt and Every Woman Top
There seems to be a lot of prolific sewists in the online sewing community who post new versions of the same pattern frequently. I know it makes sense to perfect a pattern that really fits your lifestyle and can potentially become an integral part of your wardrobe. I just don’t like repetitive sewing. It becomes labor to me rather than a creative experience. What about you? What are your thoughts and practices when it comes to sewing up the same pattern several times?