I realized only one of my Fresh Makes has been a top, and I think we often overlook the idea of sewing our own tops. Also I’m still staying true to the idea of not always grabbing a plain t-shirt to throw on over jeans. For these reasons I chose to make a cute, warm weather blouse for Fresh Make #10.

The pattern I used is Butterick 6024. Like always, I purchased this pattern on sale at JoAnn’s for $1.40 (5 patterns for $7. But you really don’t have to buy 5.). I named this top the Breezy Blouse because it seems like an easy, fun, comfortable top to wear to a picnic or other causal outdoor event that doesn’t require athletic wear.

I made view D.
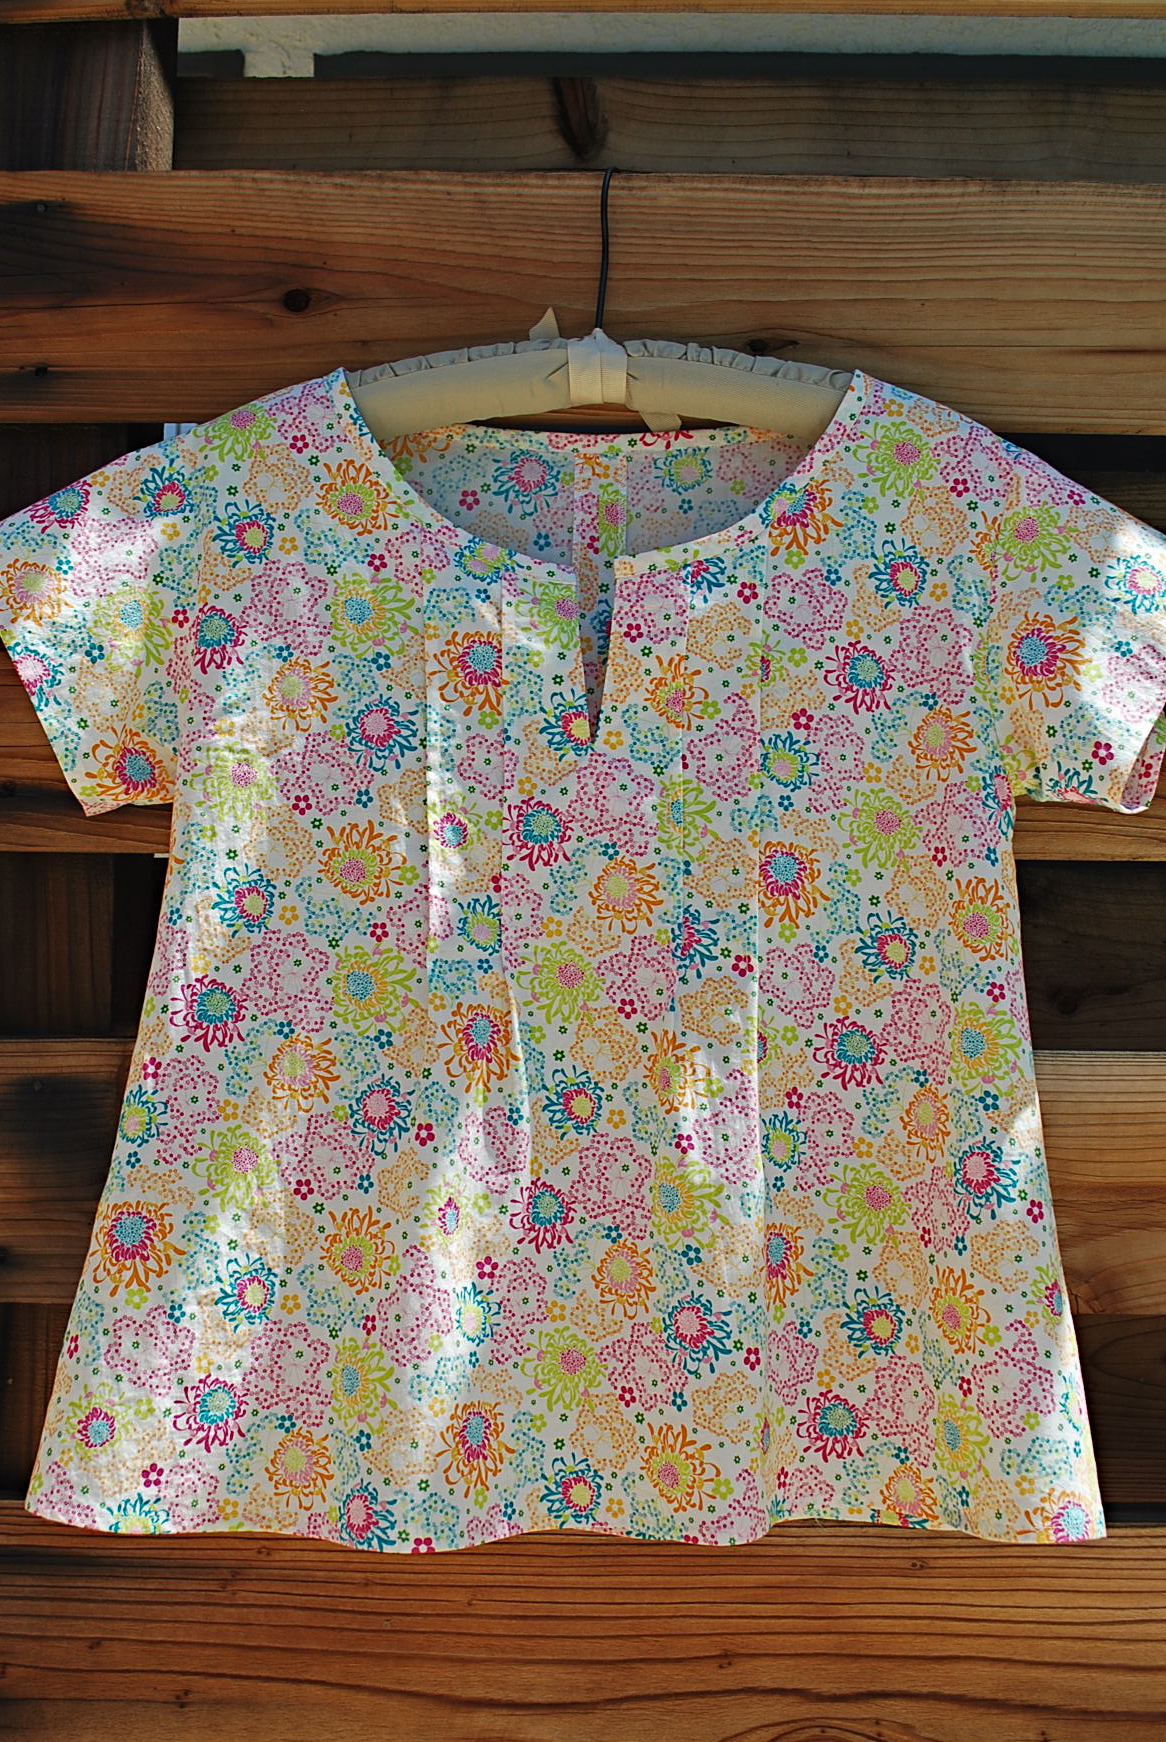
The fabric I used is a Robert Kaufman cotton voile. It’s finely woven, lightweight and soft, like Liberty of London, but for a third of the price. I purchased it at my favorite DTLA fabric store, Michael Levine. I bought 2 yards for $11.25 per yard. 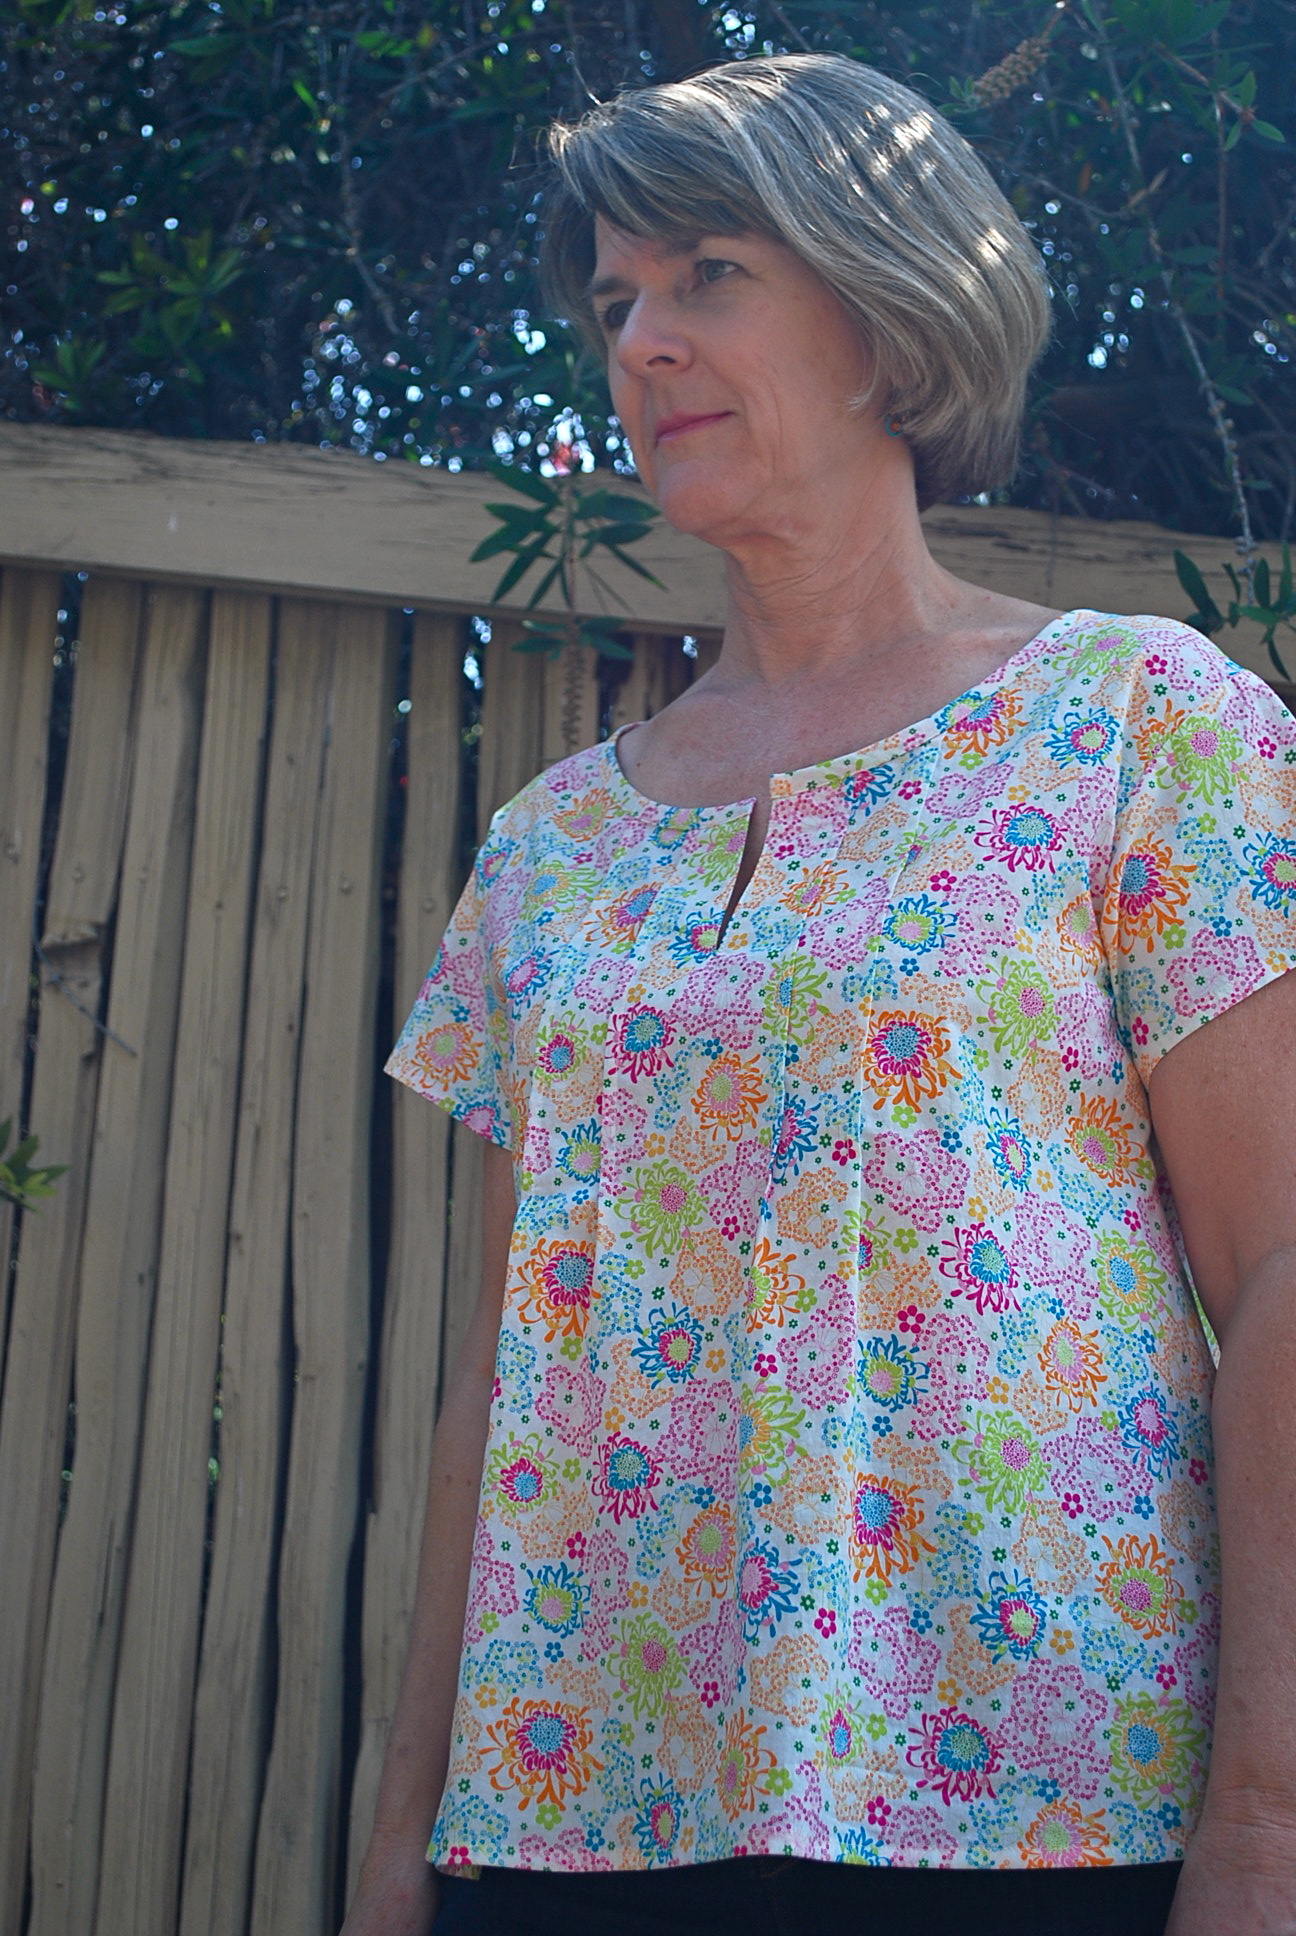
 The neckline is finished with a self-made bias tape. The slit is created with a facing.
  Here’s a peek at inside. To sew the bias tape at the neckline, first I sewed one edge to the inside of the neckline. Then I folded it over the raw edges and top stitched it very close to the folded edge of the bias tape on the front side of the neckline.
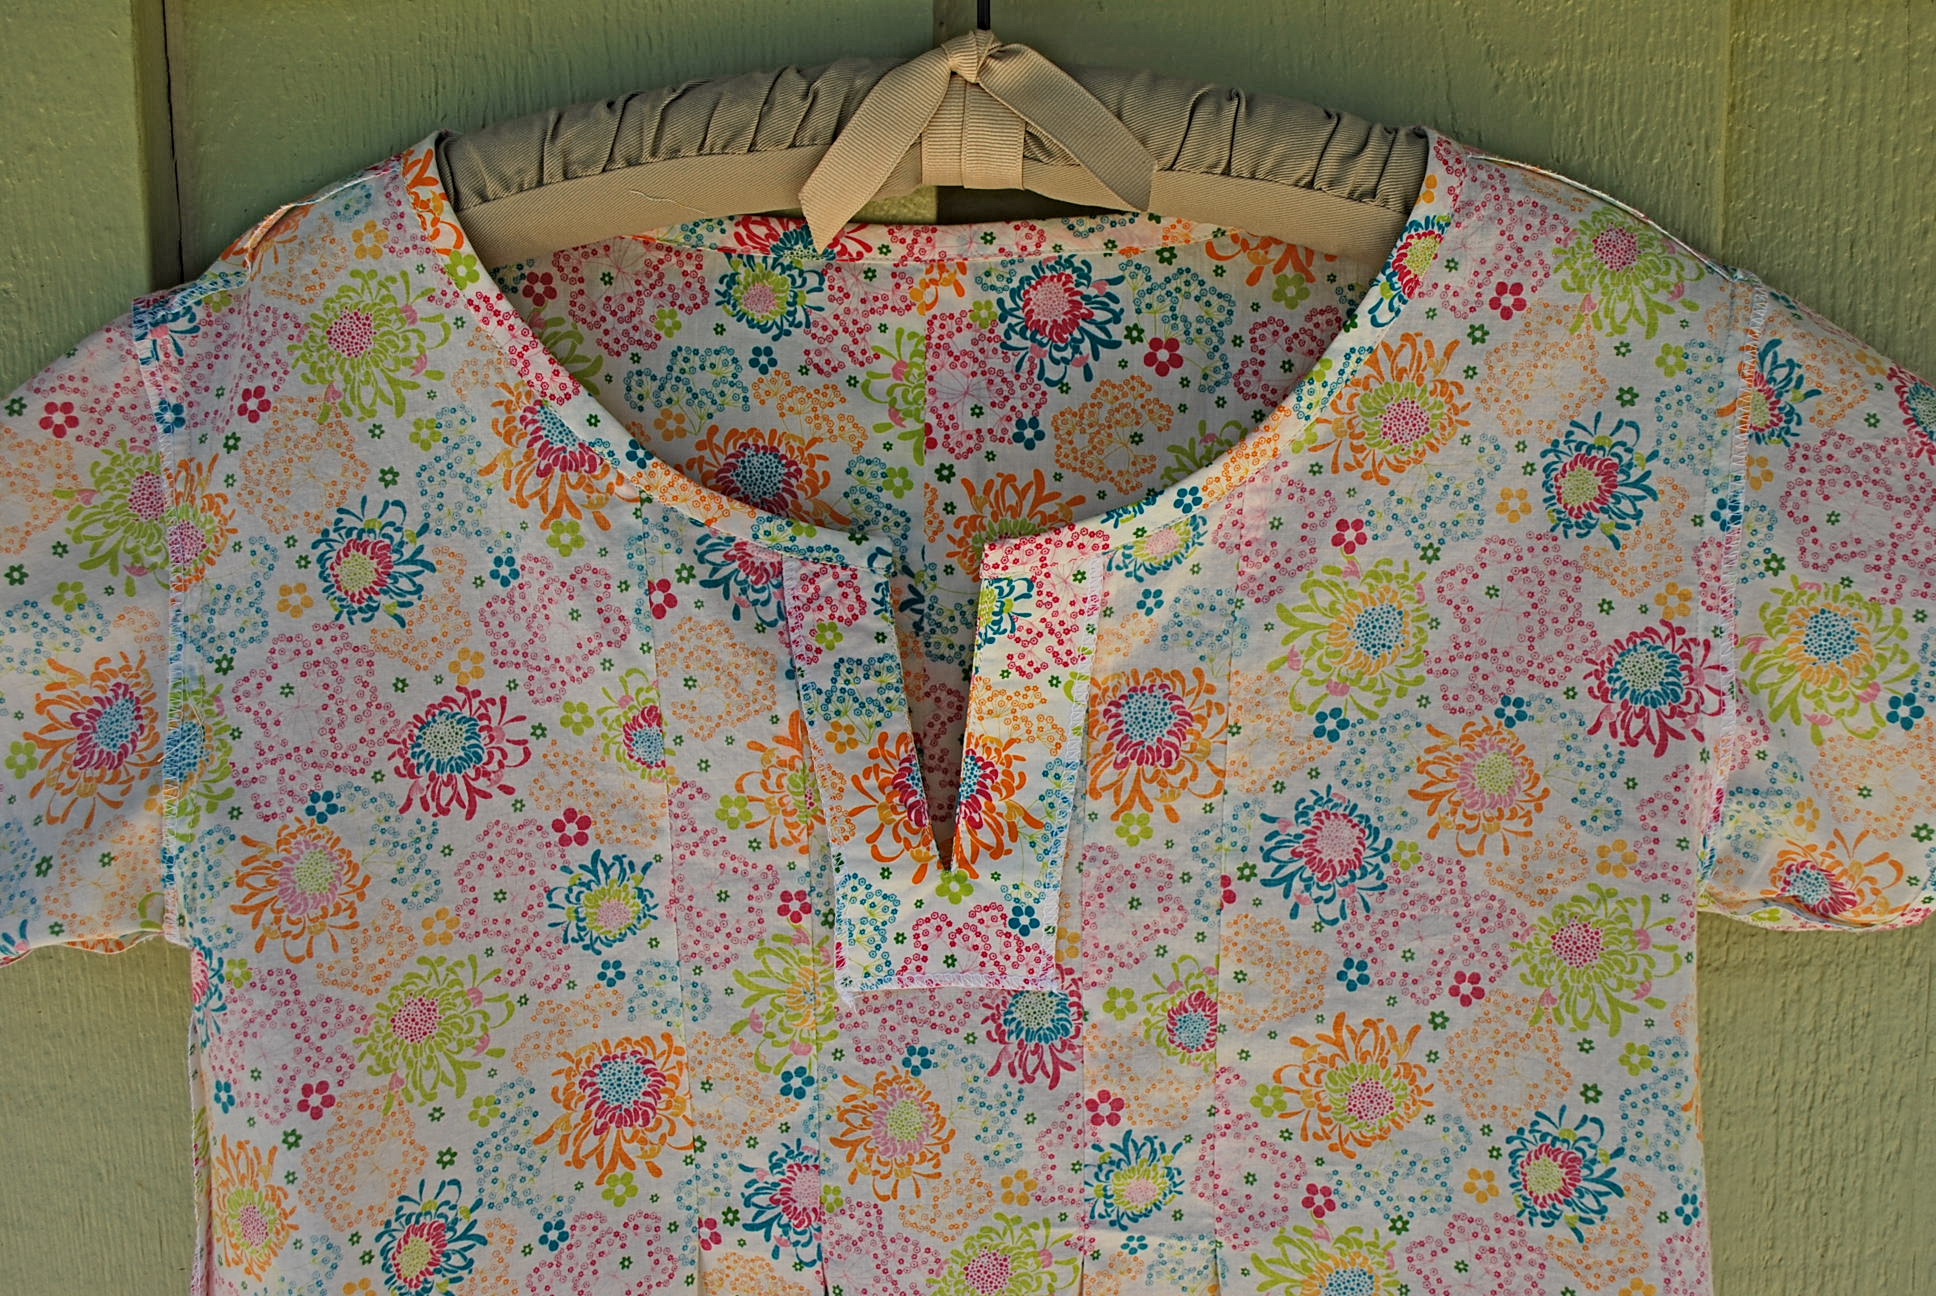
LET’S BE HONEST:
1. This pattern once again has the very common label of “EASY.” It’s actually not a bad pattern for a beginner, except, doing bias tape on a neckline requires careful sewing for it not to look “homemade.” The front slit also requires some accurate marking to make sure it gets stitched and cut straight down the center. I would say the sleeves, however, are fairly easy for a set-in sleeve as the cap is quite straight and there is not a lot of ease that needs distributed to fit the armhole.
2. About size – I decide to make a Small (8-10) even though my bust is not 31 1/2″ – 32 1/2″ and by no stretch of my imagination is my waist 24″ – 25.” I took the “finished measurement” of the bust area that was printed on pattern piece, and wrapped a tape measurement around my bust at that same measurement. I decided I liked that amount of “wearing ease.” I was afraid I would feel like I was swimming in the next size up. If the fabric had been more drapey like a rayon, I might have preferred more wearing ease.
3. Time to contemplate hem length and body type again. I choose to cut off 5″ from the hem of the blouse to transform it from a tunic length. Don’t get me wrong, I love the tunic style and would even wear it in some cases. If the fabric was soft and drapey, I might be OK with it longer. But with this cotton and the A-line cut, it flairs out from the body and looks kind of tent-like. I definitely do not need a wide hem hitting me at the thighs. Those of you ladies with long, thin legs, go ahead a keep the tunic length! Lucky you.
Overall I love my Breezy Blouse in this cotton voile. It’s lightweight and very comfortable to wear on a hot day when you don’t feel like bearing a lot of skin.
Thank you for taking the time to read this post. And, as always, I welcome your comments.
Best, Lori