I’m still on a quest to populate my closet with easy wear, weekday skirts. I’ve made progress, but I’m always interested in finding that perfect pattern that contains just the right amount of smooth, flair and gather for a flattering fit on my lower half. Fresh Make #23 is a unique skirt that features a bit of all those things.

 I’m on a roll with “Simple Modern Sewing” by Shufu To Seikatsu Sha.
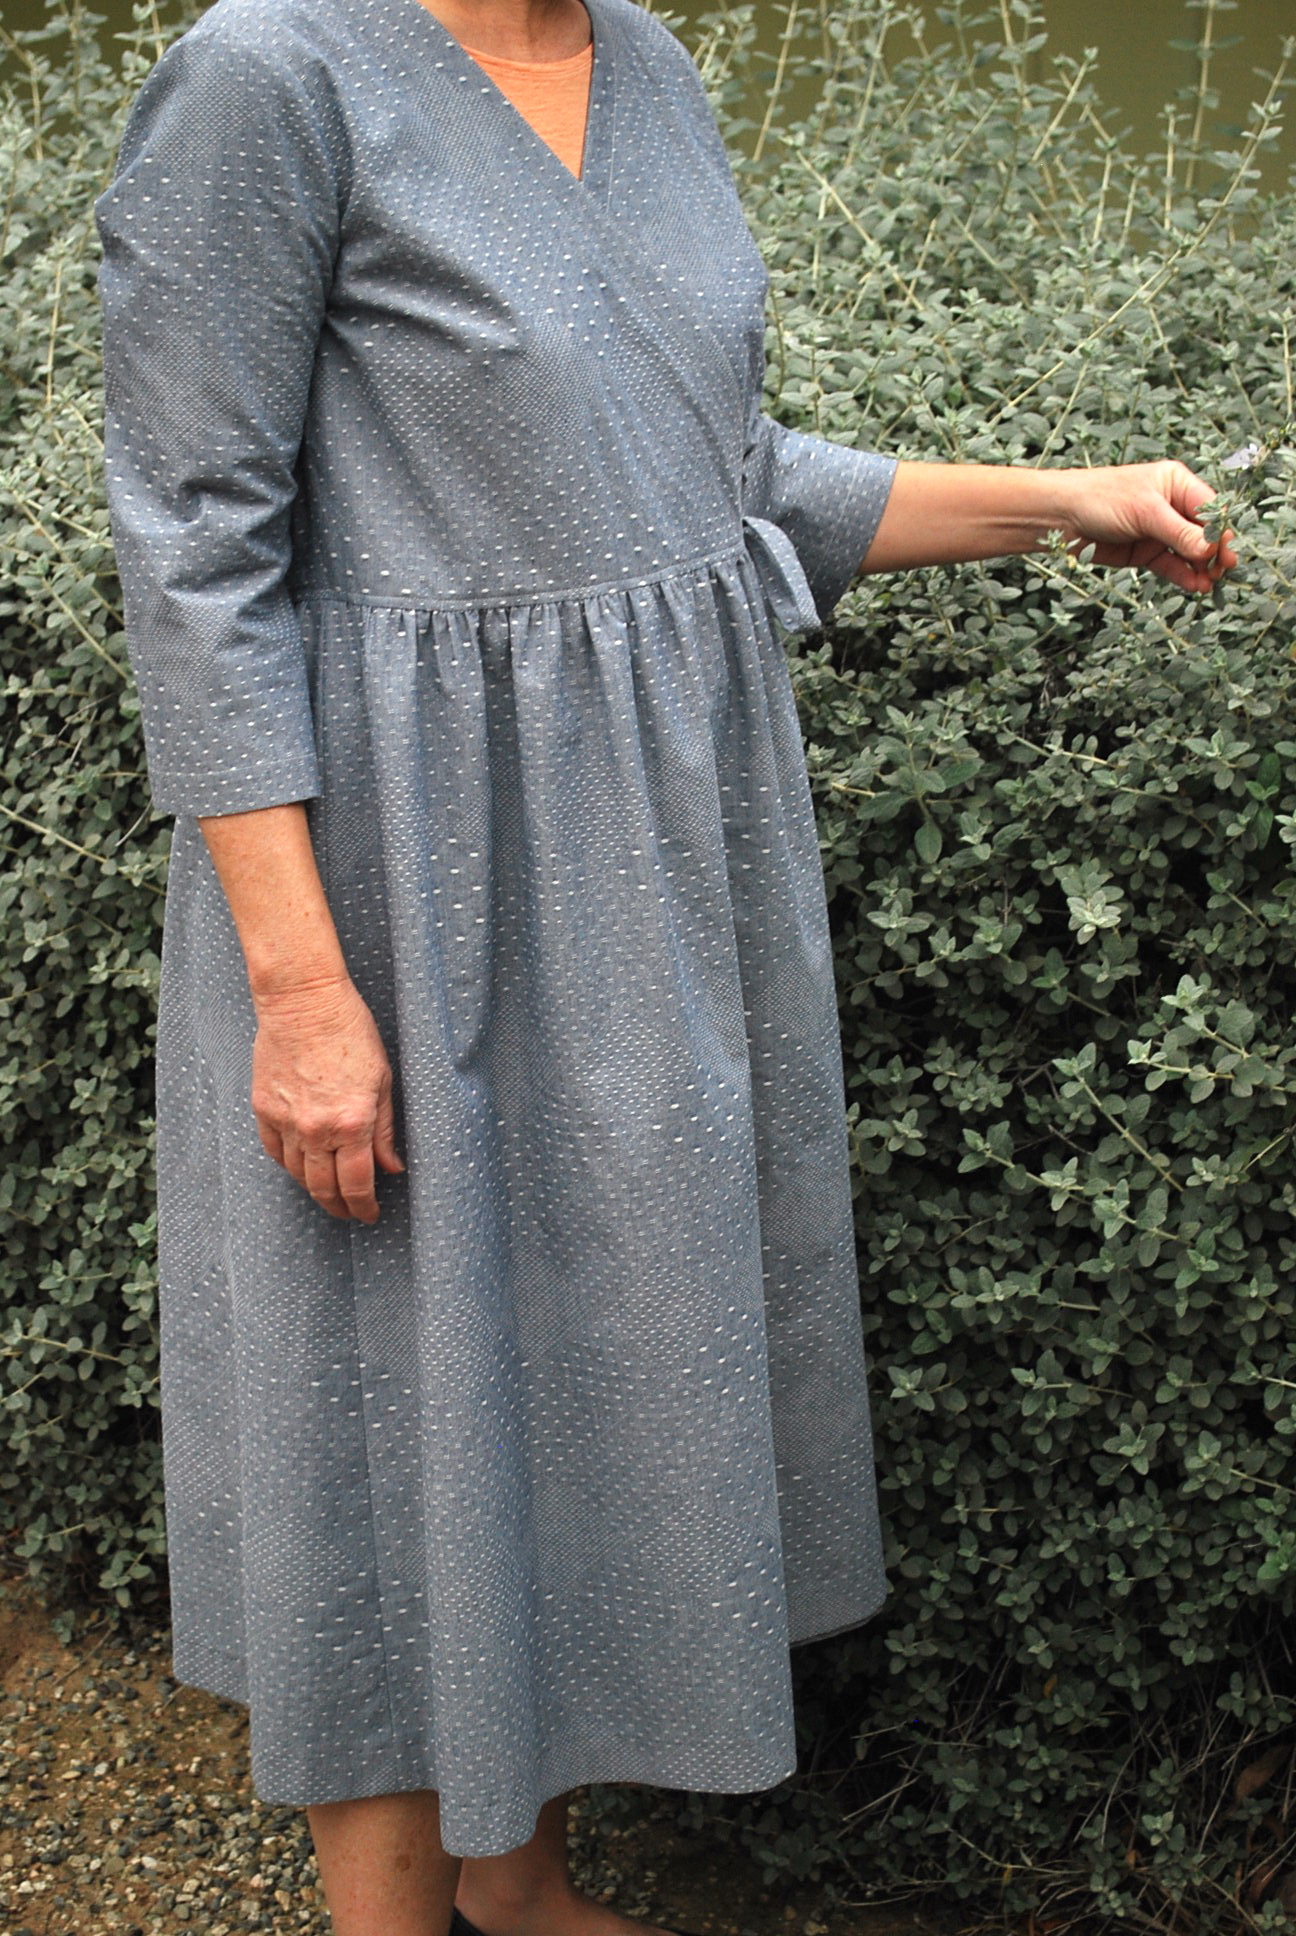
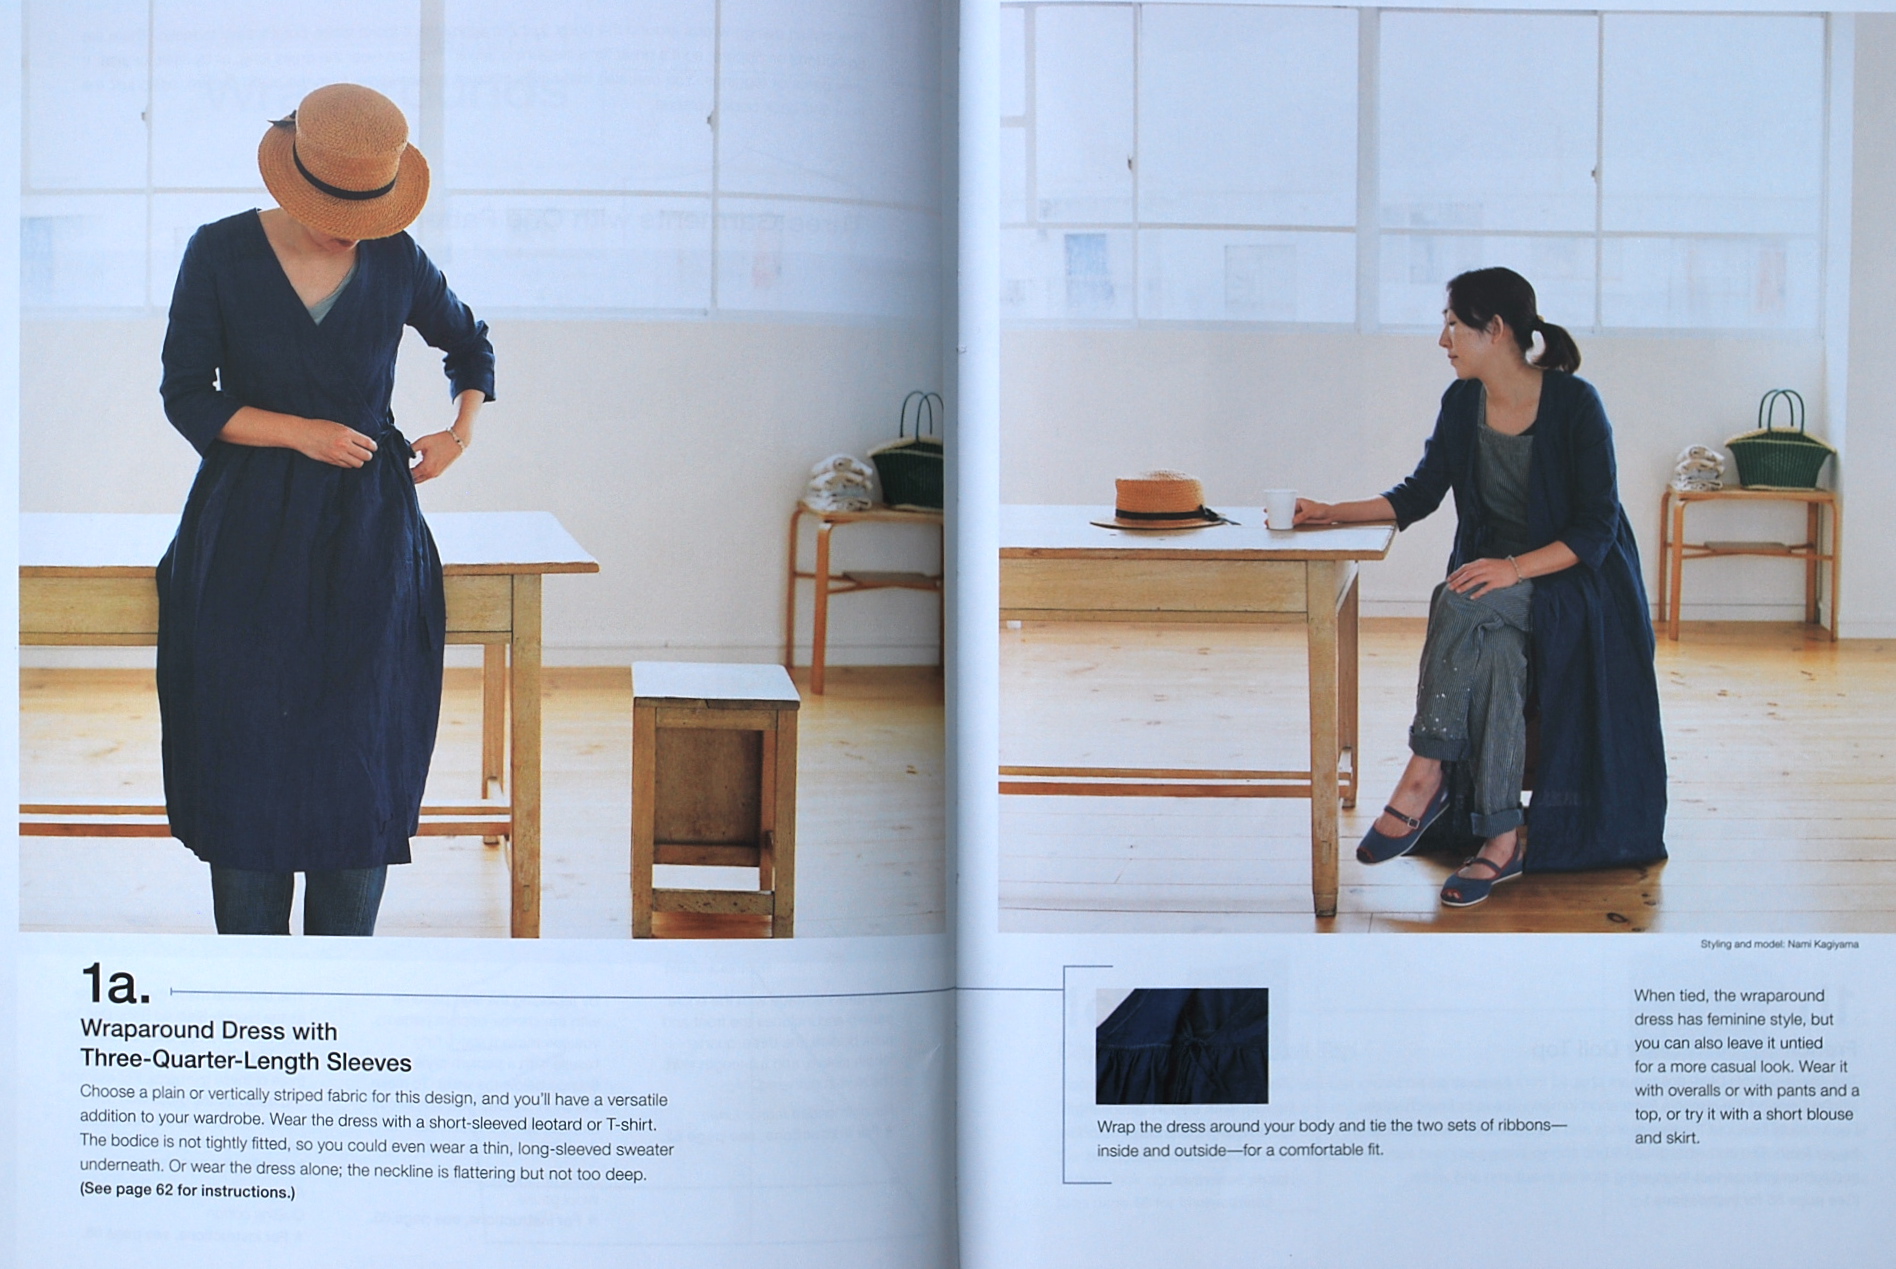
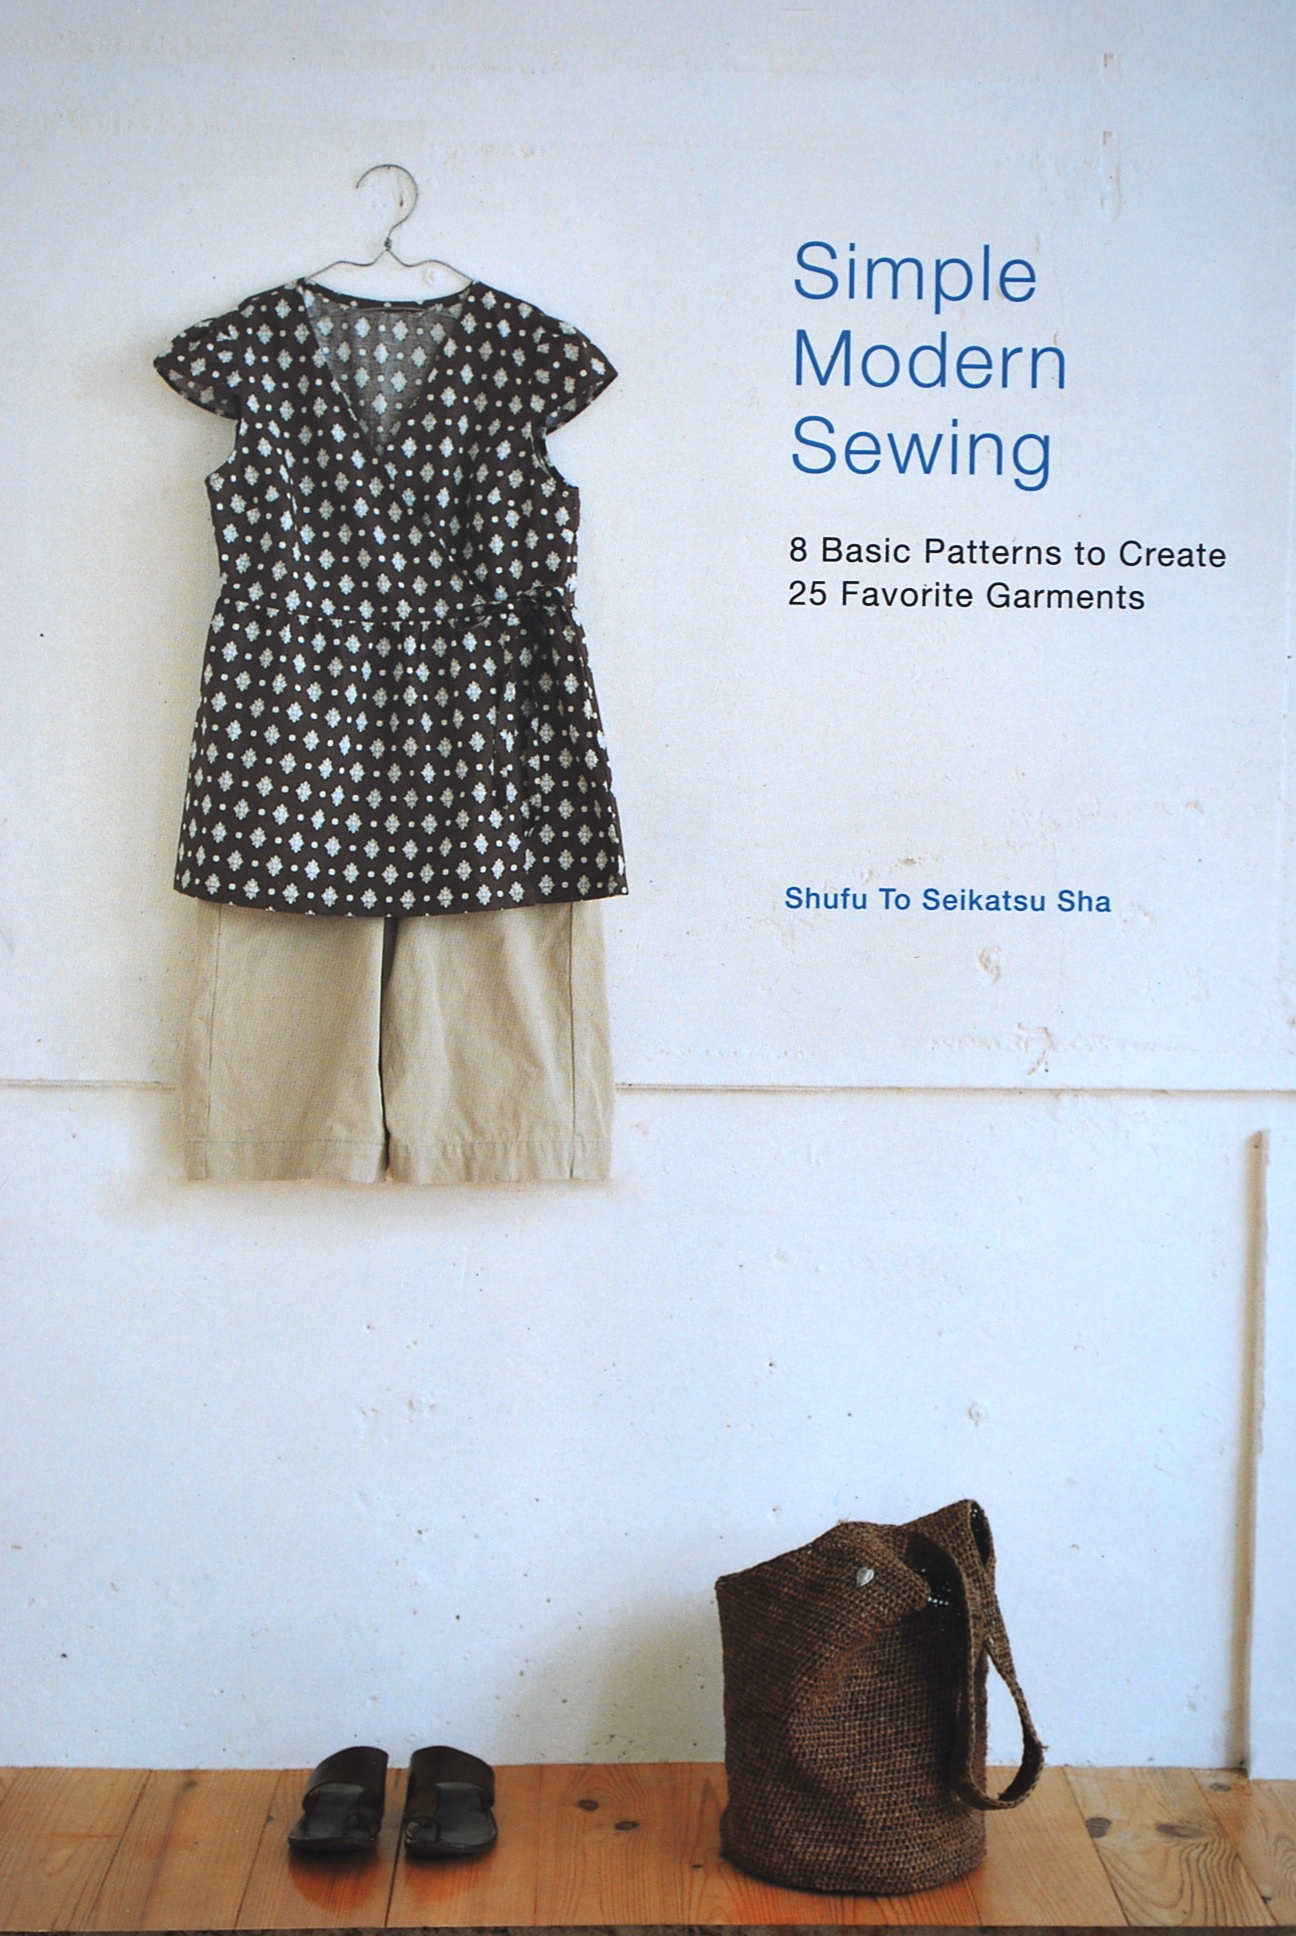 This skirt is my second project from the book. My previous post, Japanese Wraparound Dress was the first. For this project, I choose Skirt 5C, Drop-Waist Wrap Skirt, because it has a fairly wide waistband yoke which should help flatten the belly and mini pleats all around which should hide larger hips and thighs without adding too much extra width.
 Once again, I need to comment that the instructions in this book are very minimal. I would not recommend that a beginning seamstress tackle this project without help from someone who can interpret and fill in the gaps of missing information and illustrations.
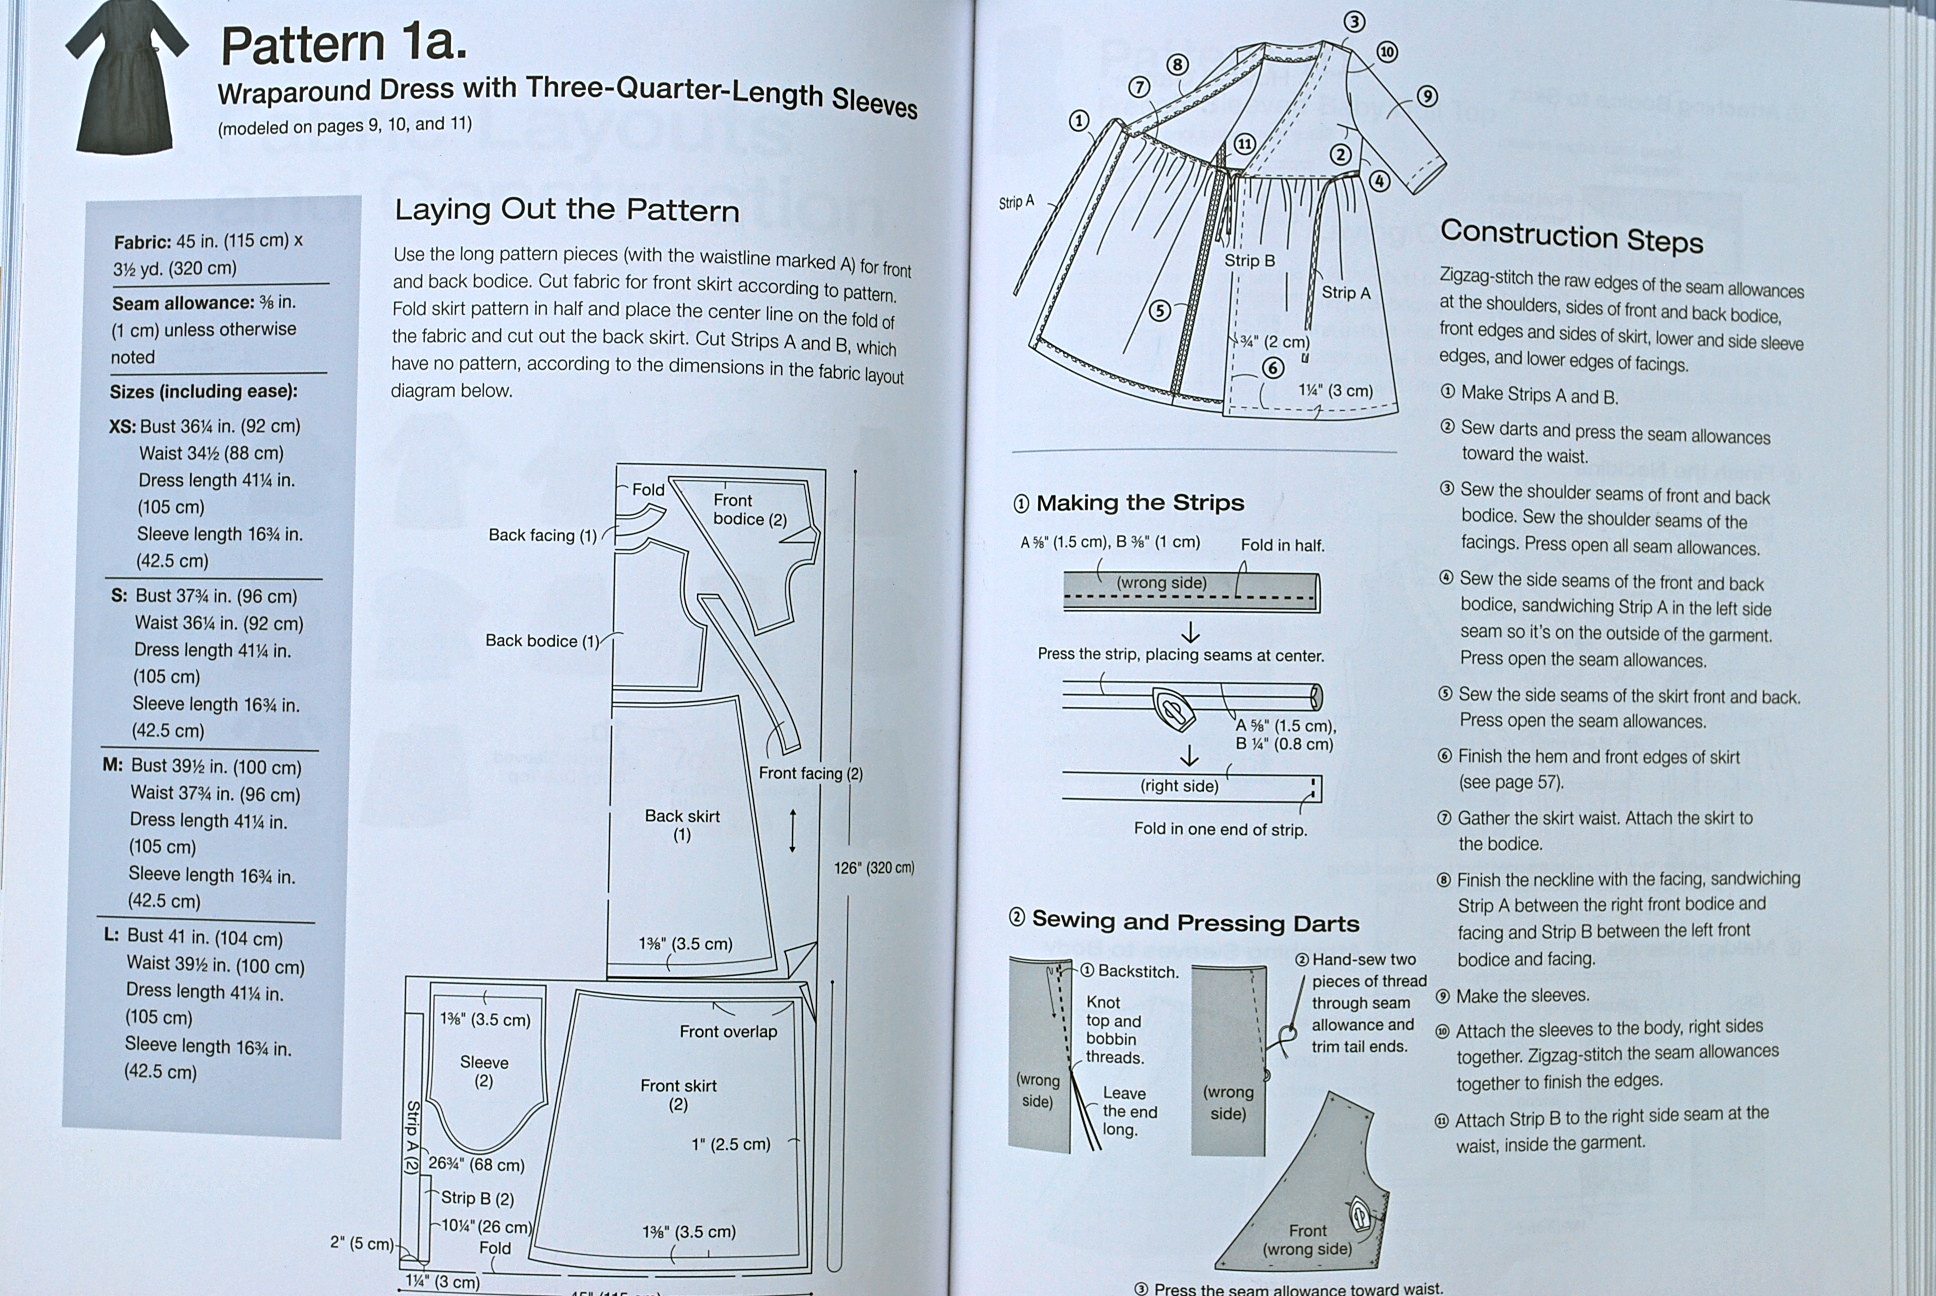

These are the instructions in their entirety.
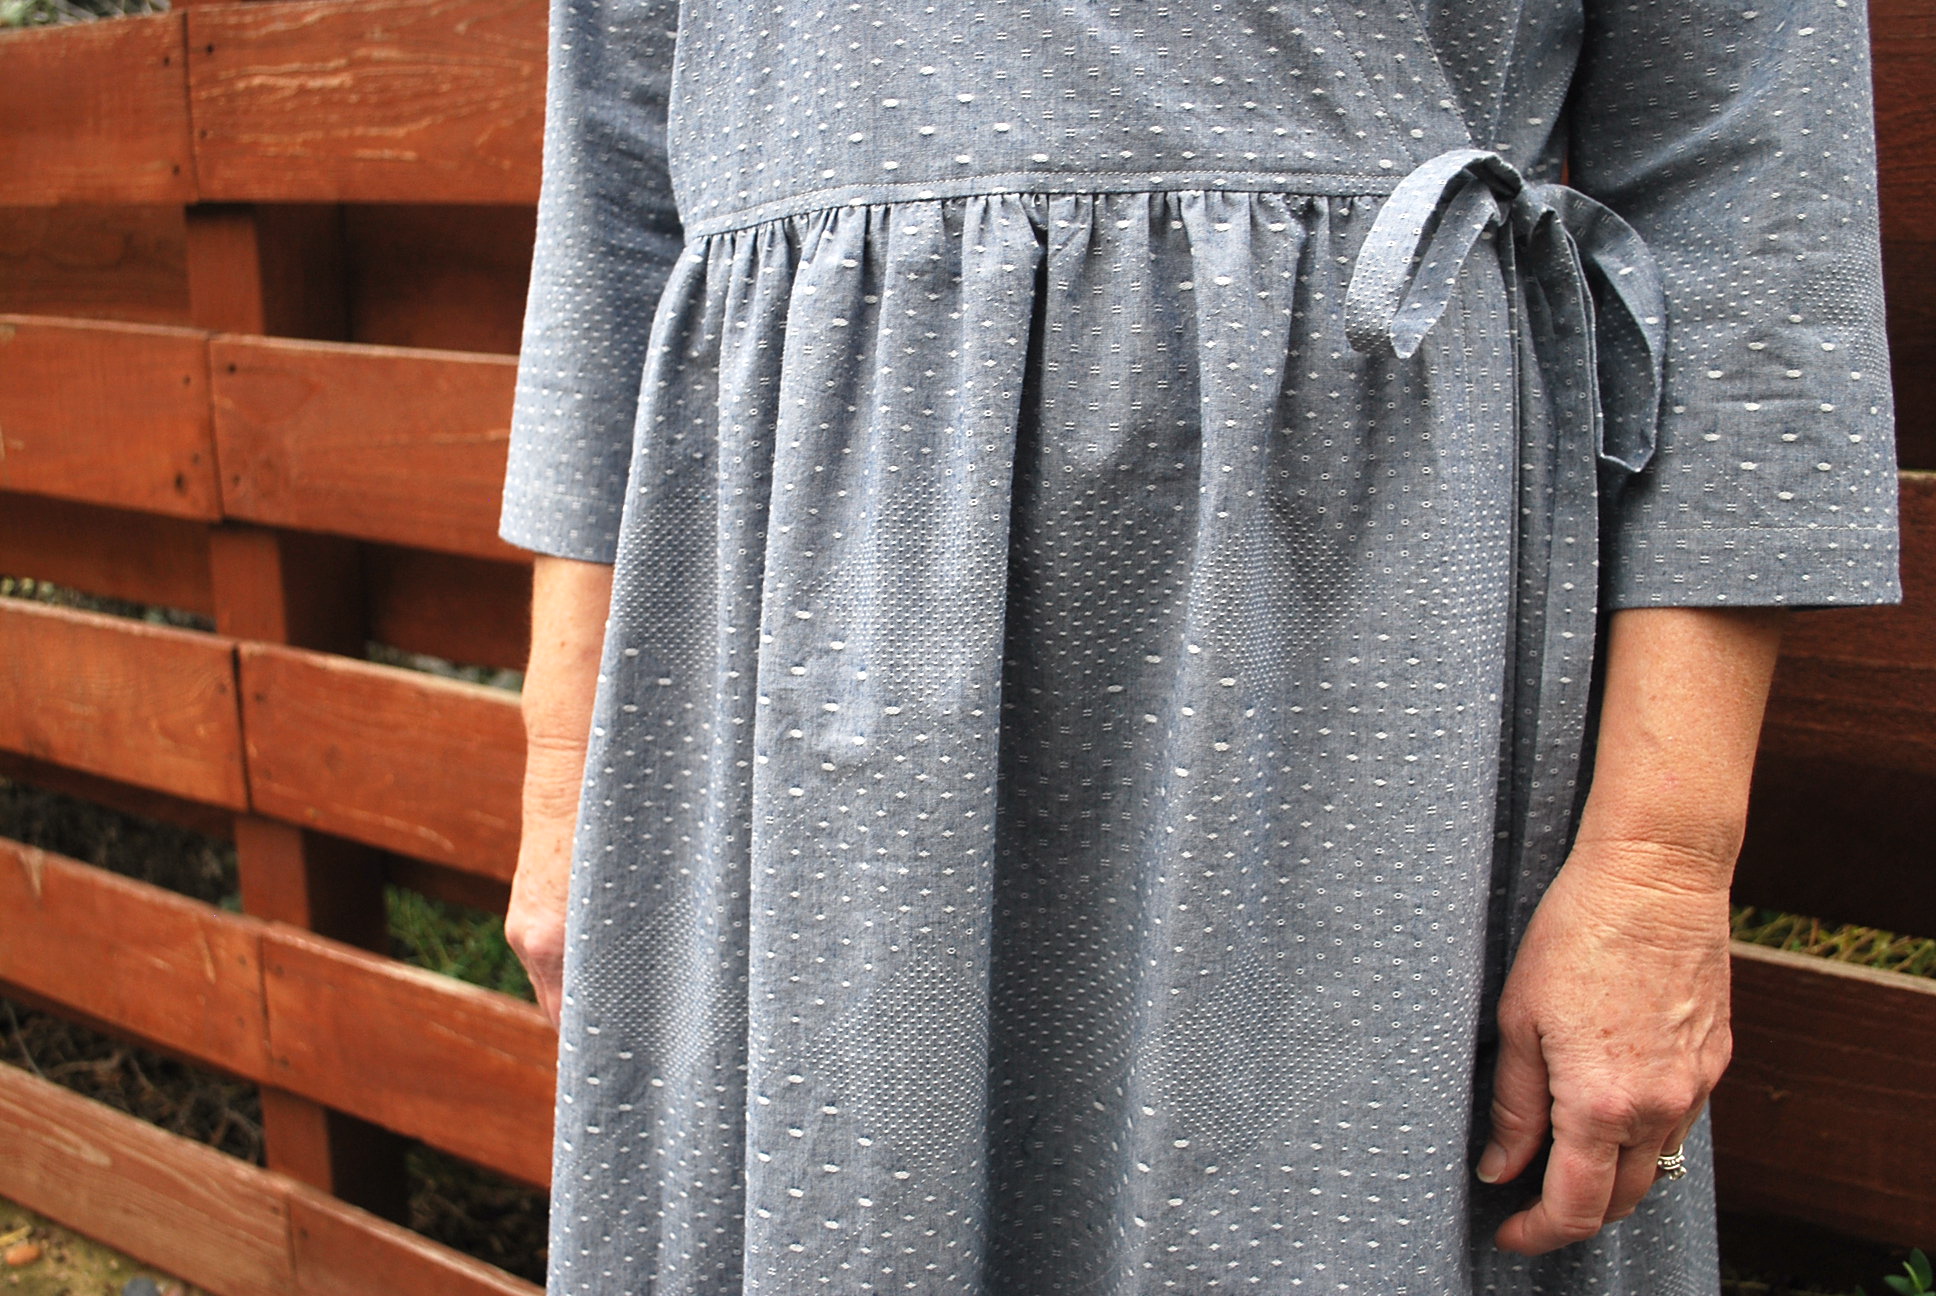
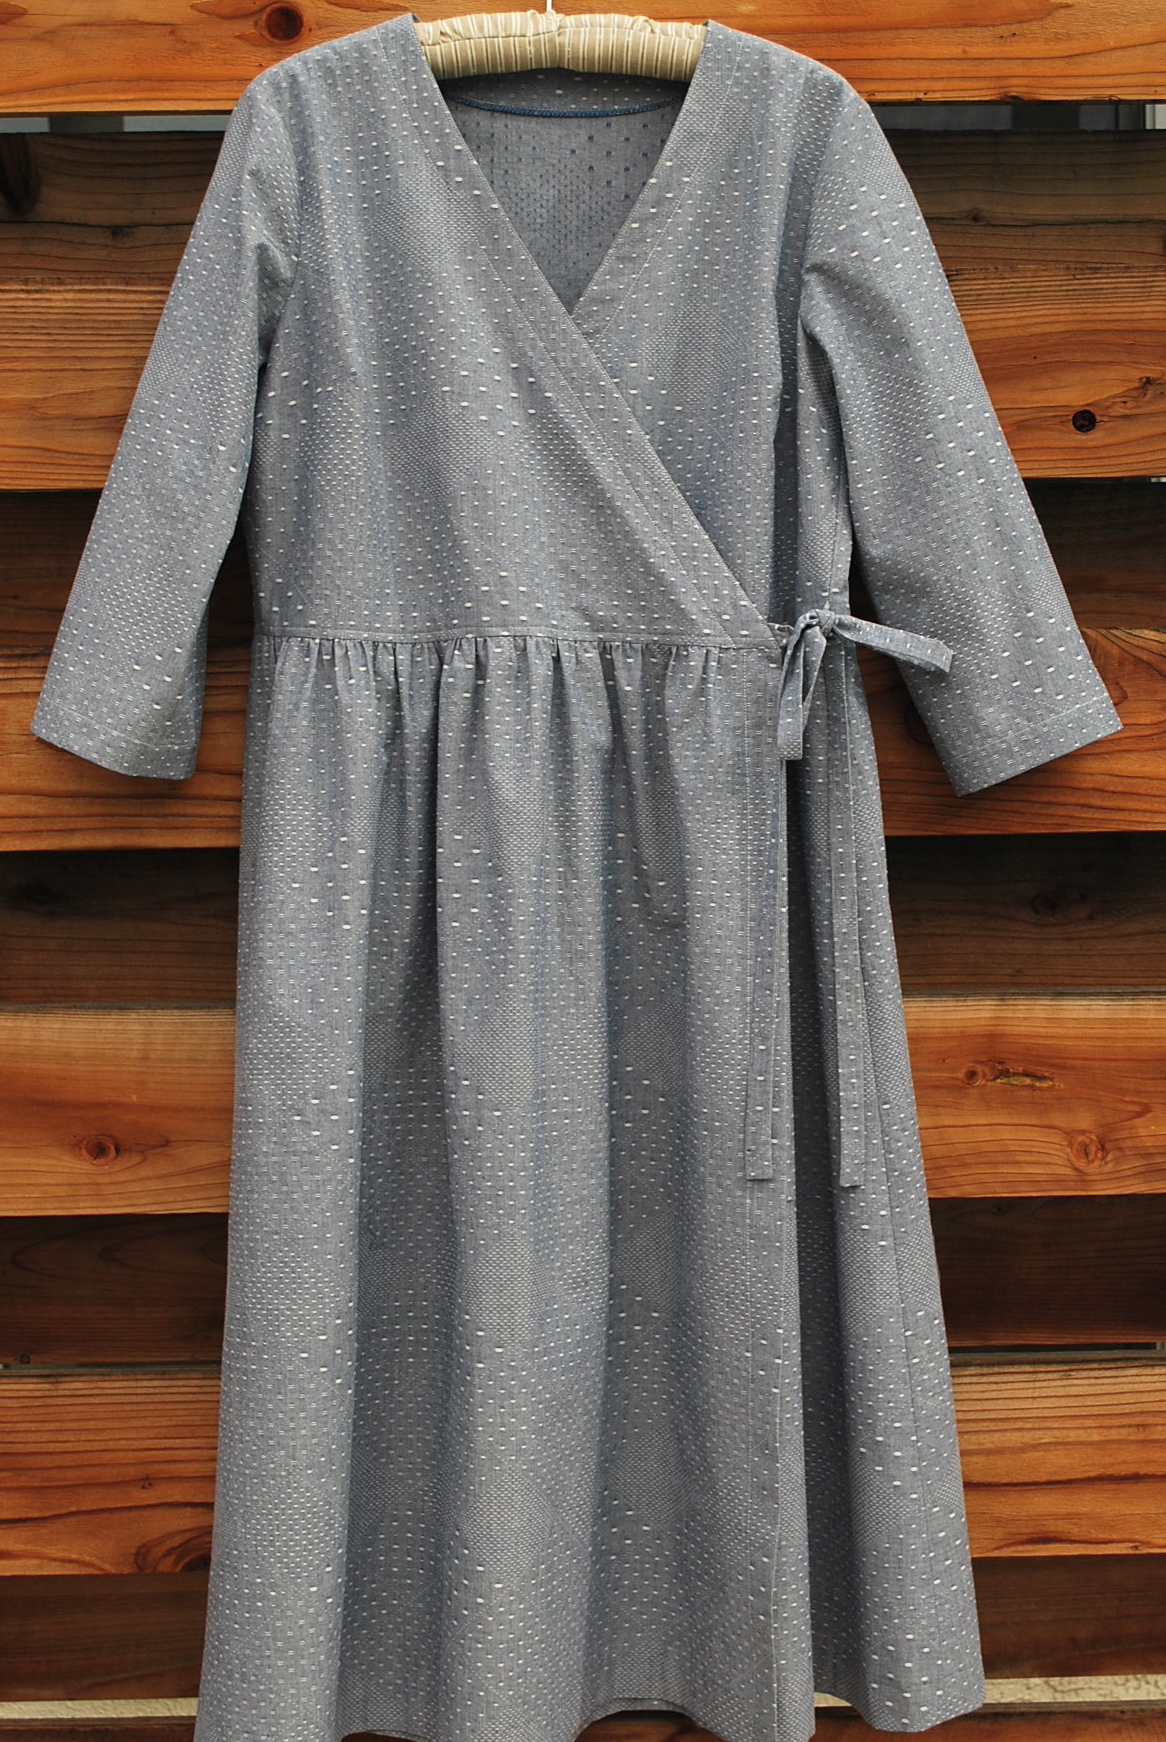
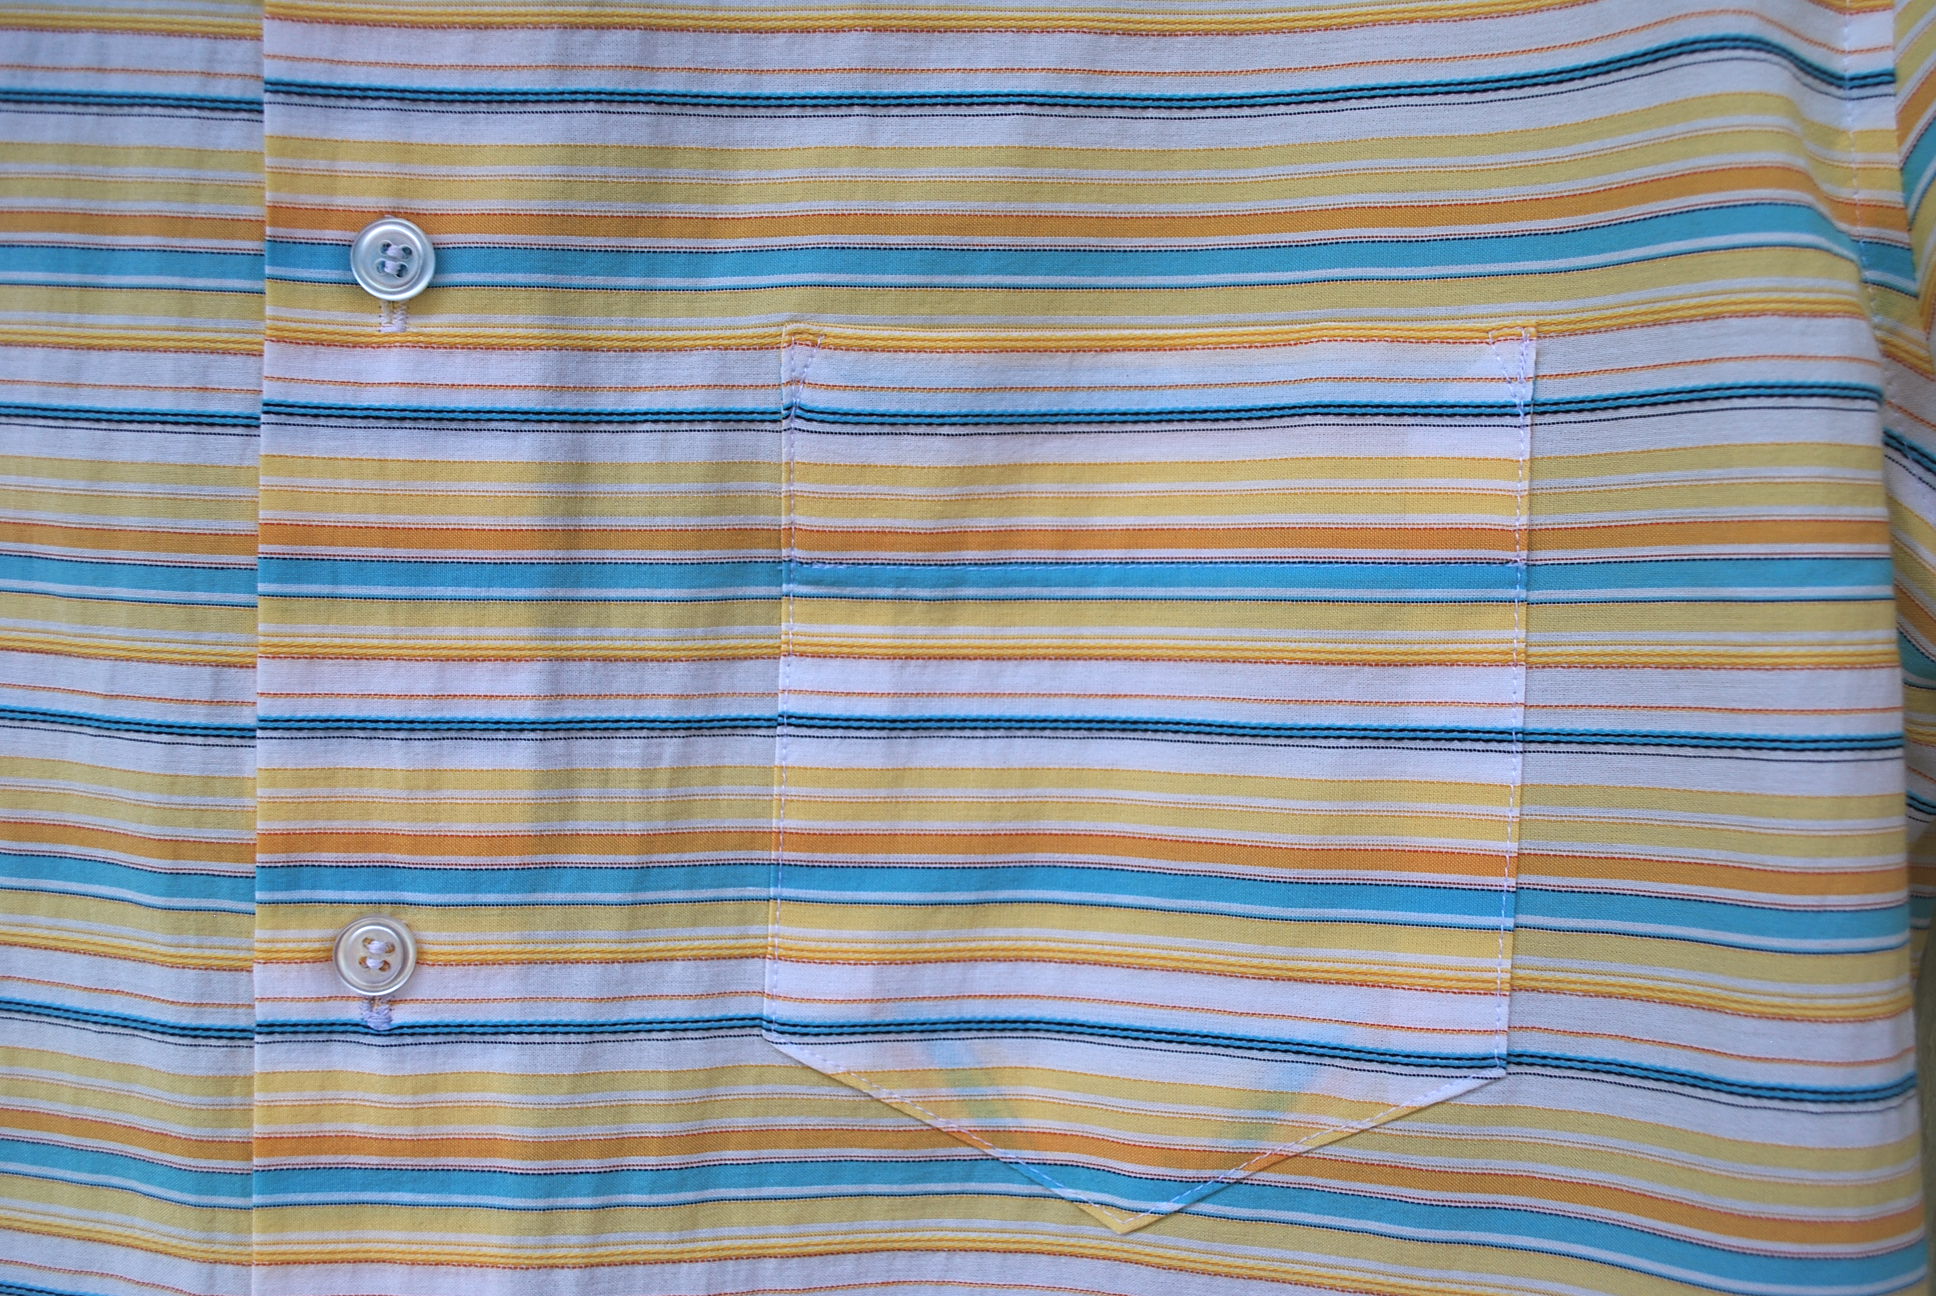
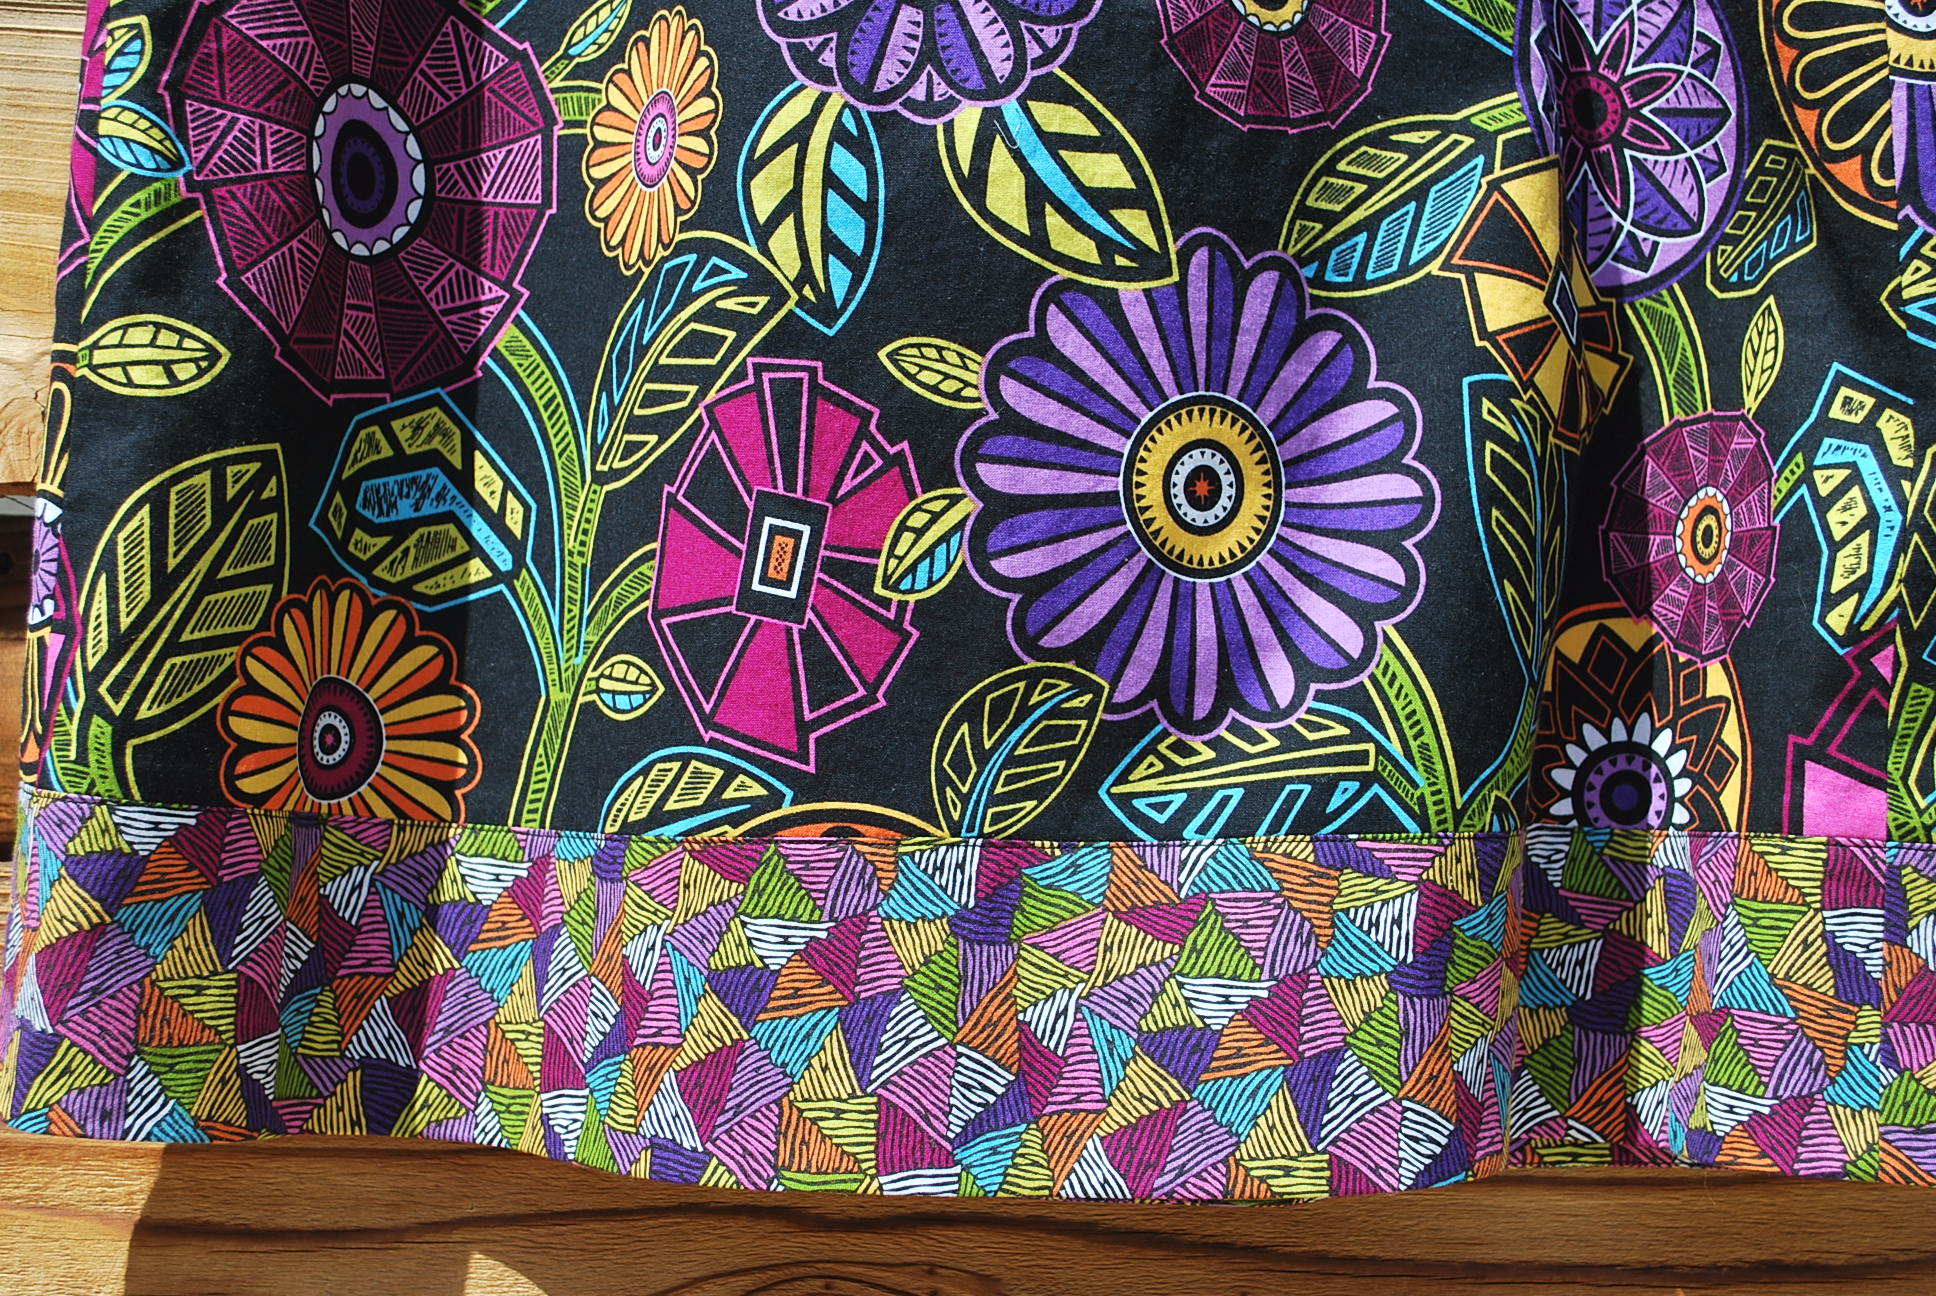
The fabric I choose is a light to medium weight Italian linen. It is once again from Michael Levine’s in downtown LA. This fabric is 58″ wide, and I bought 2 yards at $18 per yard. I selected this fabric because I was drawn to the colors, and the stripes make it a bit more interesting than a solid.  Even though the skirt has the word “wrap” in the title, it is really a tube. I believe the designer uses the term wrap because because you fit the skirt to your body by taking a fold in the yoke and then securing it with the ties.

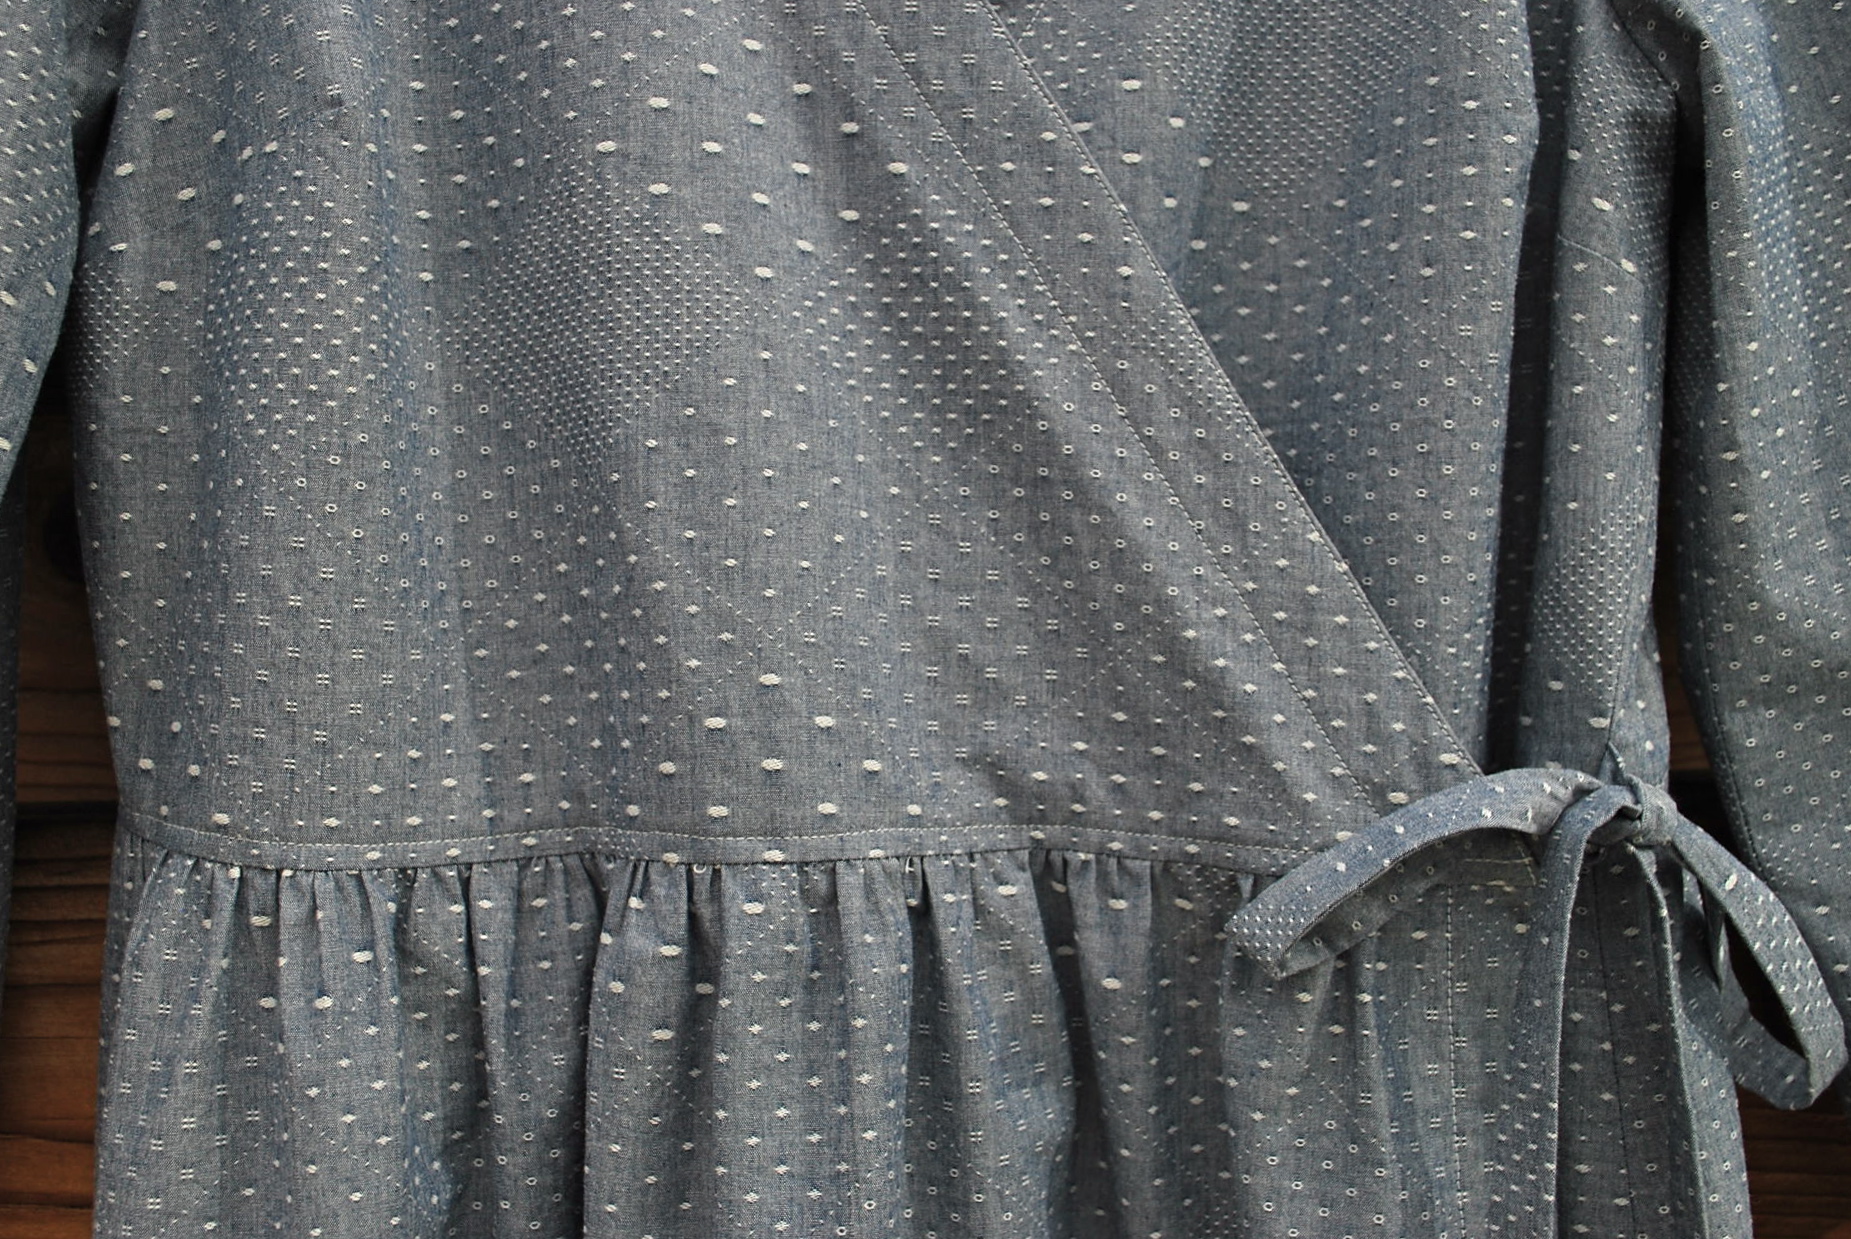
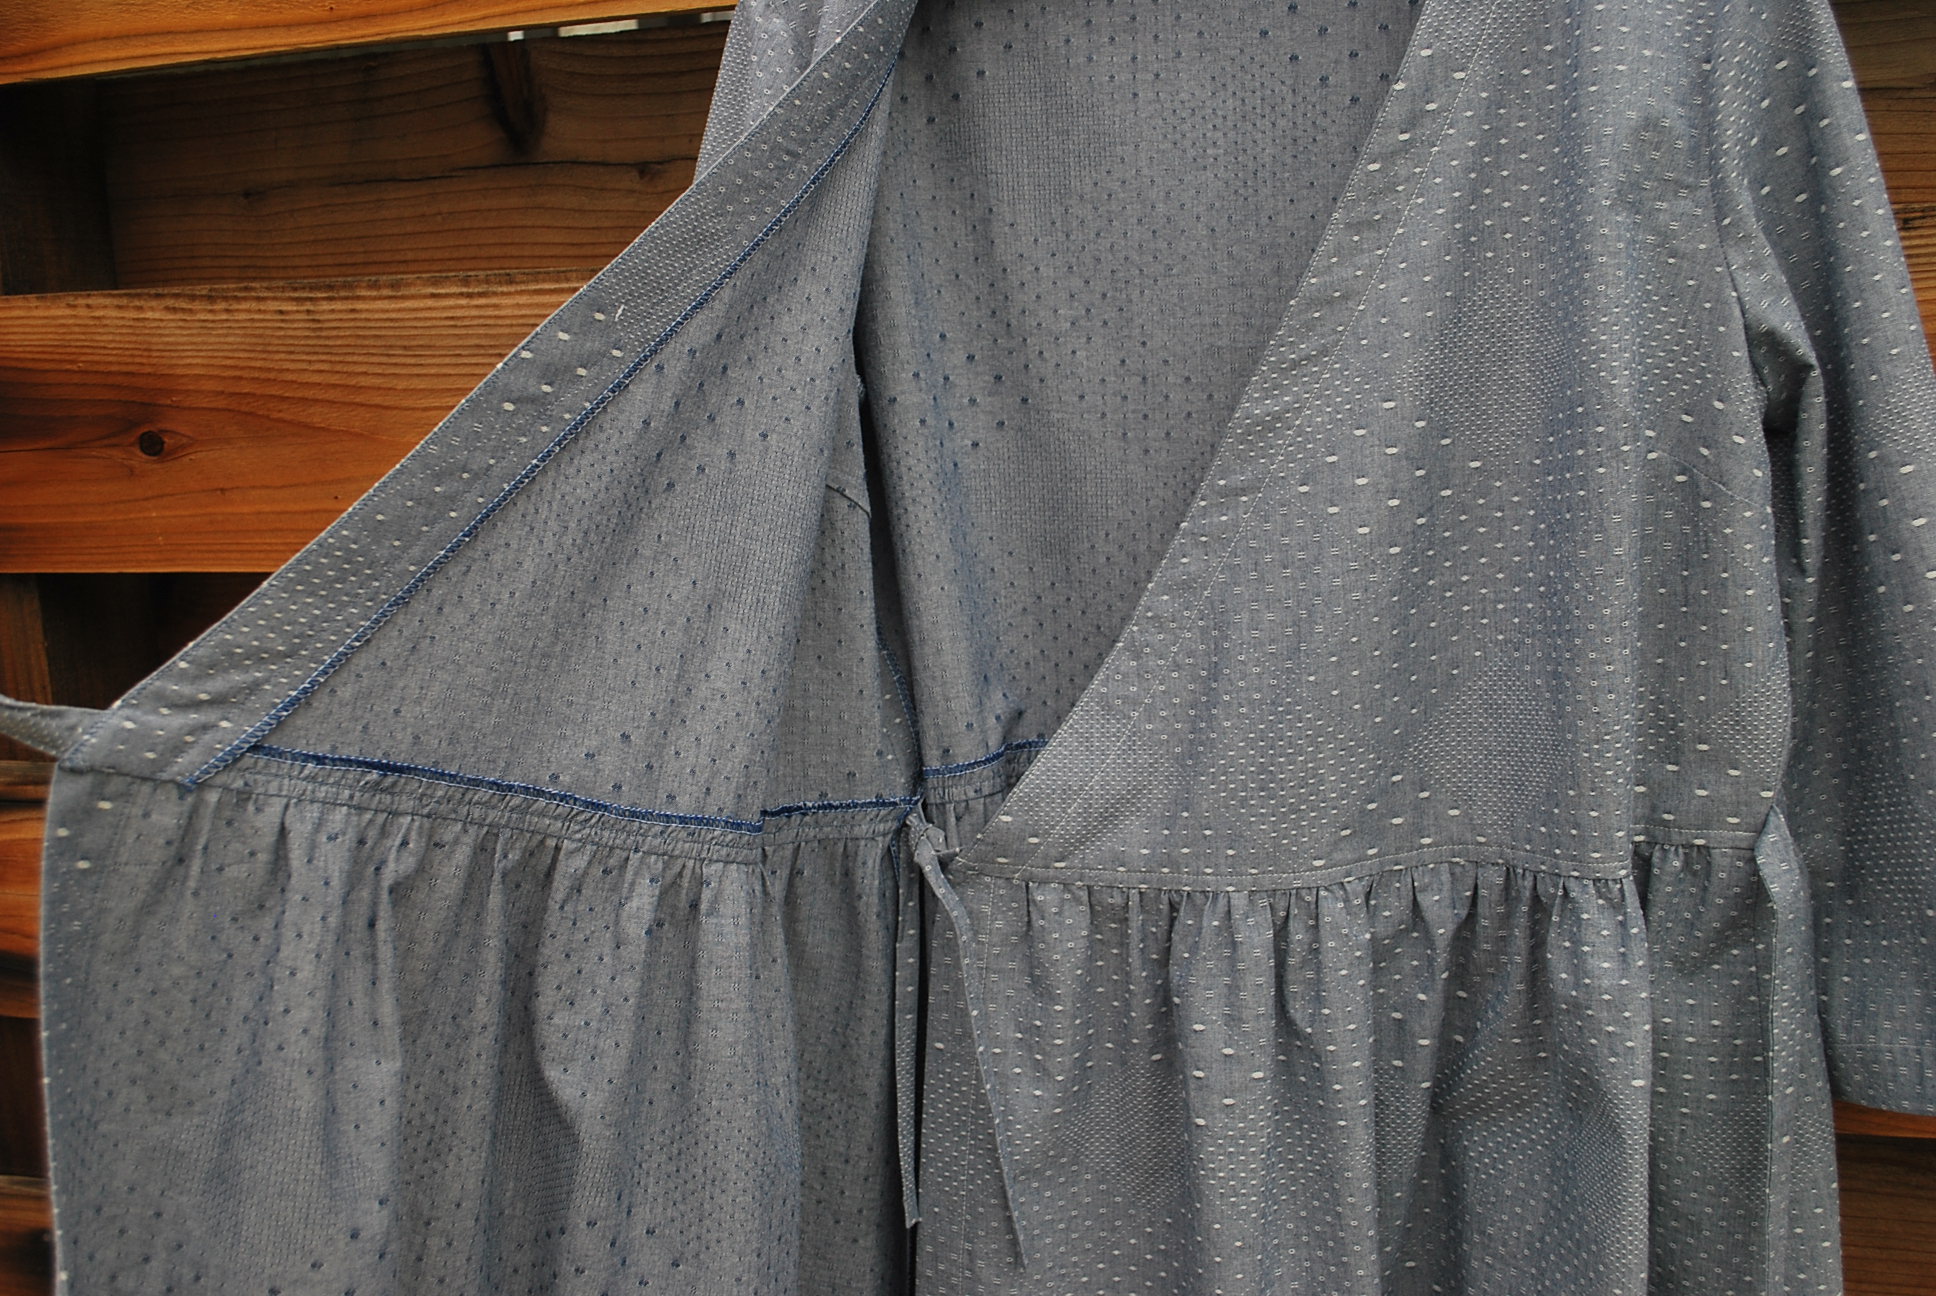
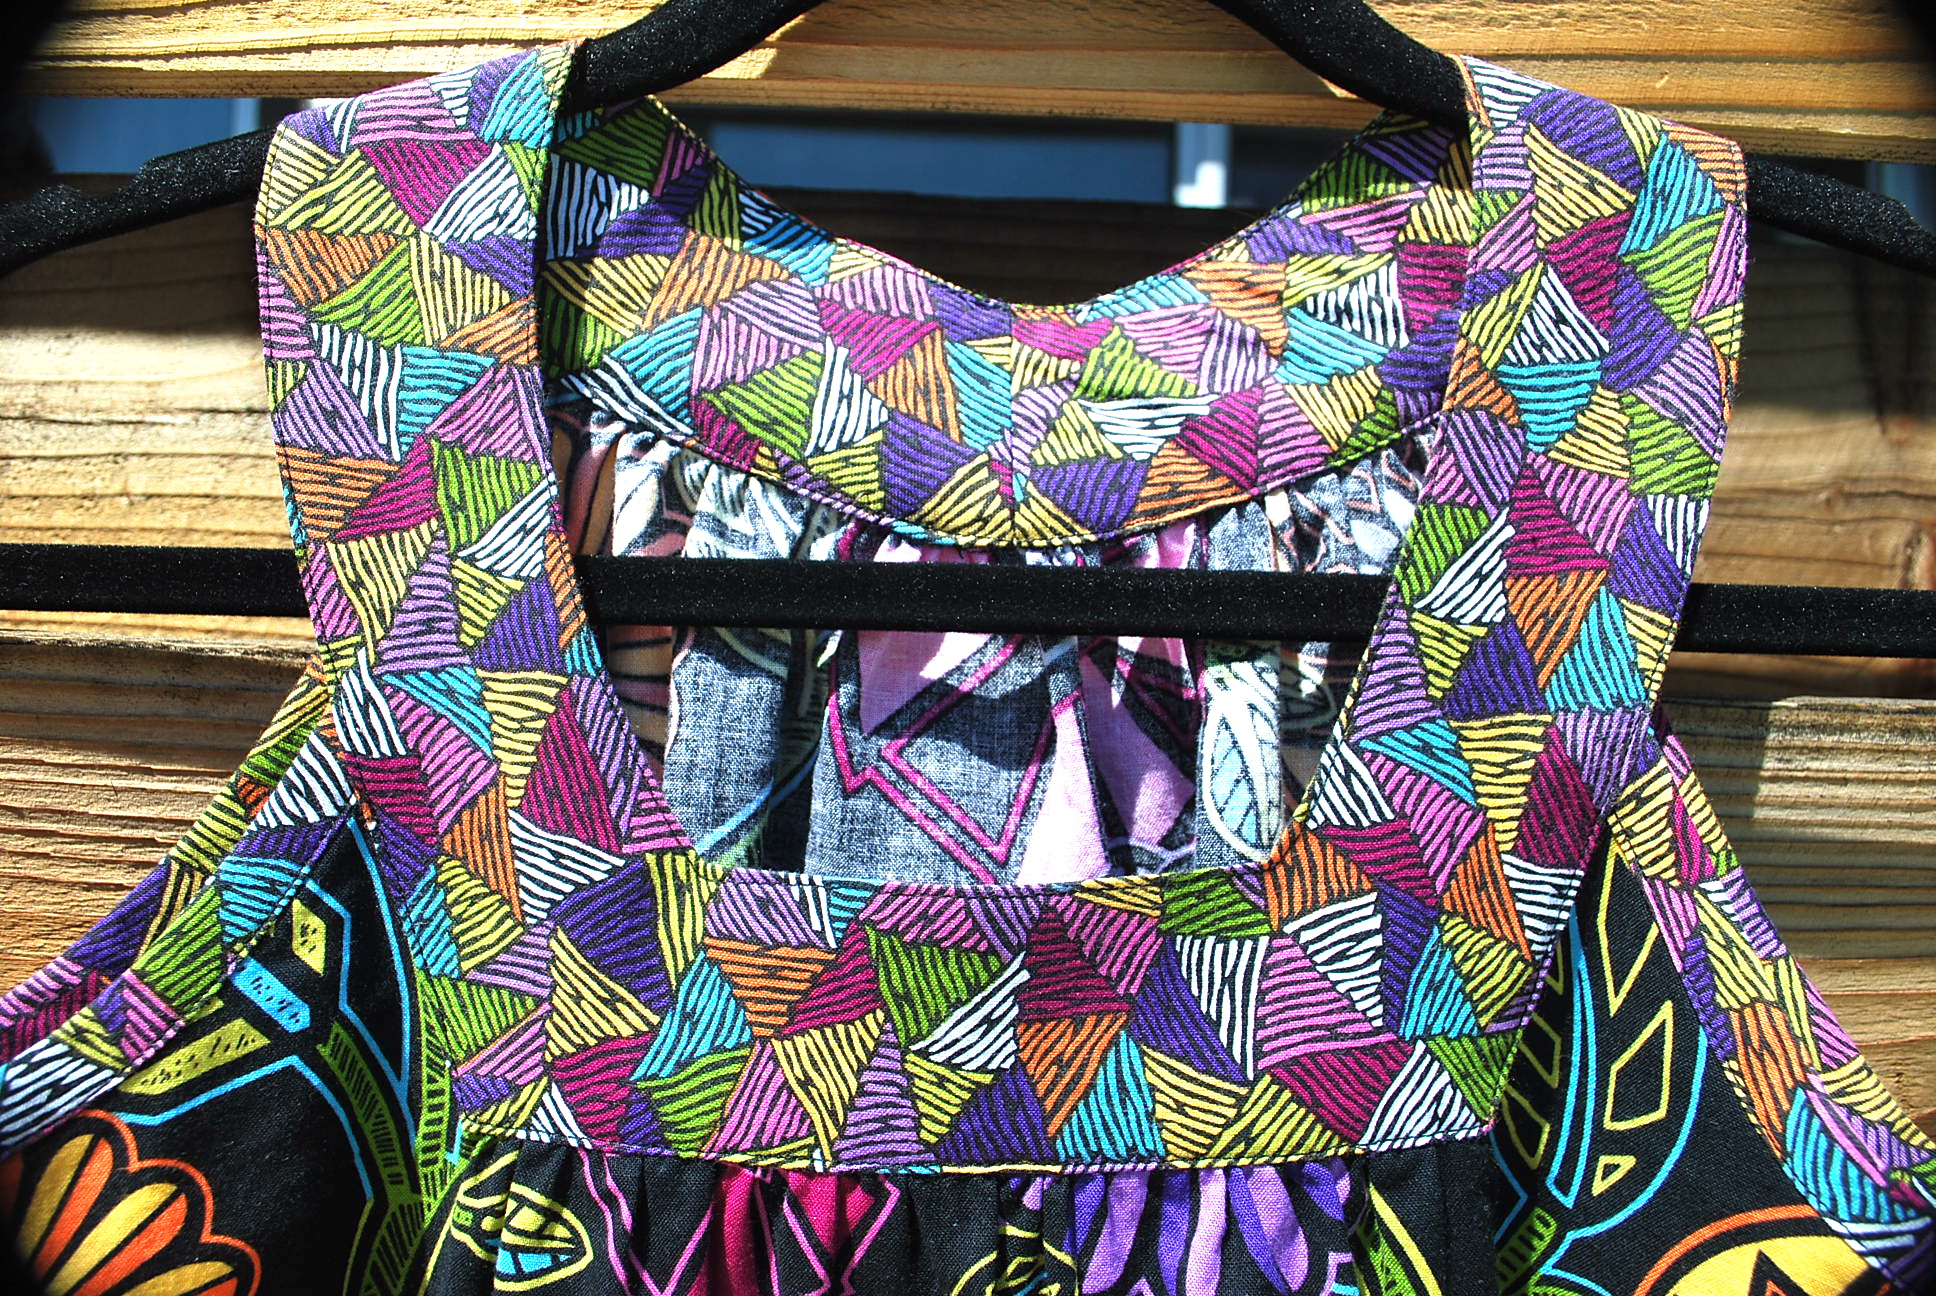
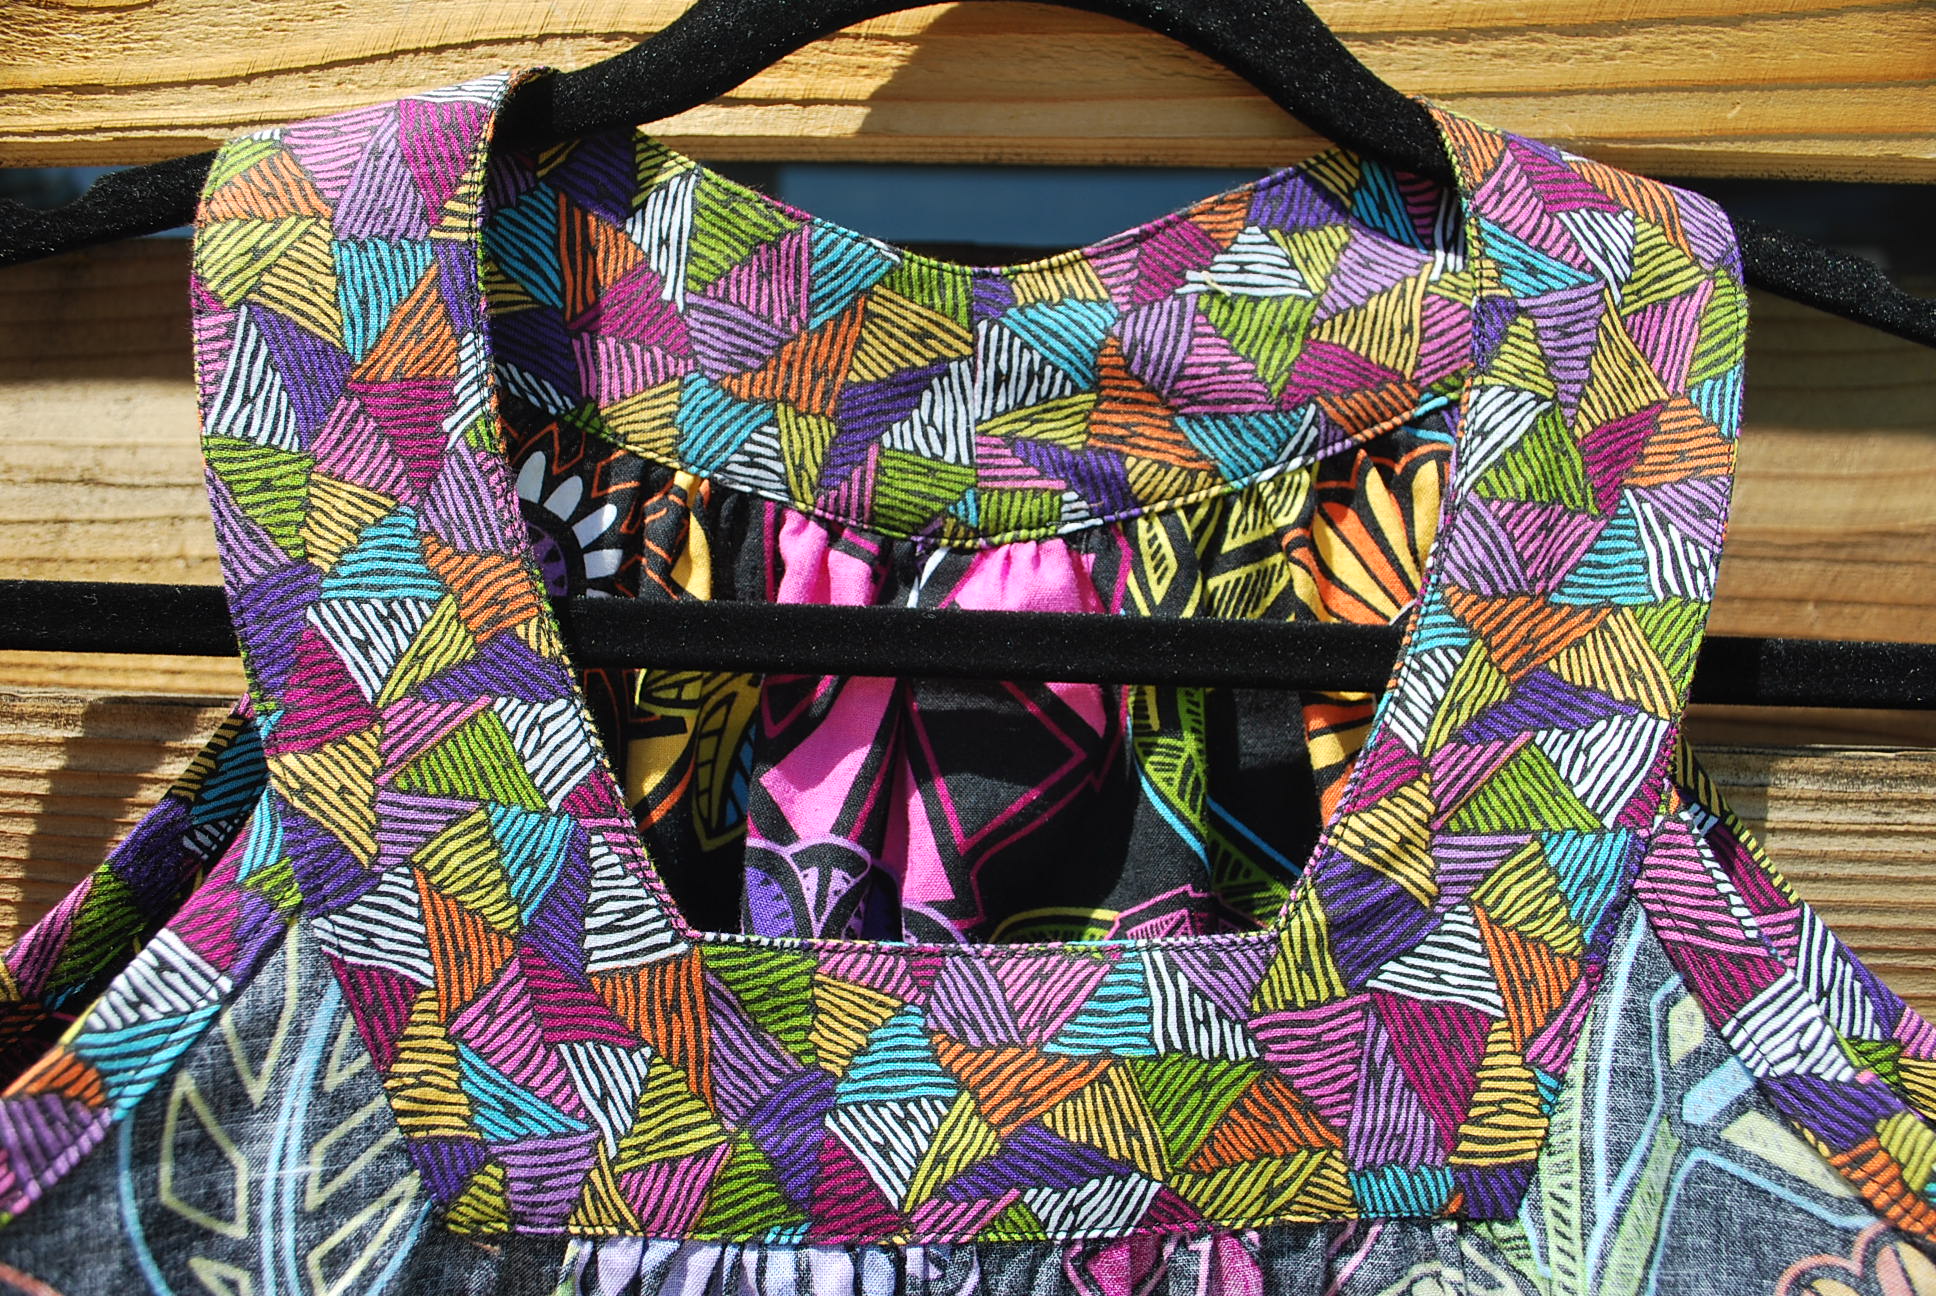
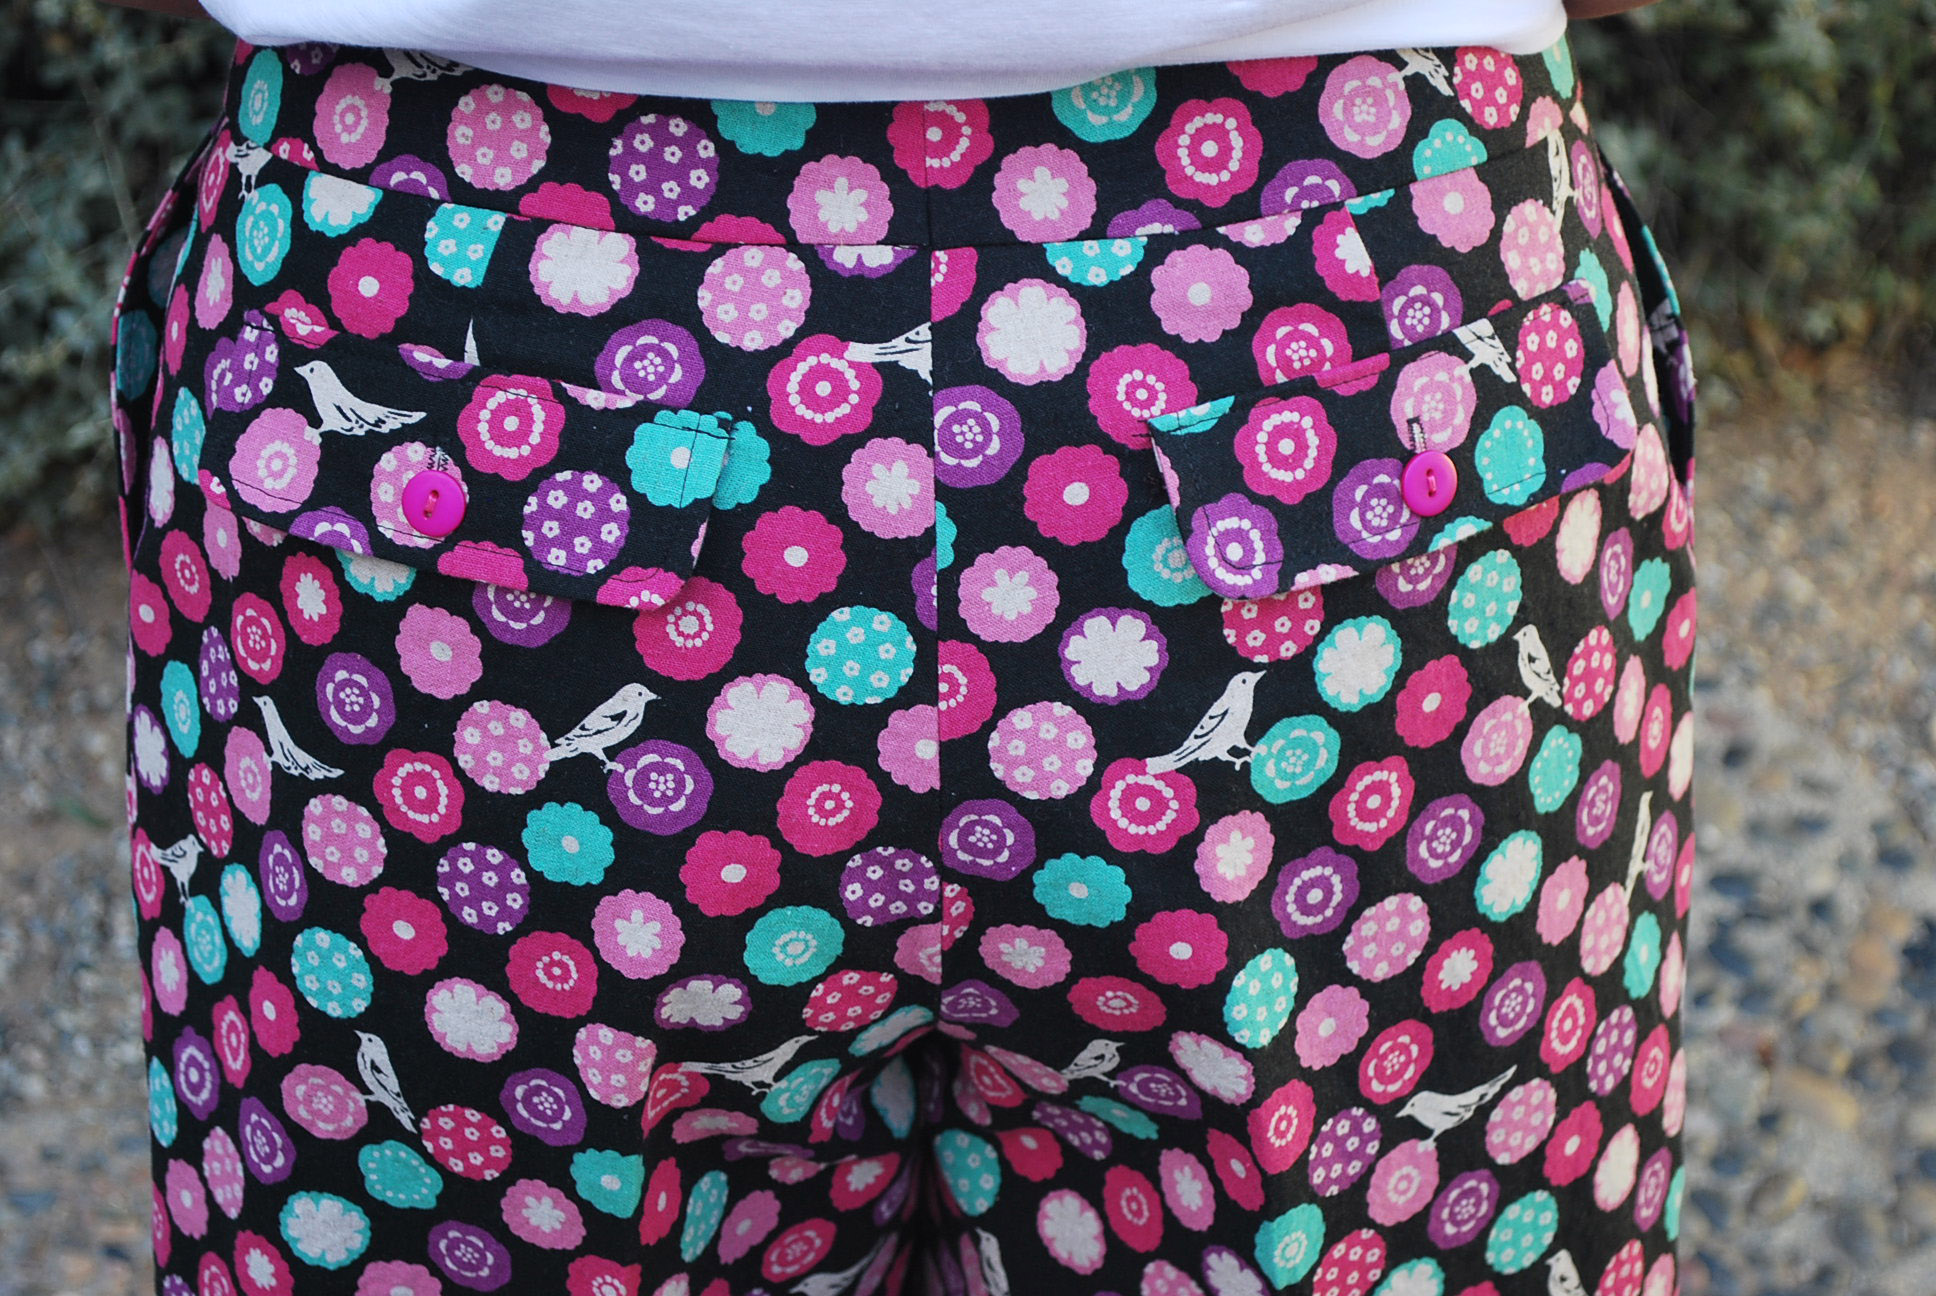
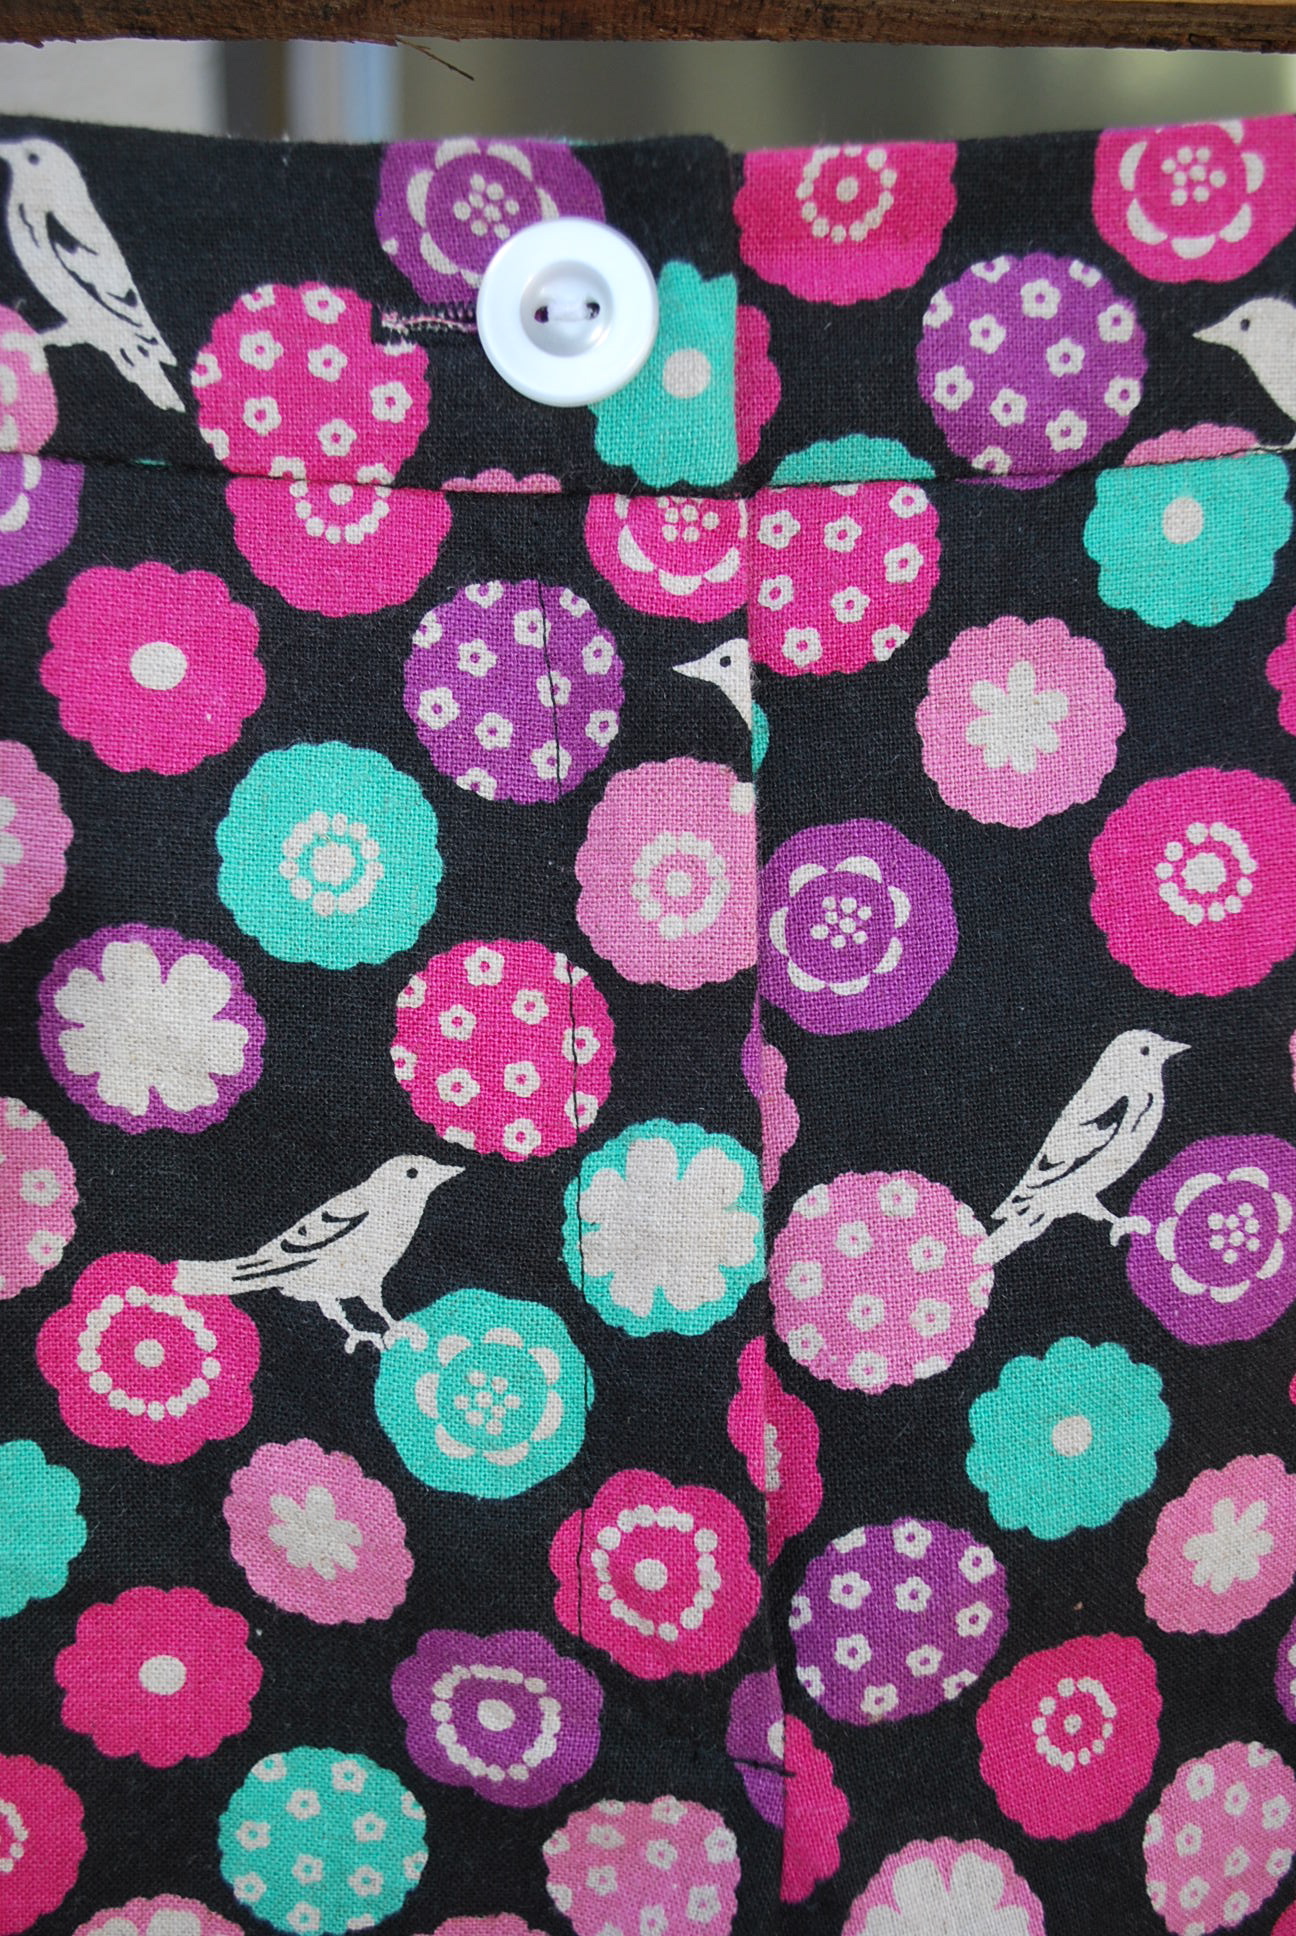
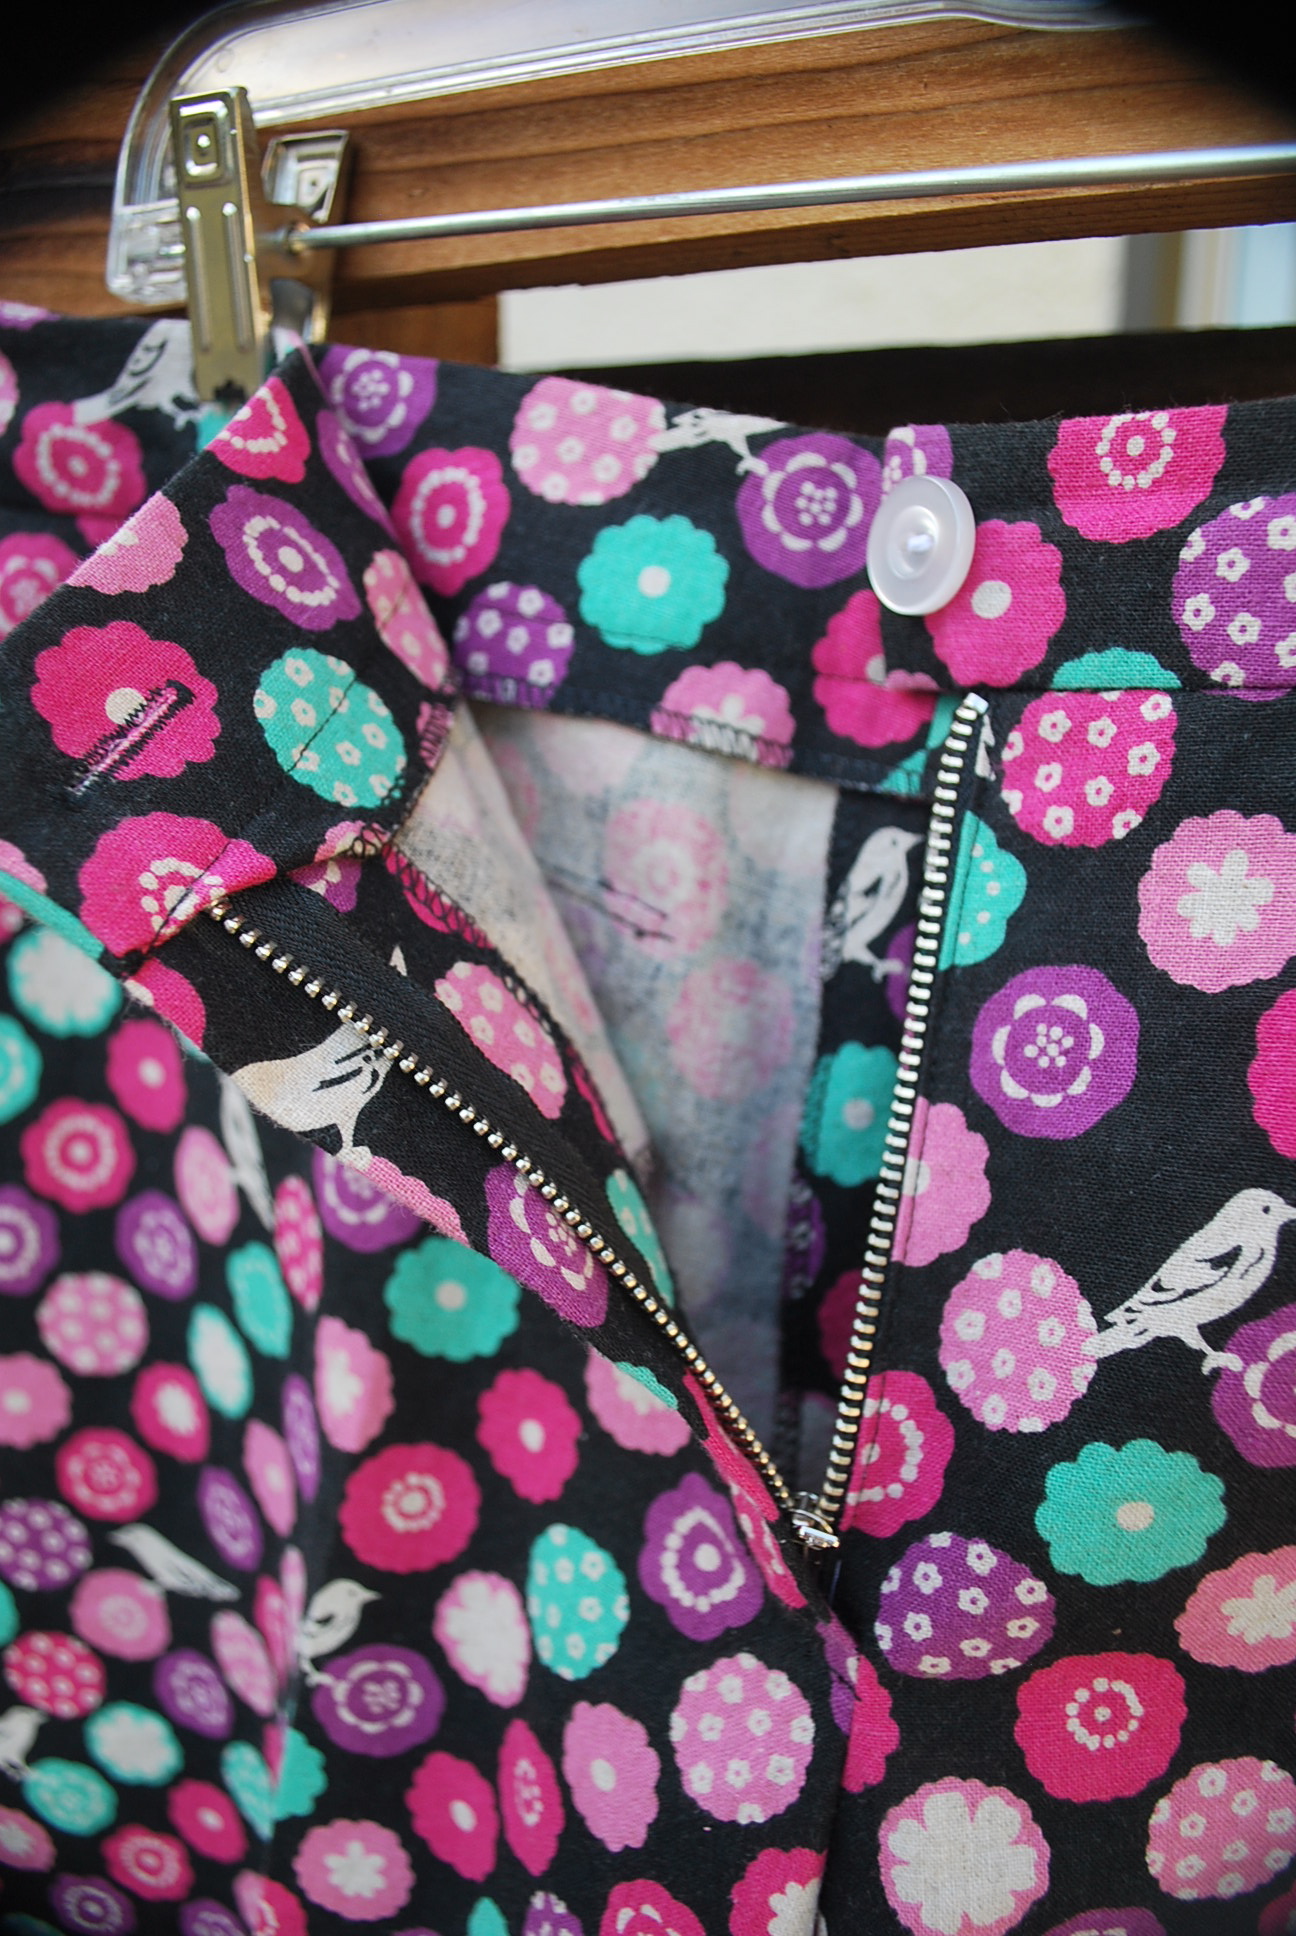
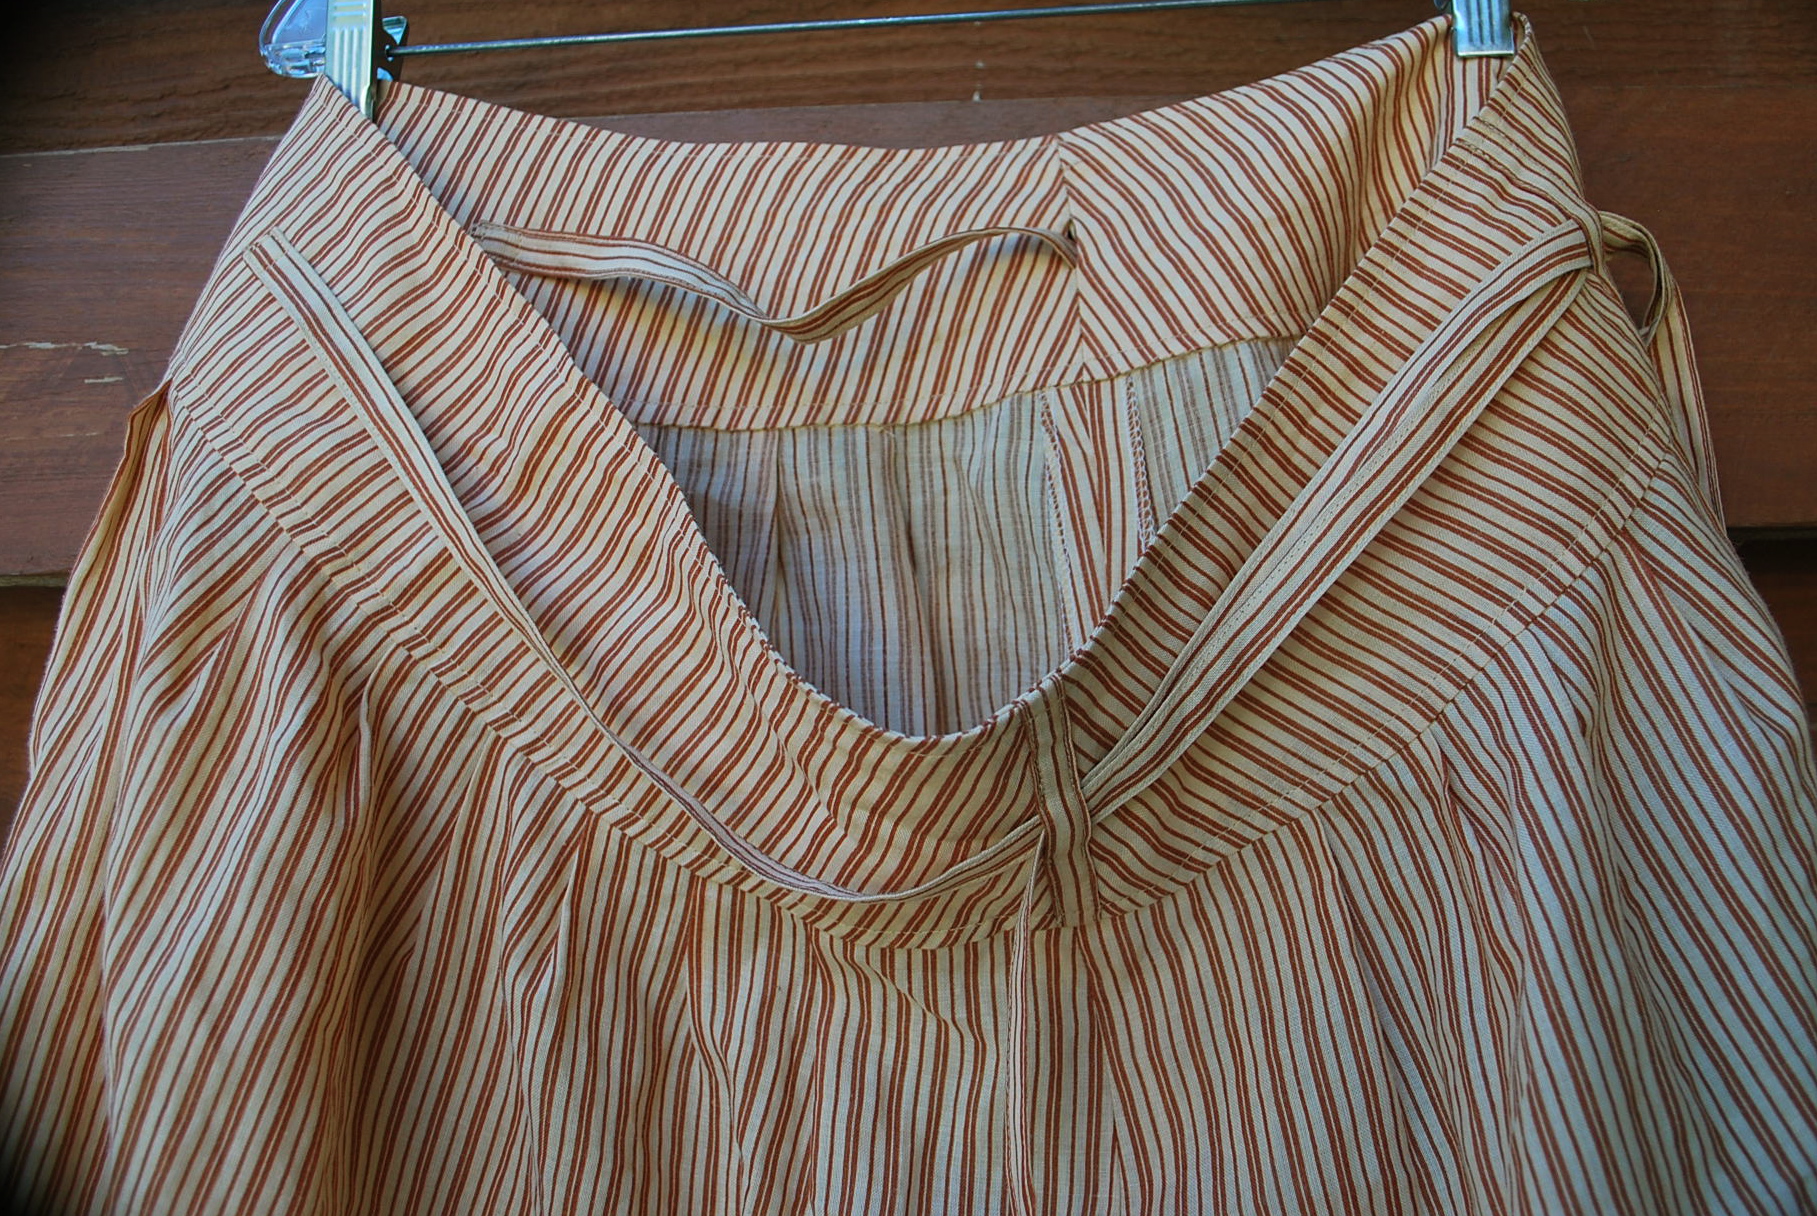 There is a hole in the right side yoke seam for the ties to go through, and two outside loops as well.

I did a blind machine hem.

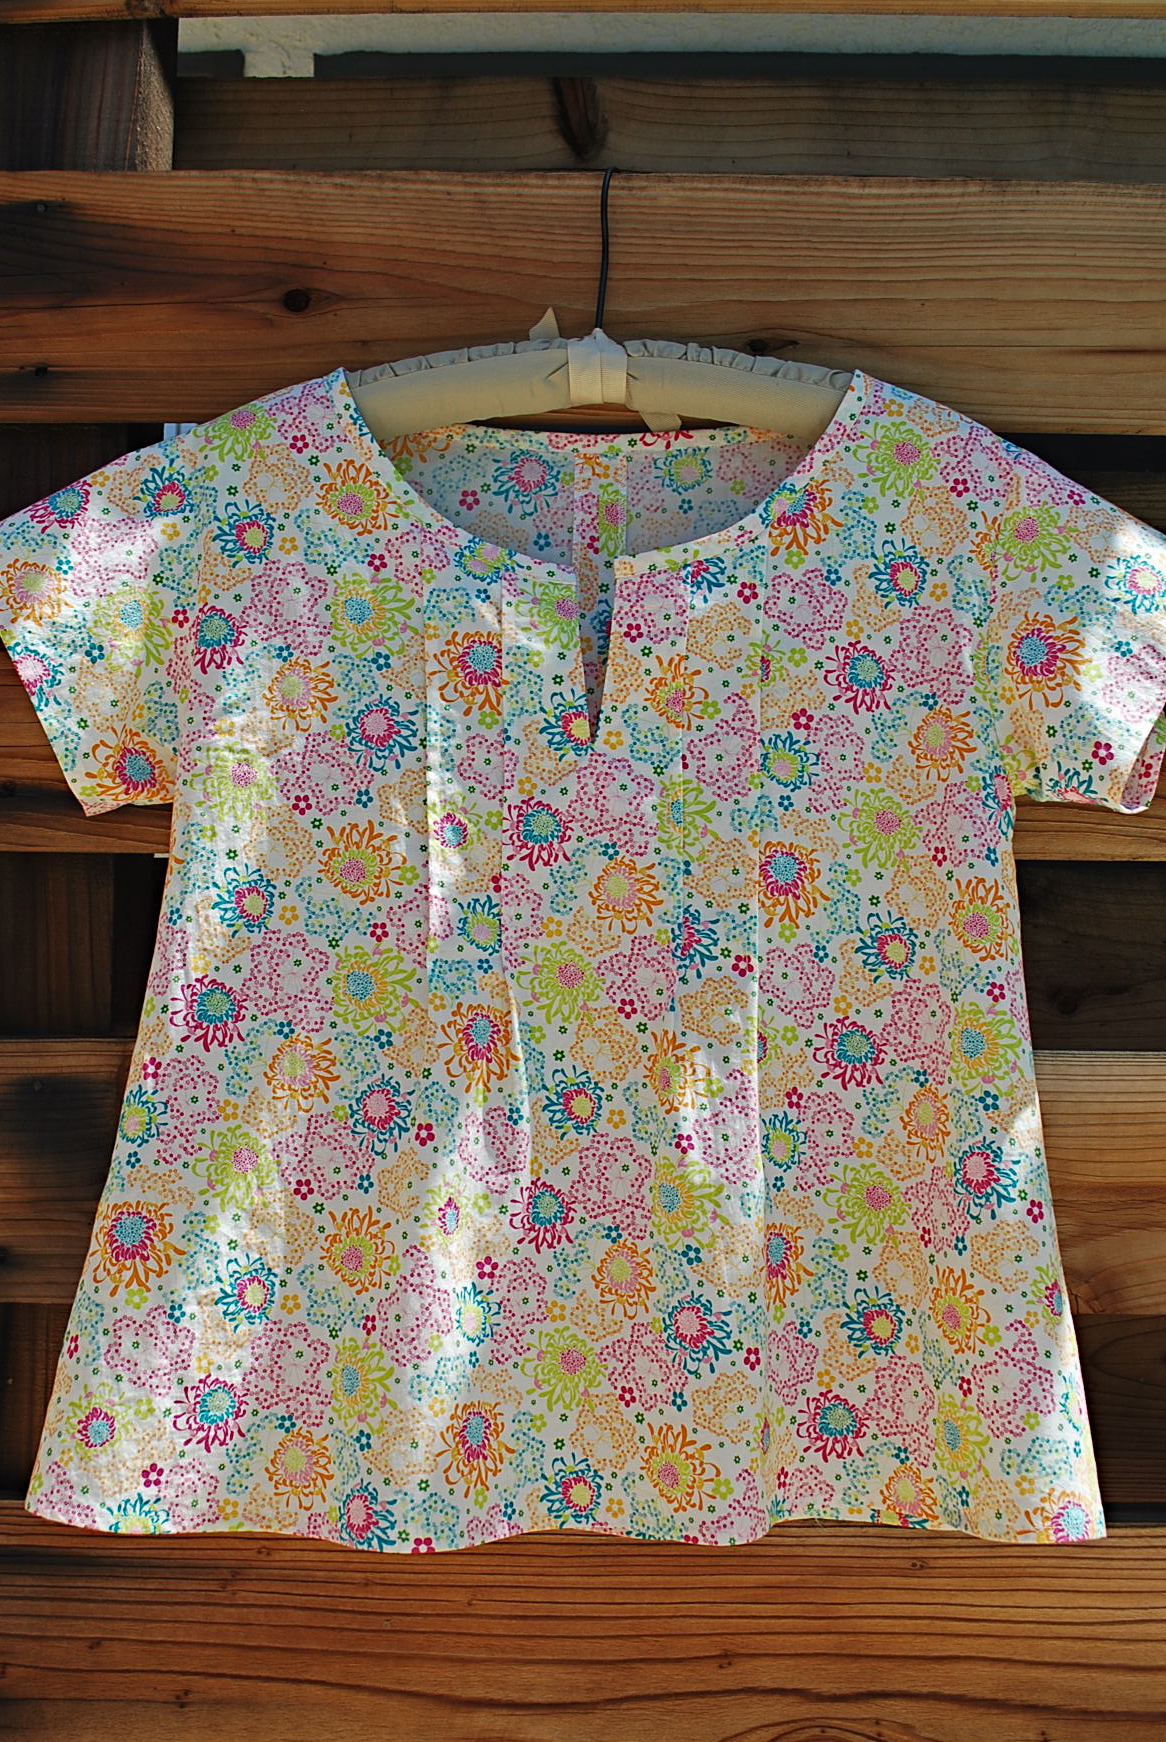
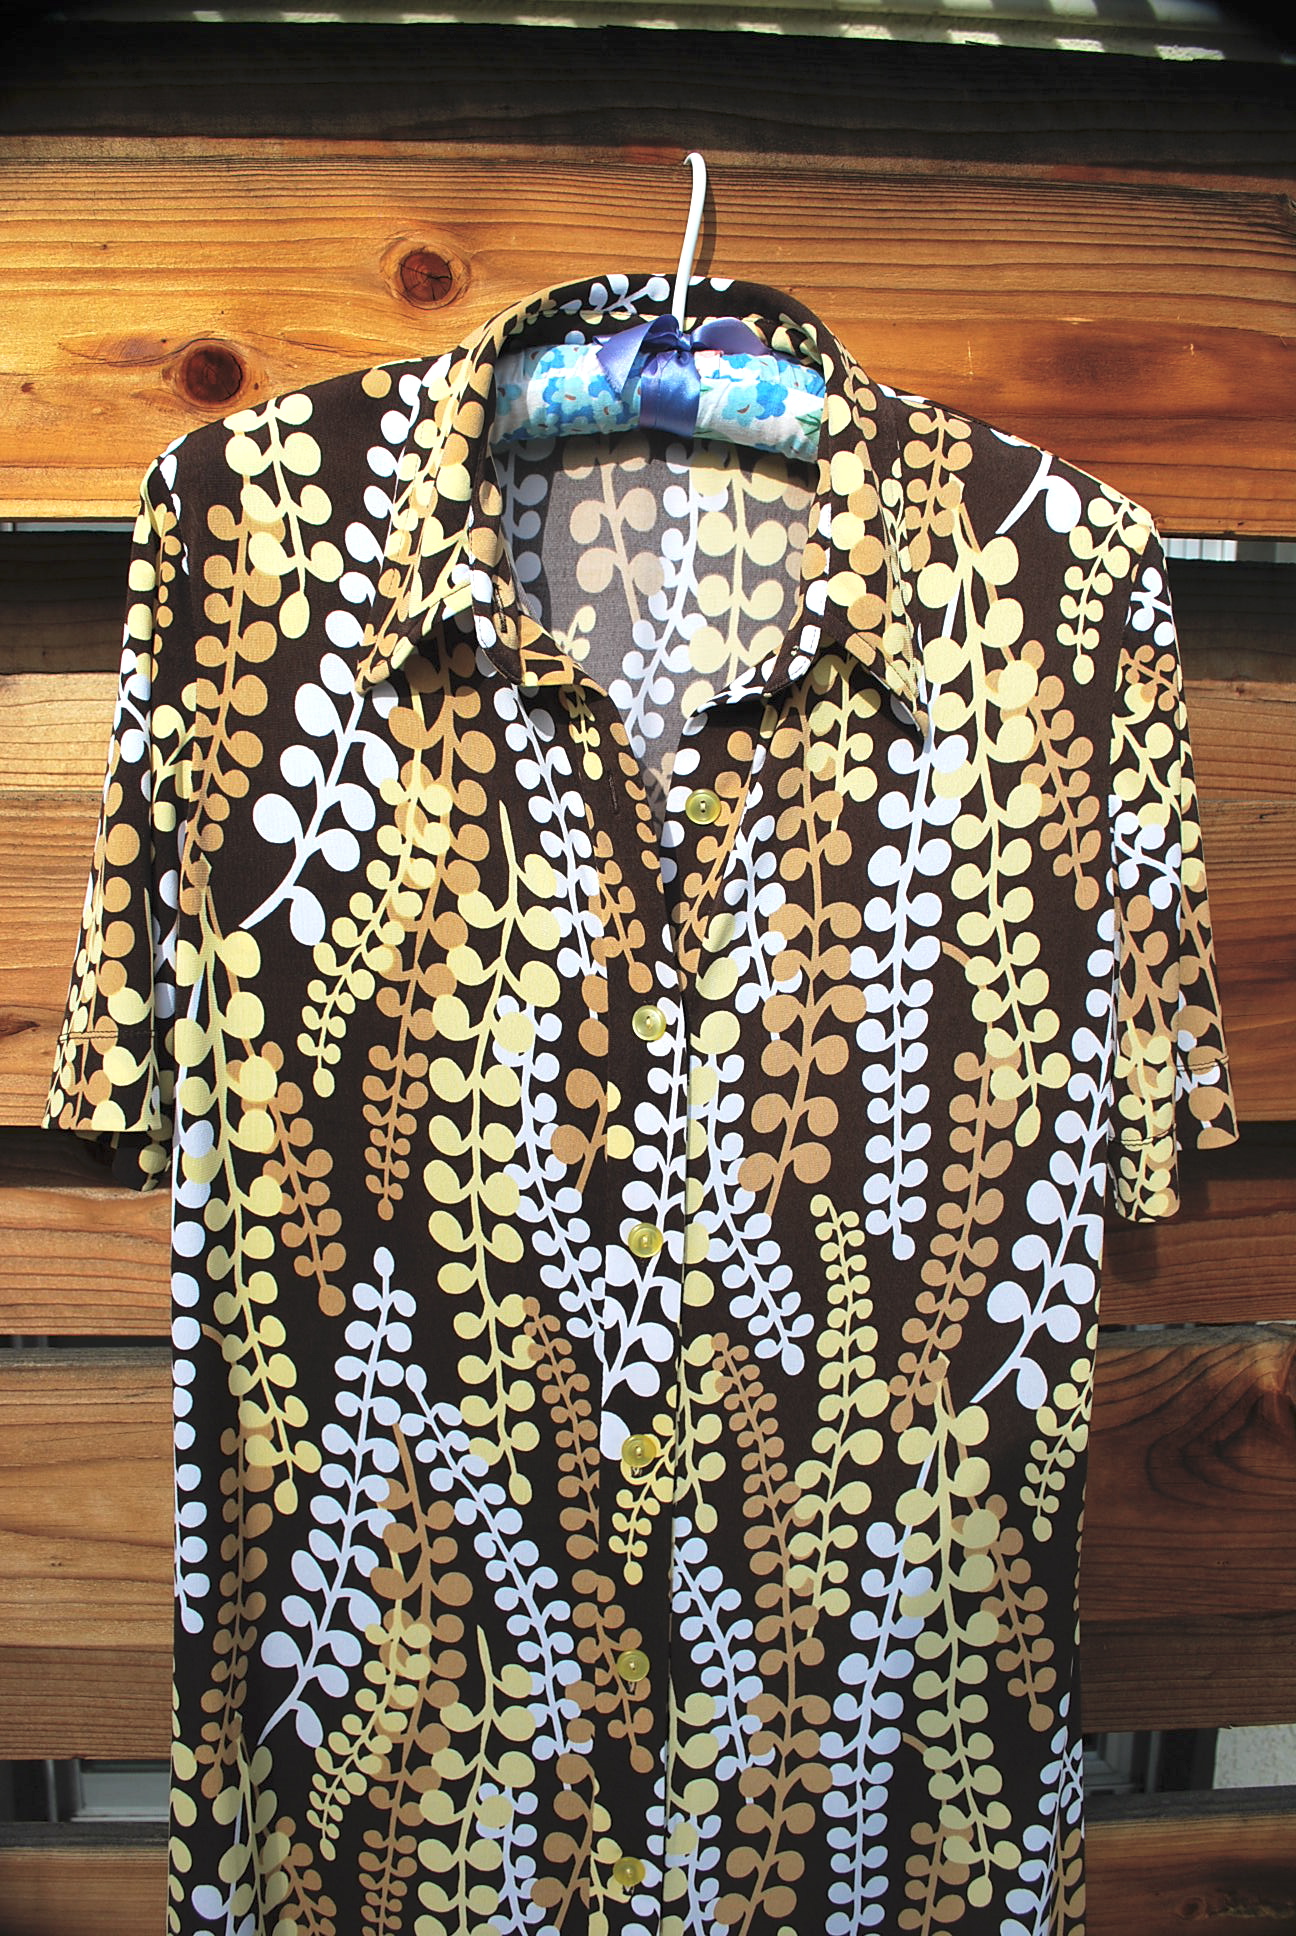
Here’s a front view all spread out.
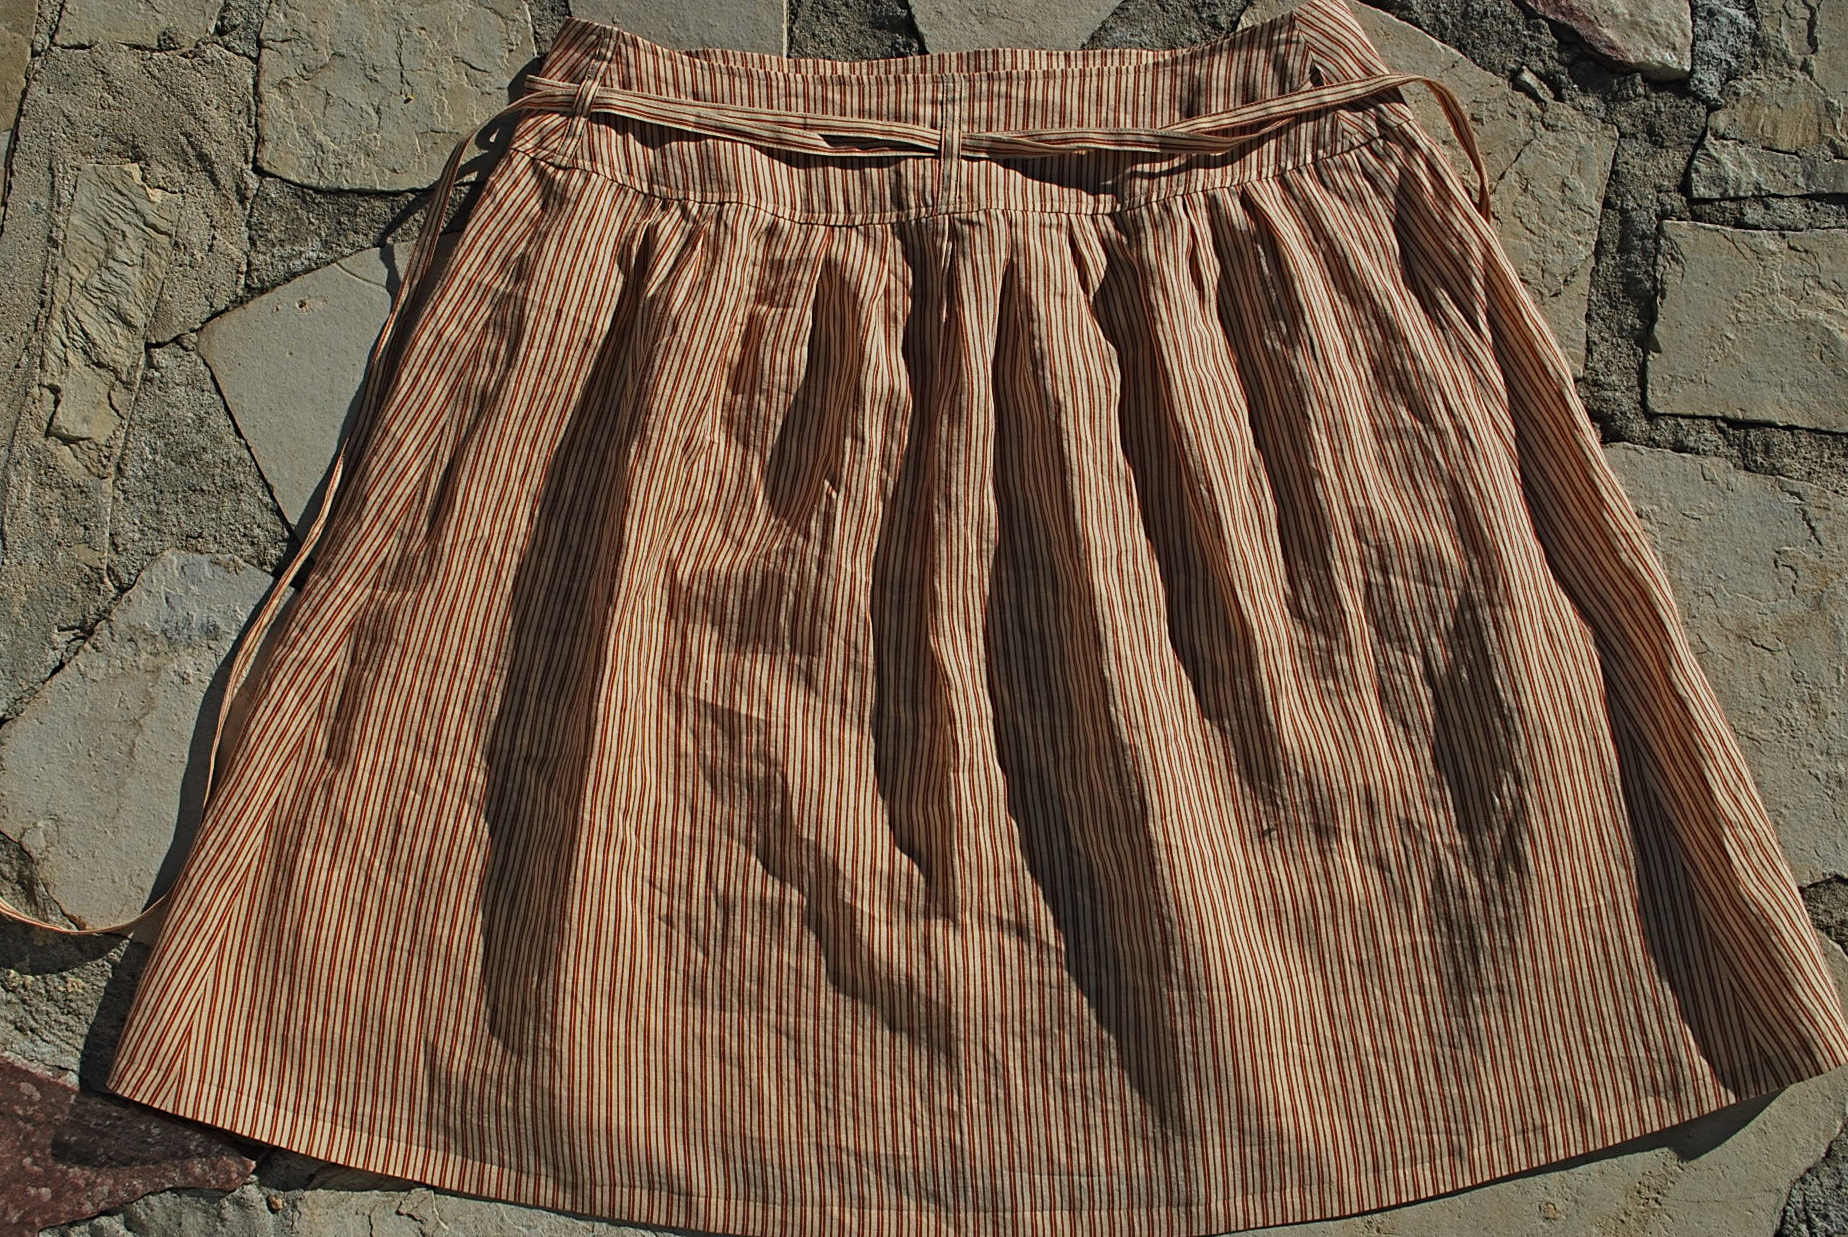
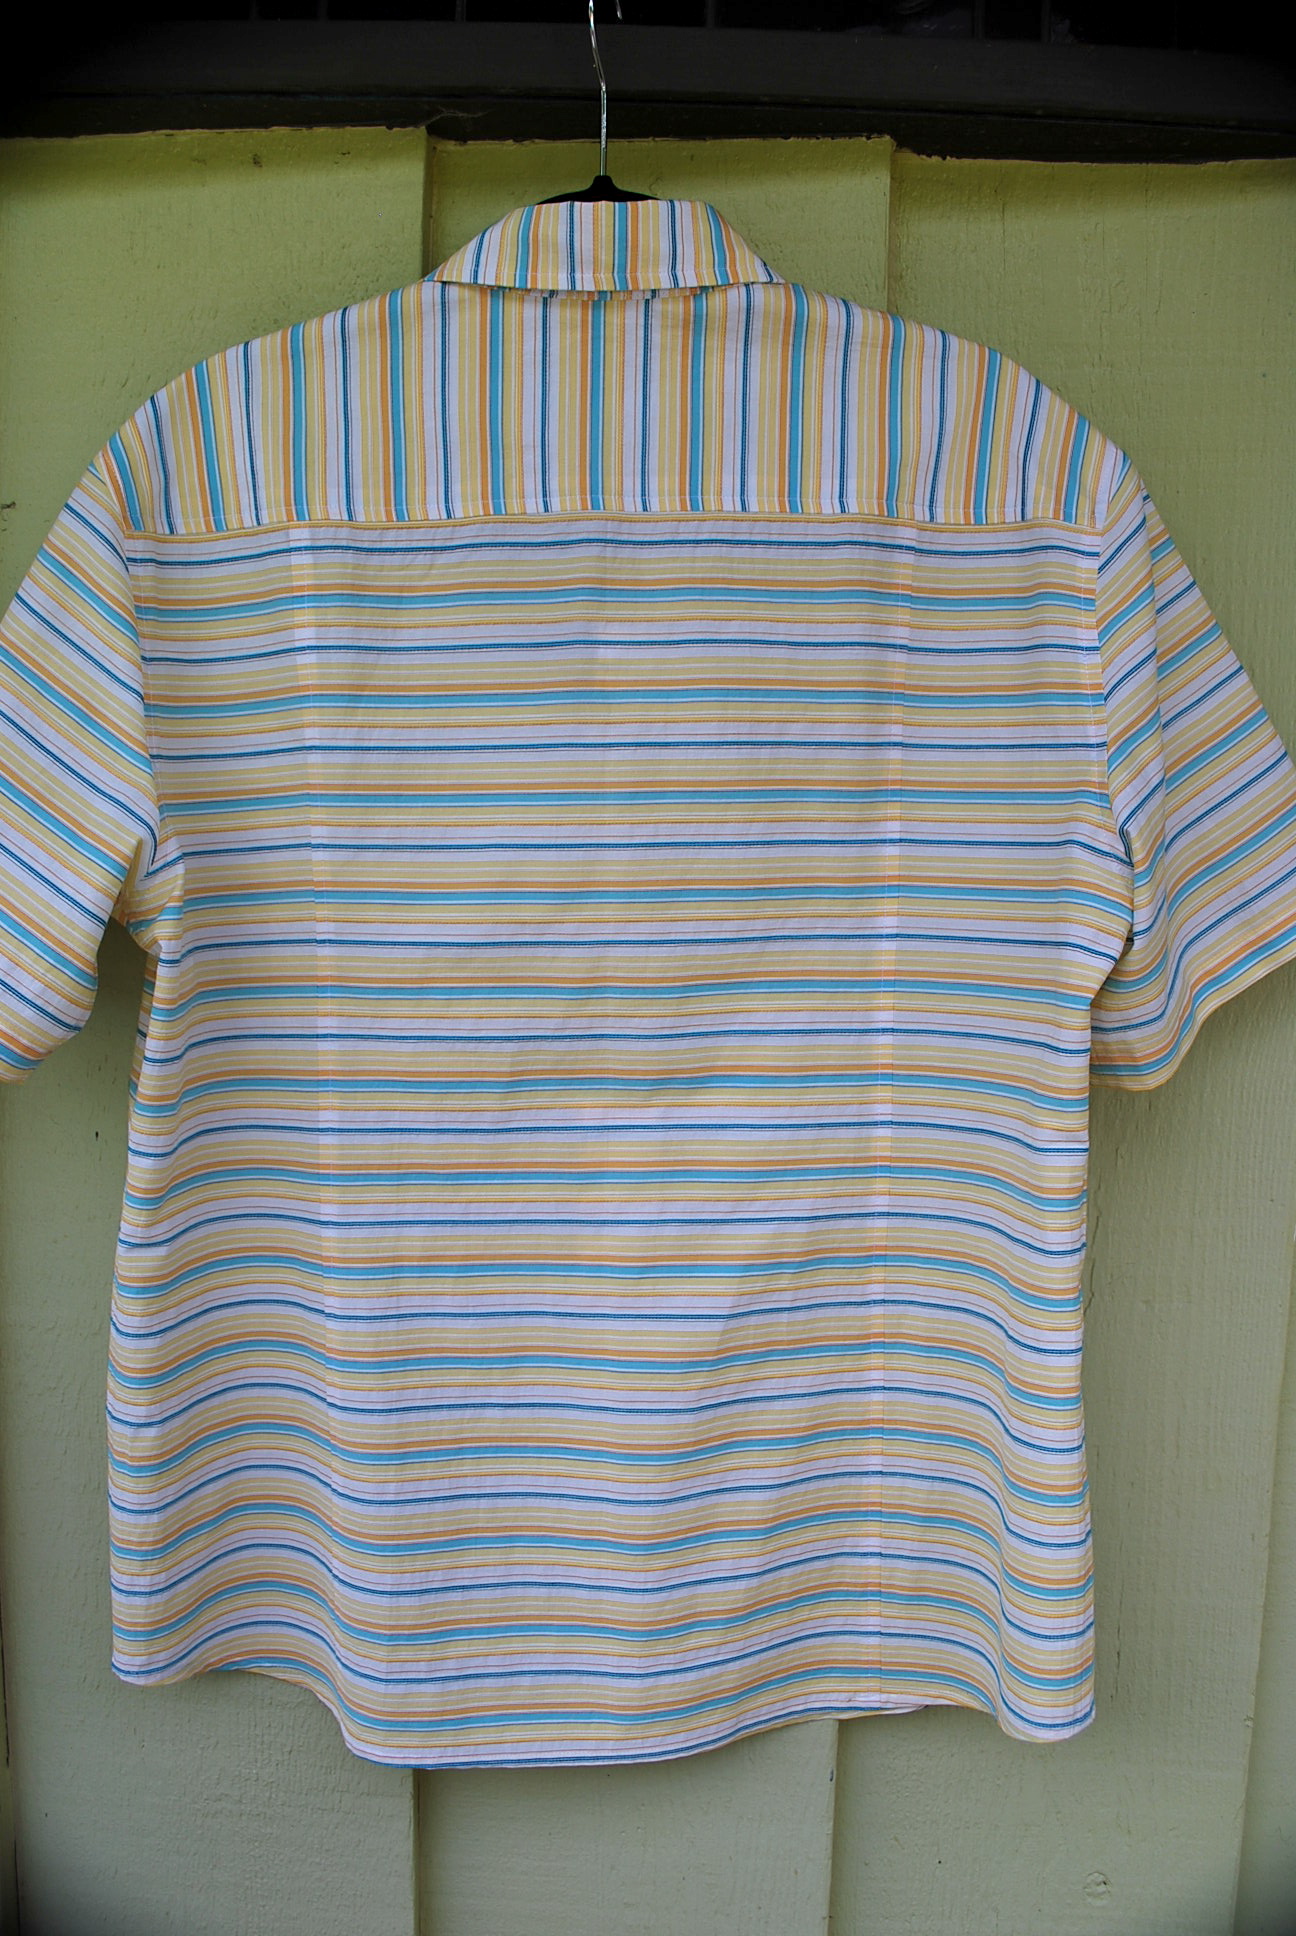
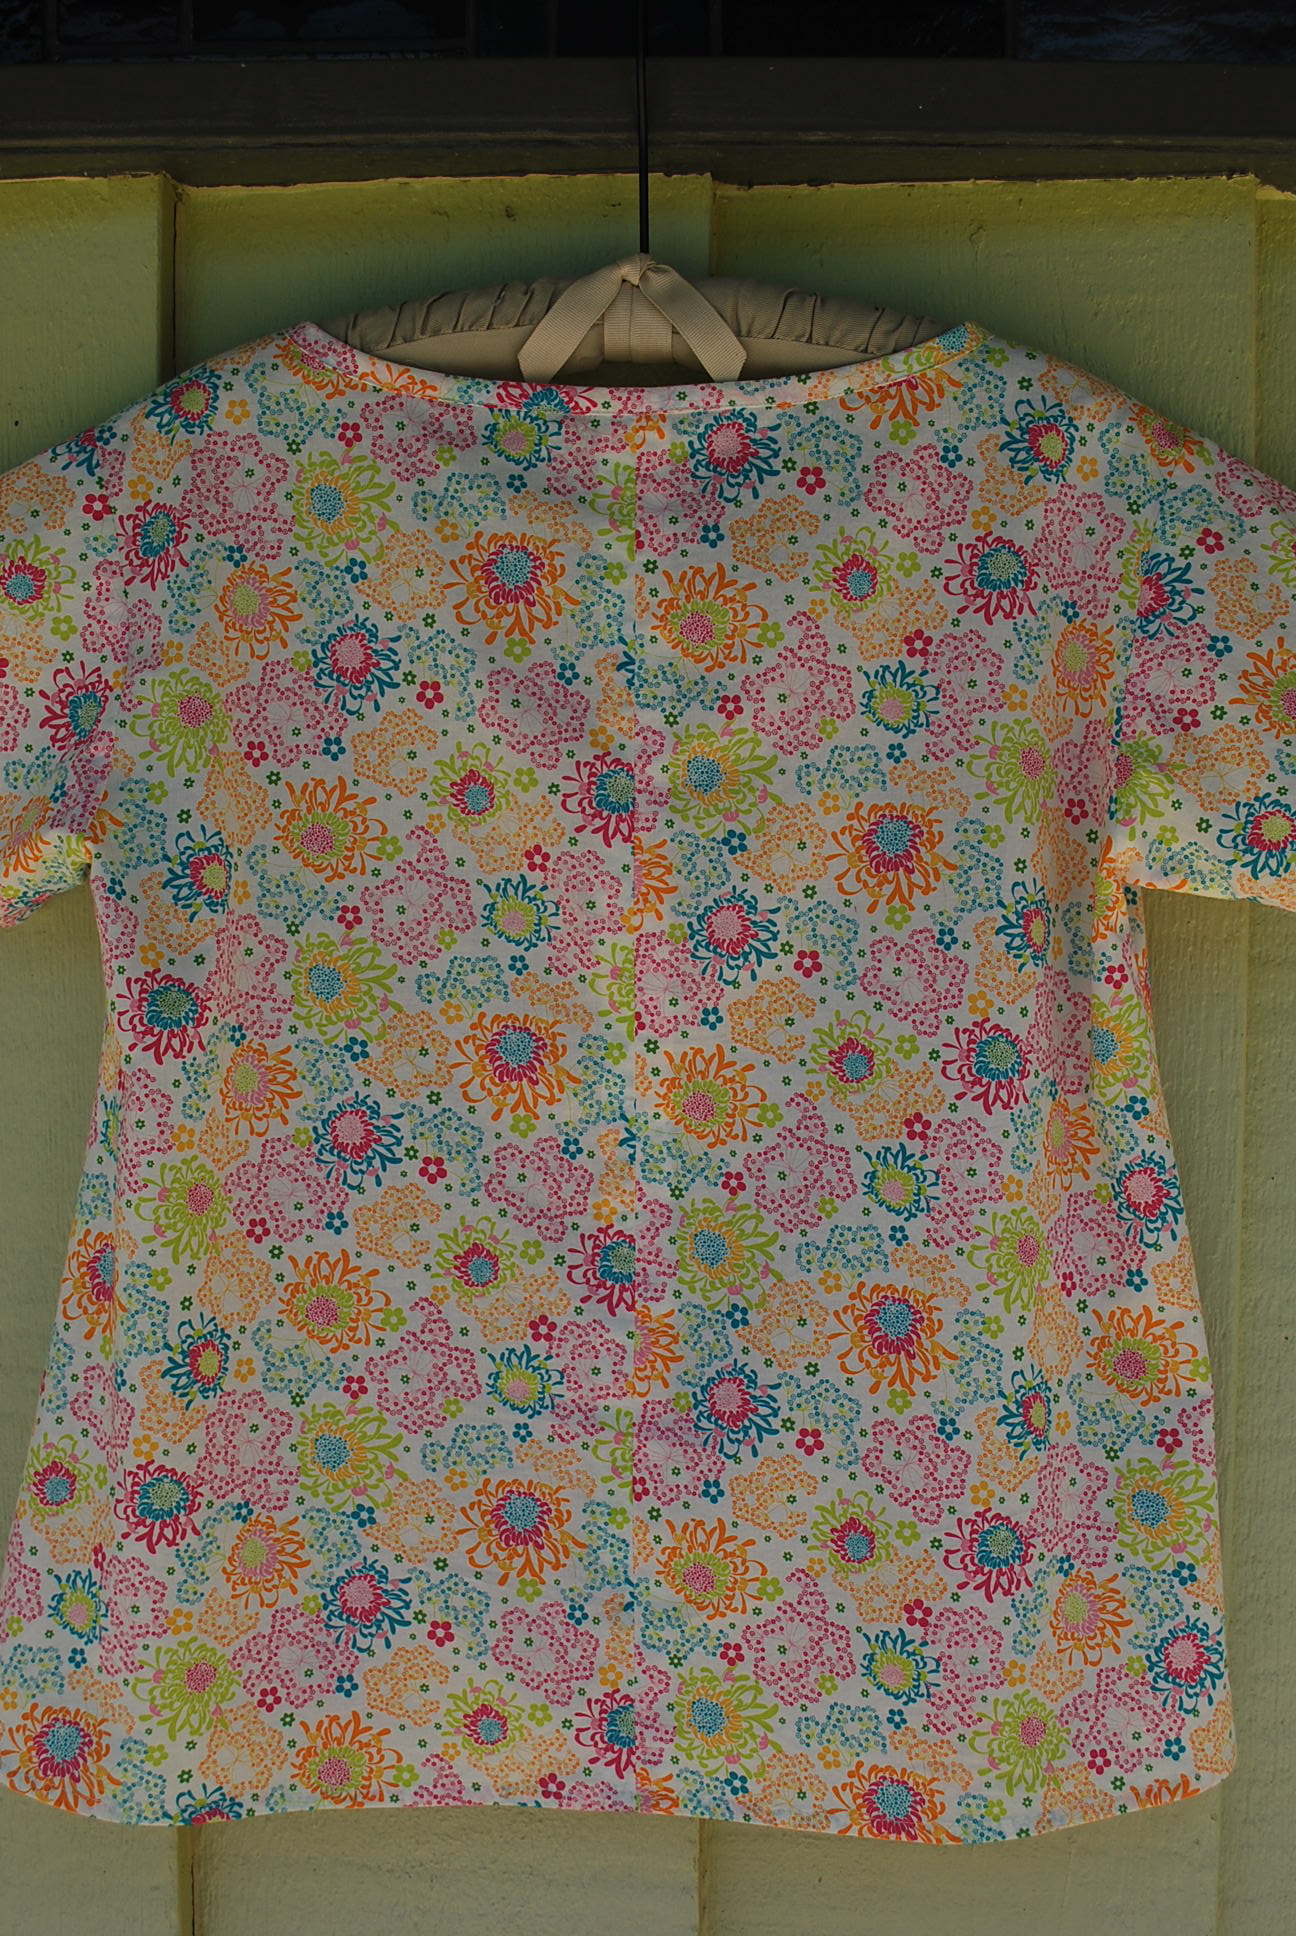
Here’s a back view all spread out.

LET’S BE HONEST:
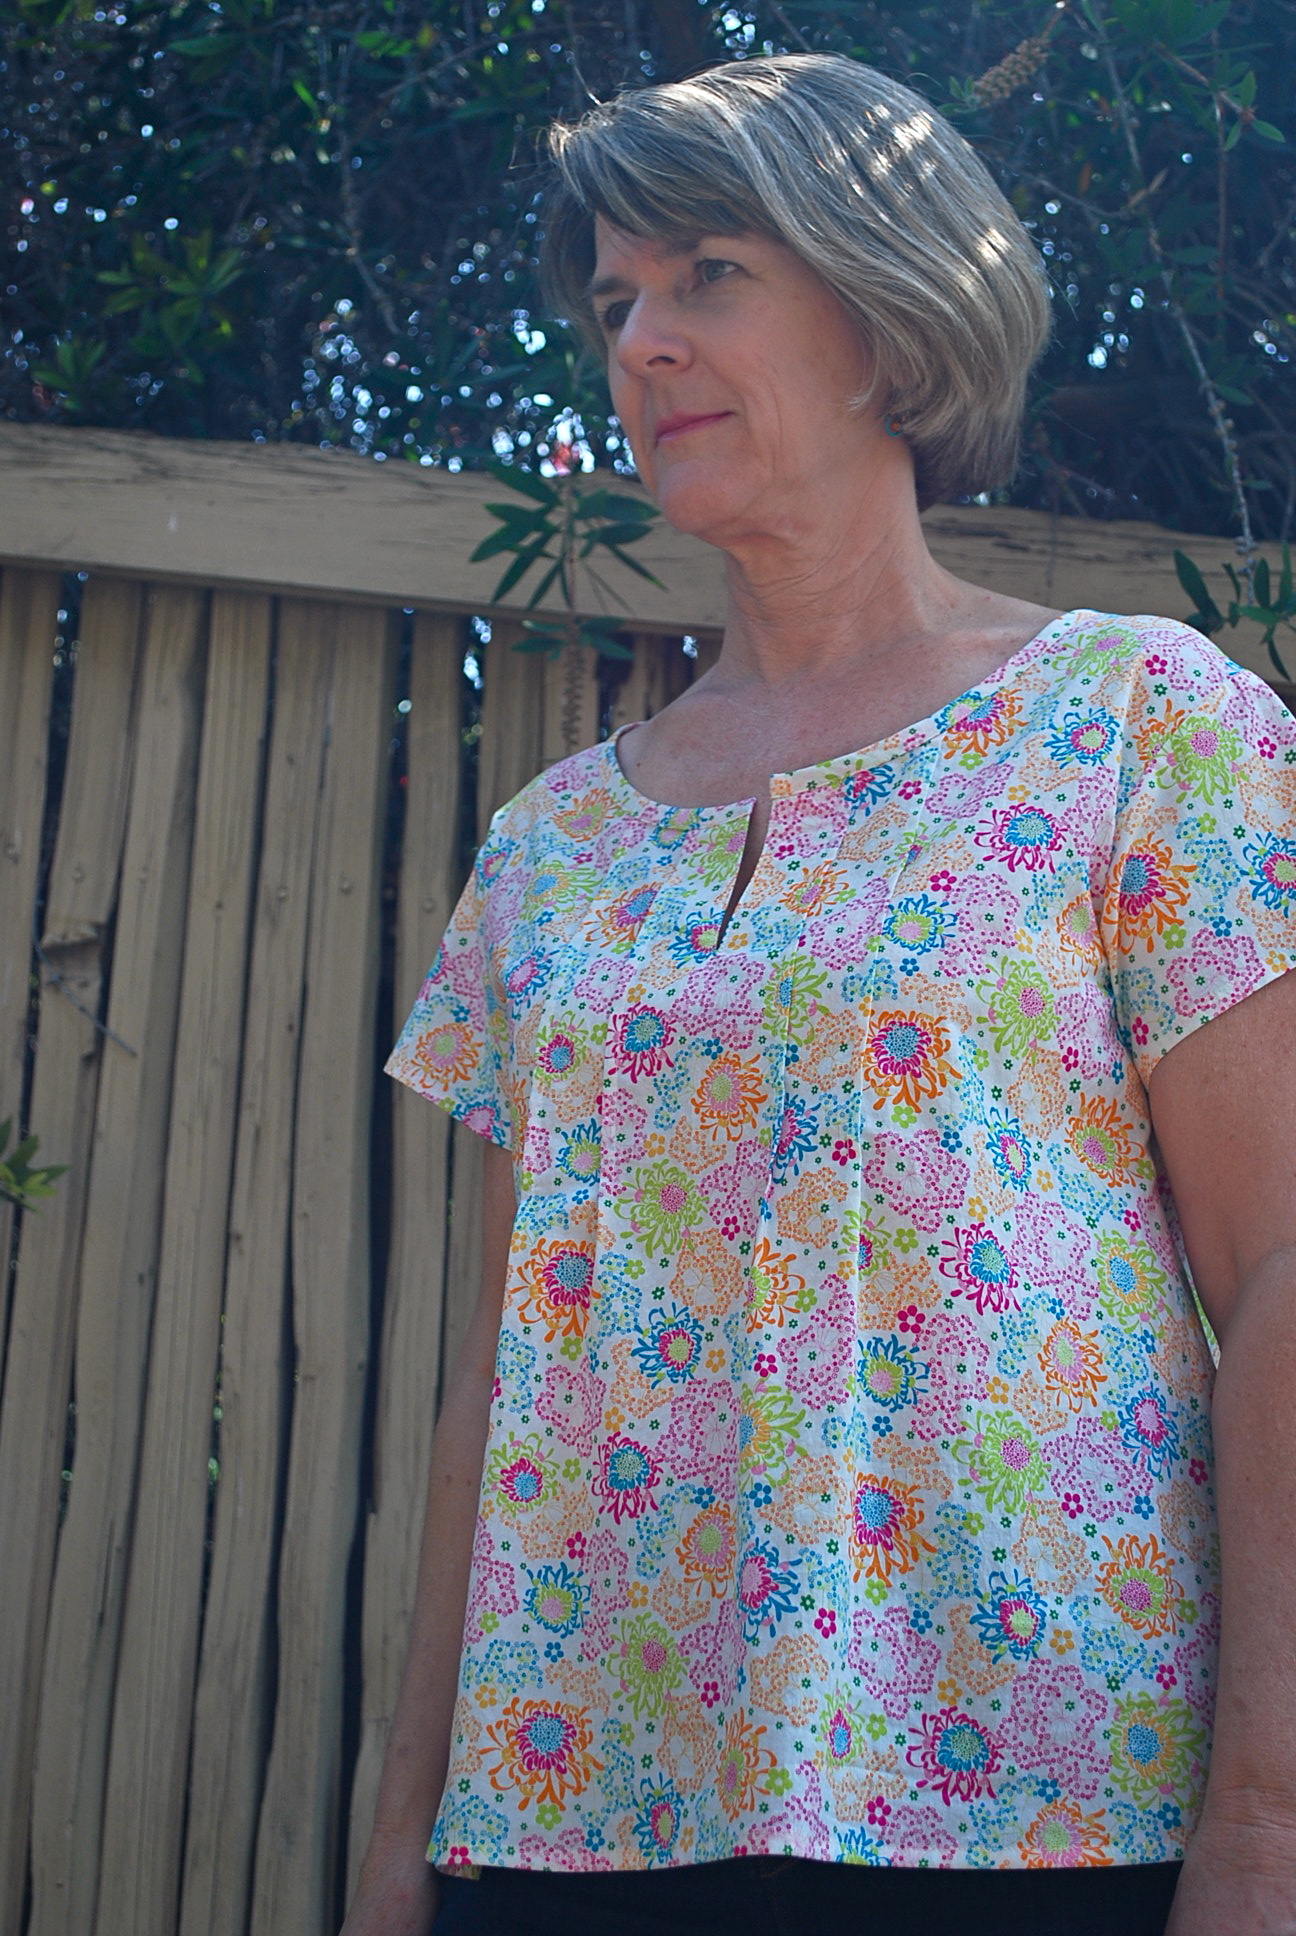
1. I made a size Large, which is a big as it comes. My fold at the yoke takes in about 4″ of slack. I am wearing it so the yoke sits slightly below the waist. Since it’s not fitted, individuals could play around with where they wear the yoke in relation to their waist and hips. If you are tall with narrow hips, I think you could probably wear it farther below the waist and it would be flattering. For a pear shape like me, it probably looks best worn higher.
2. If you read my post, Japanese Wraparound dress, you know my skepticism about trying patterns in this book was put to rest with the discovery of a well drafted dress design. The same holds true for this second project. With the exception of doing a slight bit of trimming/tweaking on yoke pieces, it all fit together as expected.
3. It took me about 20 minutes to figure out where to attach the second tie on the inside and exactly how to configure and wrap the ties around the yoke when putting on the skirt. I think I will secure my fold with a hidden safety pin because it seems as though the ties will slide up the yoke despite the two outside loops.
4. While I love this linen fabric, if I make this skirt again, I will probably choose a linen/cotton blend that might be more soft and drapey. The book recommended a linen/cotton blend. I don’t want to risk putting my $18 linen in the dryer to get that laundered look that’s in the photo.
5. I interfaced the yoke, even though the instructions did not say to do so.
RELFECTIONS, REVELATIONS, AND CONFESSIONS:
This is my sewing room. I consider myself fortunate that we have a spare room in our house that I can dedicate to sewing. (Well, the computer also is in there.) However, it is a mess. I have never made a priority to make it cute and uncluttered. I would rather spend my time sewing. 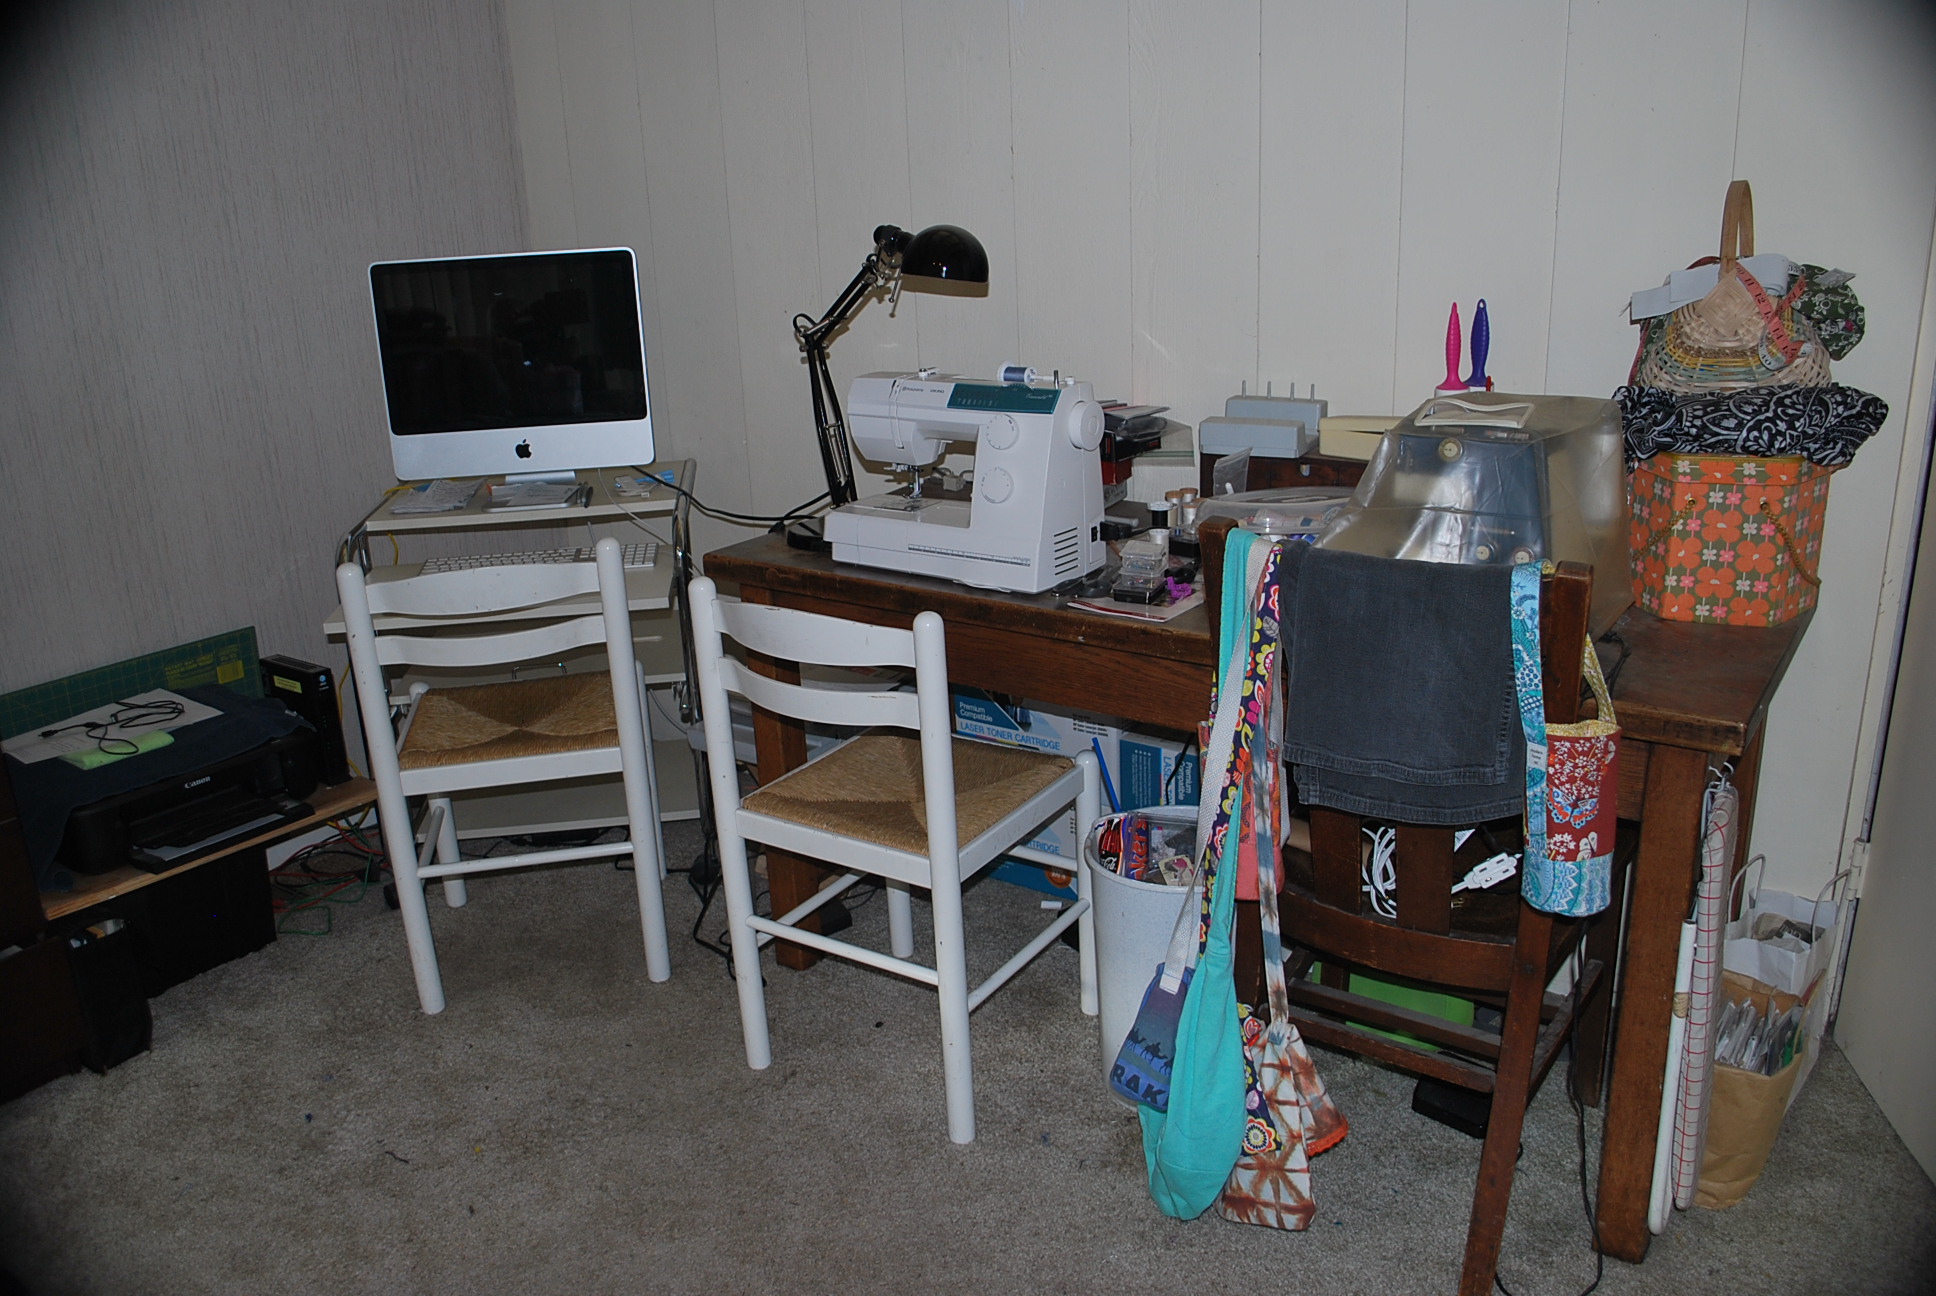 But just so you know that my whole house doesn’t look like this, here’s a picture of my living room.
Once again, thanks for taking the time to read this post. I welcome your comments or questions on the skirt; or even a comment on the environment you sew in. Cheers, Lori