Currently all of my new clothing choices are influenced by the impending summer heat. I’m still standing firm to wear less jean shorts and capris. So to add variety to the warm weather skirts and dresses I’m sewing, I decided to make a fun pair of walking shorts for Fresh Make #9.

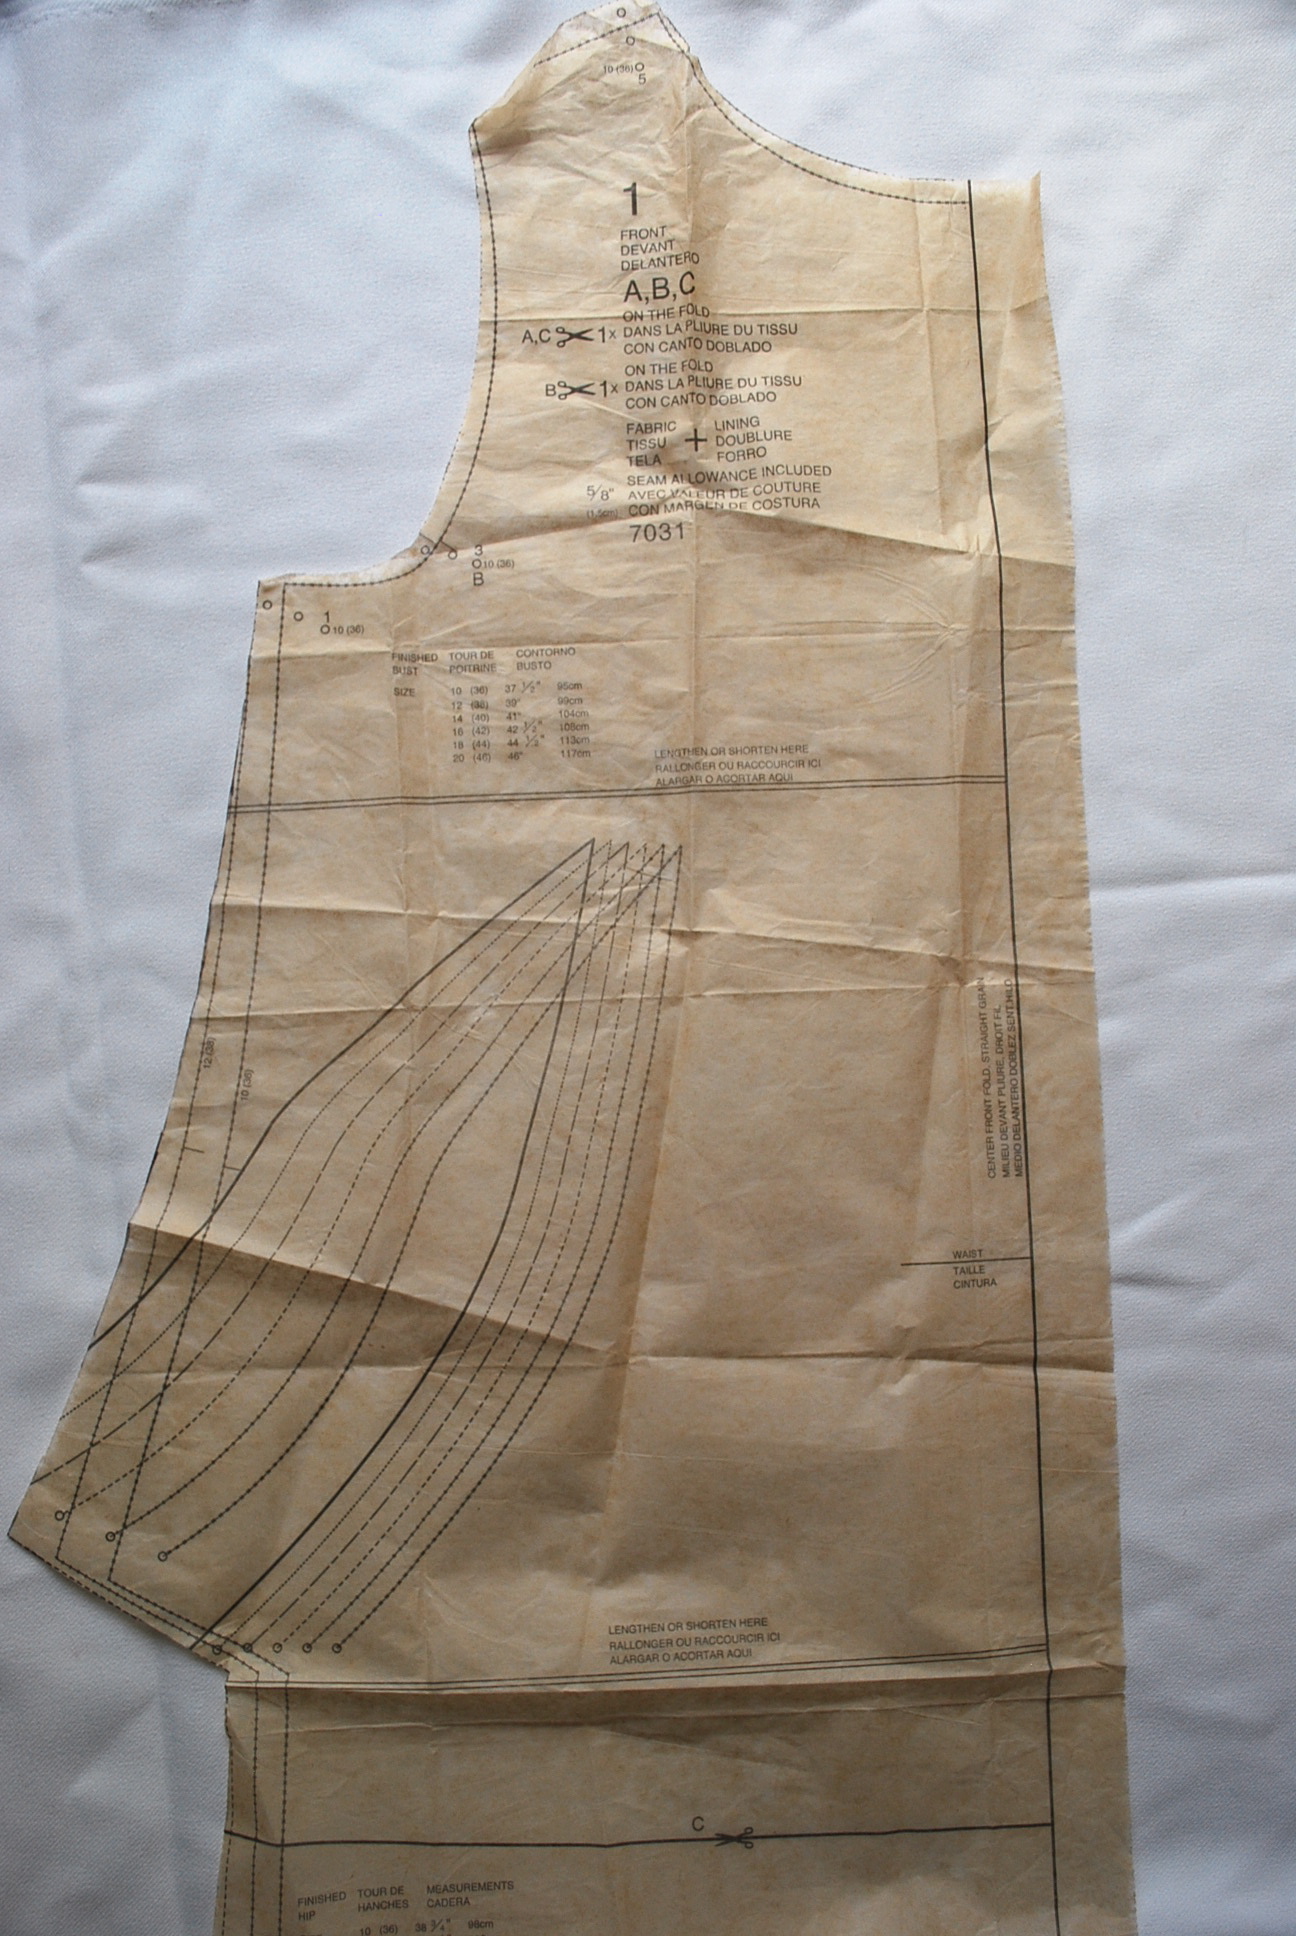
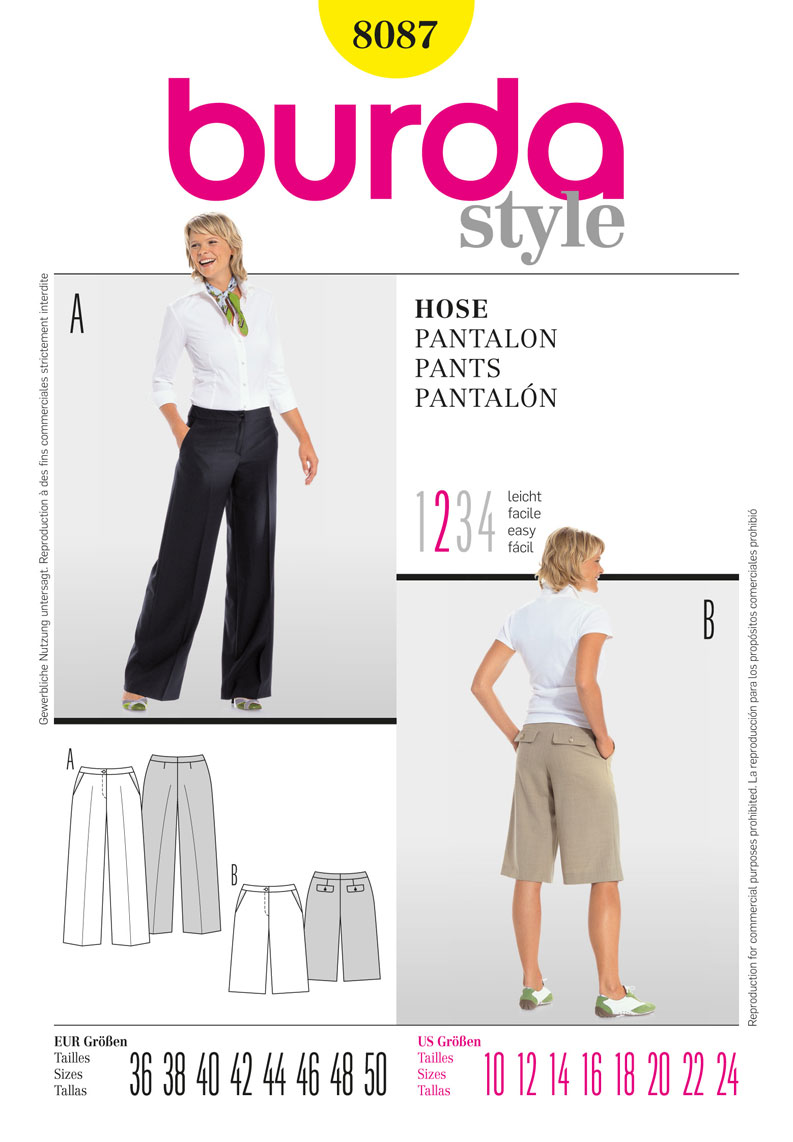
The pattern I used is Burda 8087. I bought this pattern on sale at JoAnn’s for $2.49. I choose this pattern because nowadays I only only wear long shorts, and I thought the wider leg cut would be flattering on my heavier thighs figure. I named them the Strolling Shorts because I imagine that these would be perfect for a day at Disneyland, a walk down Palm Canyon Boulevard in Palm Springs or Ocean Avenue in Santa Monica.
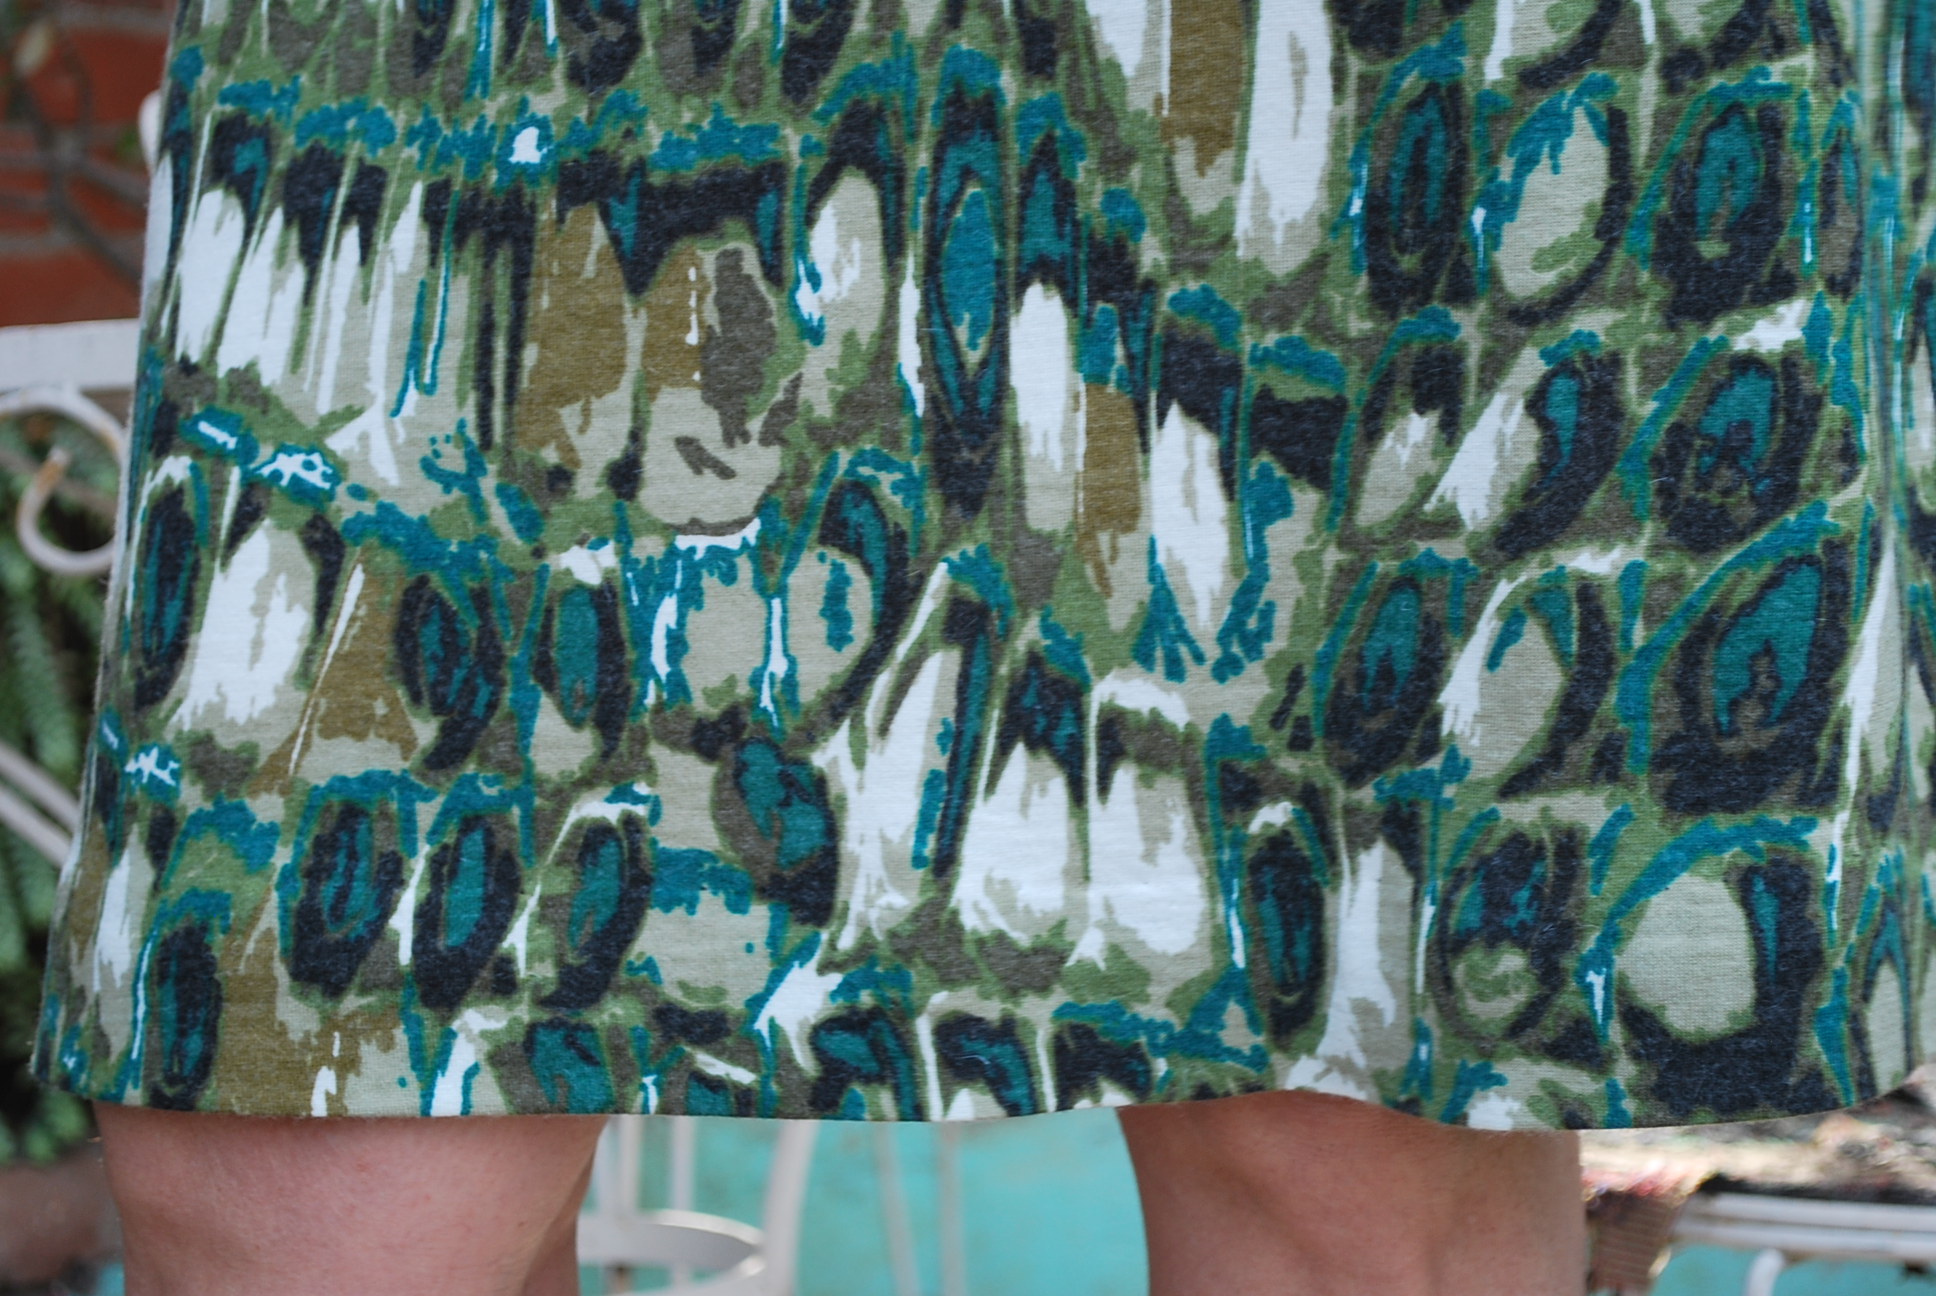
 I purchased the fabric from Michael Levine’s online store. It is from the Japanese Echino collection. I have drooled over Echino fabrics many times at Michael Levine’s downtown L.A. store. They range from $16 to $20 for their cotton/linen blends. I was alerted to a one day 20% off online sale, so I bought 2 yards of this fabric (amongst others!).

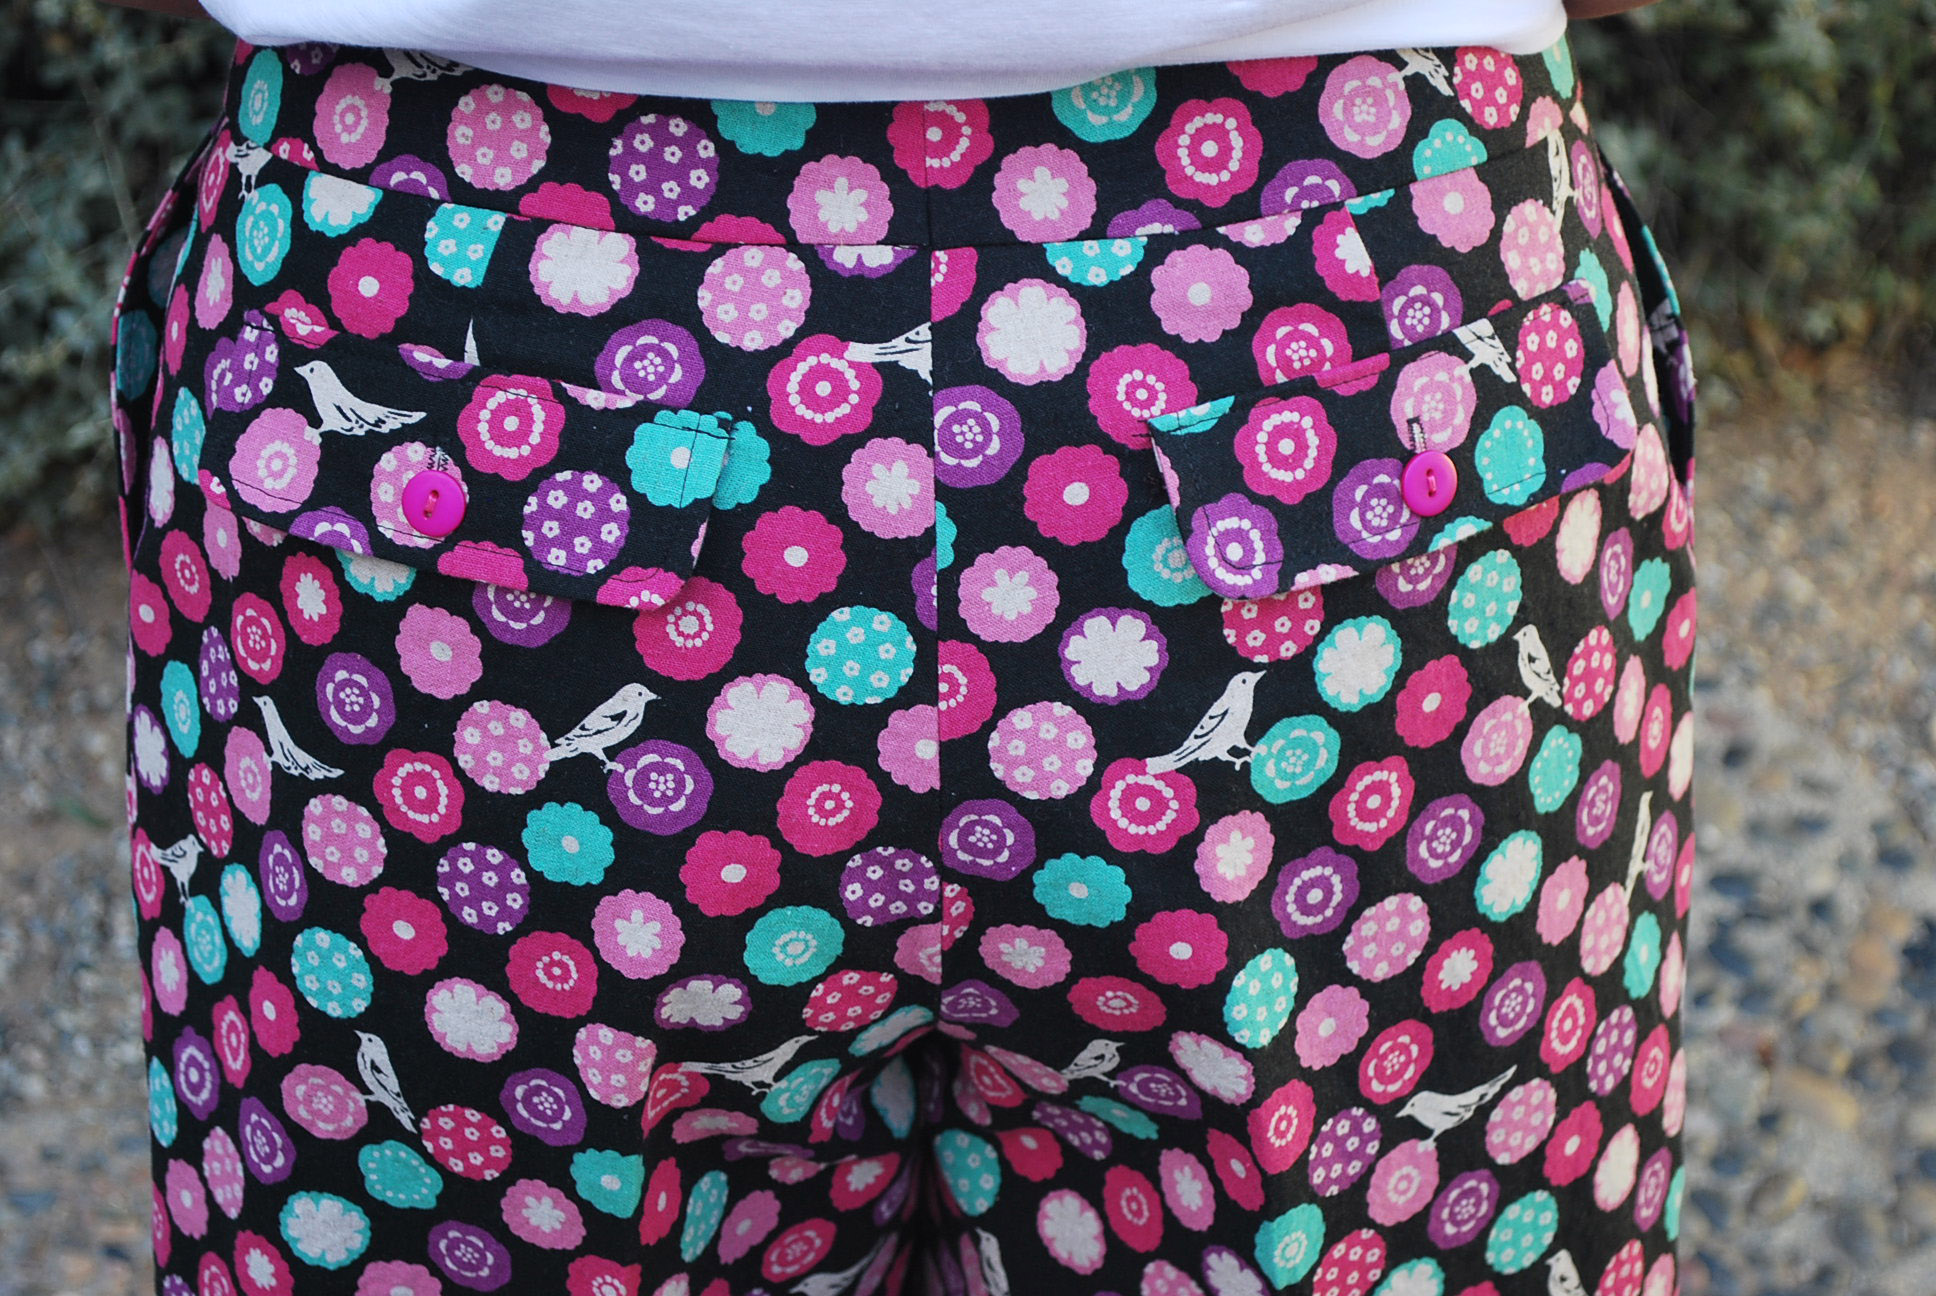
I like the flap pocket detail and also how nicely the rounded waistband lays in the small of my back.

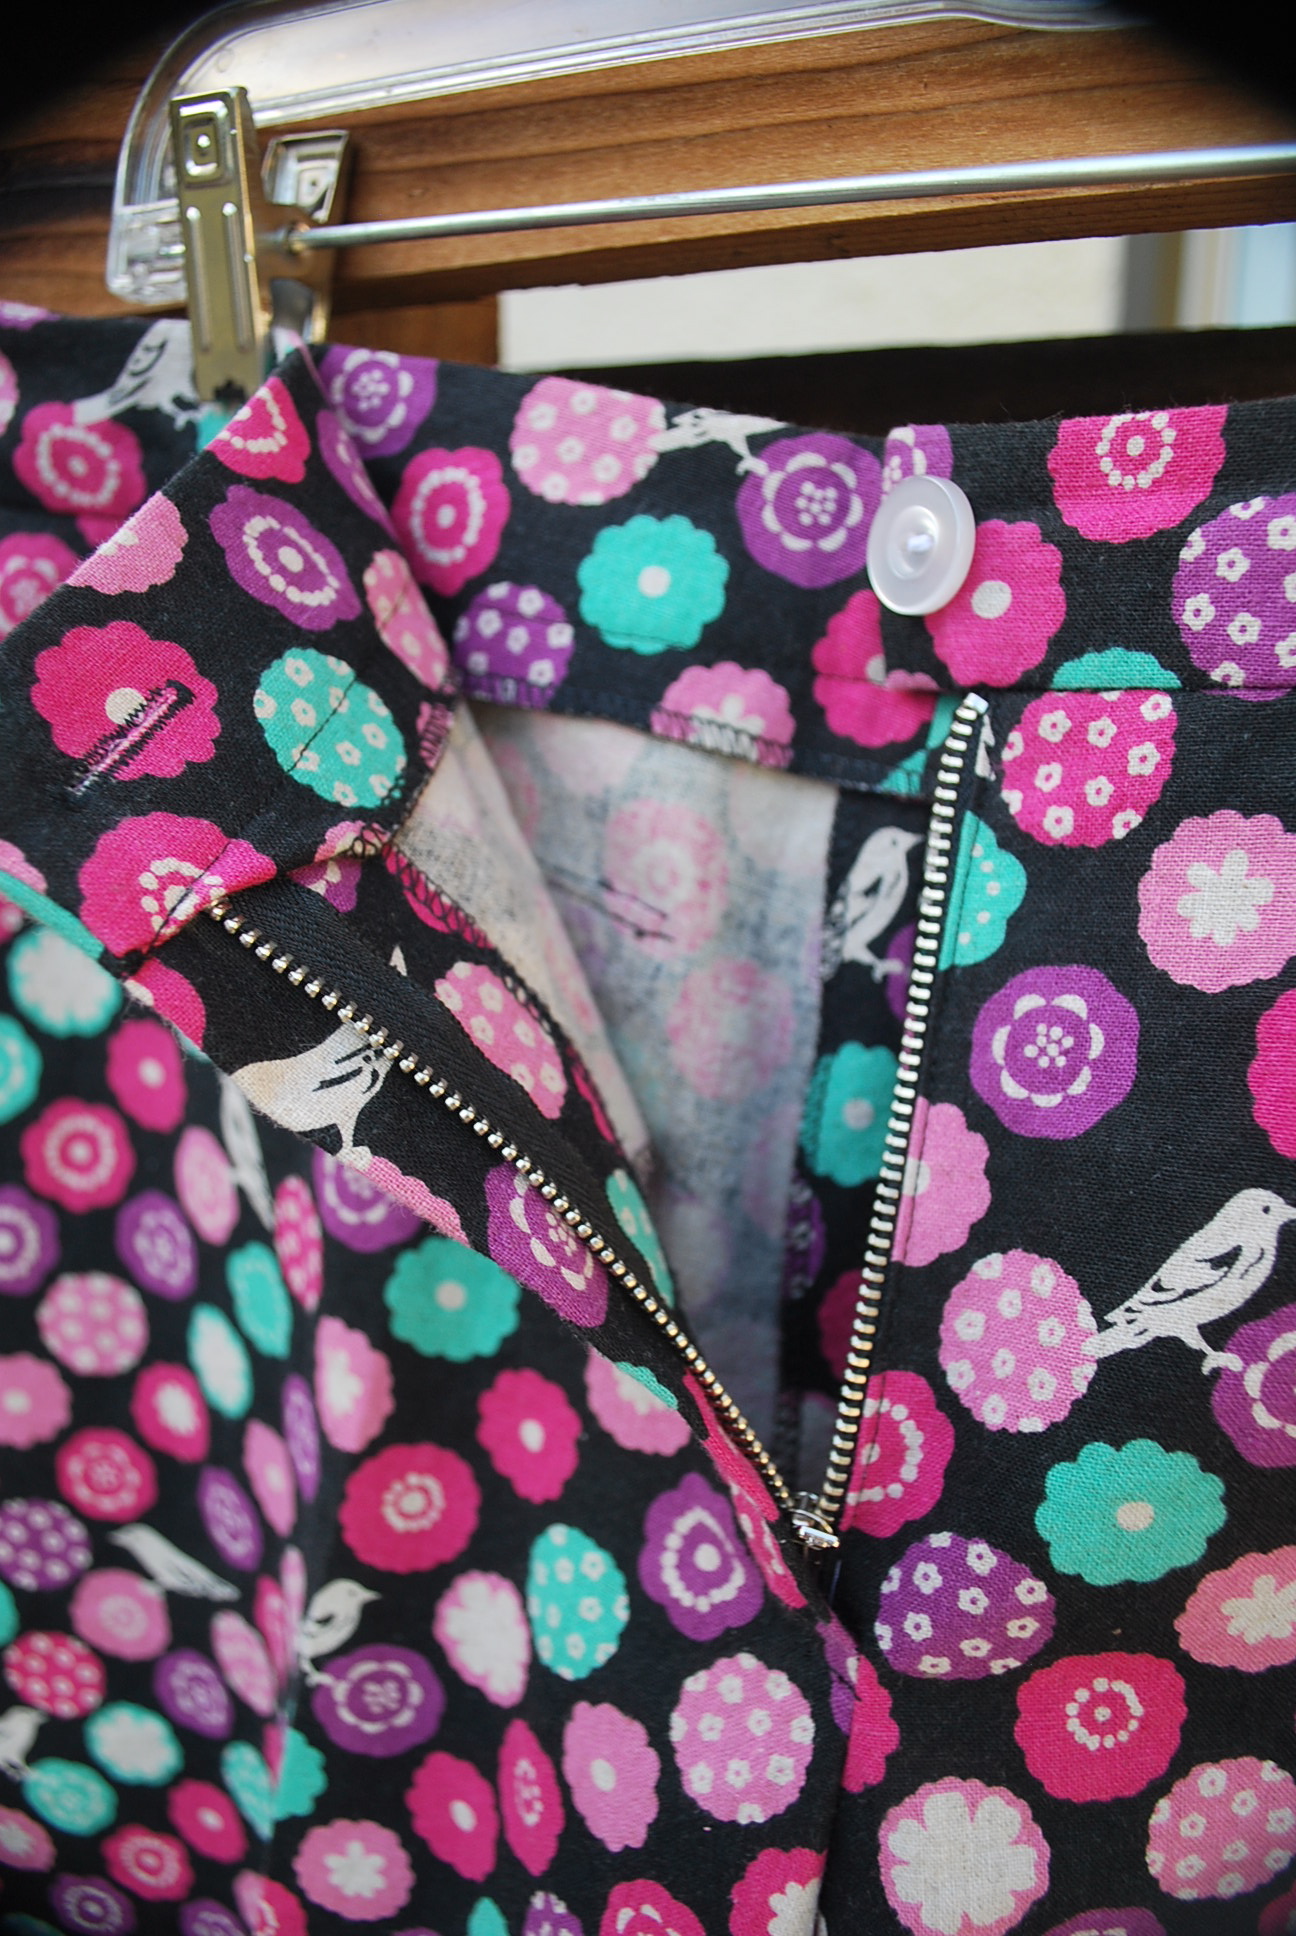
 I had probably not done a front fly zipper since high school when I used to make a lot of my own pants. But it came back, just like riding a bike – you never forget. I purchased the 5″ metal zipper at my favorite online zipper store, Zipit Zippers.
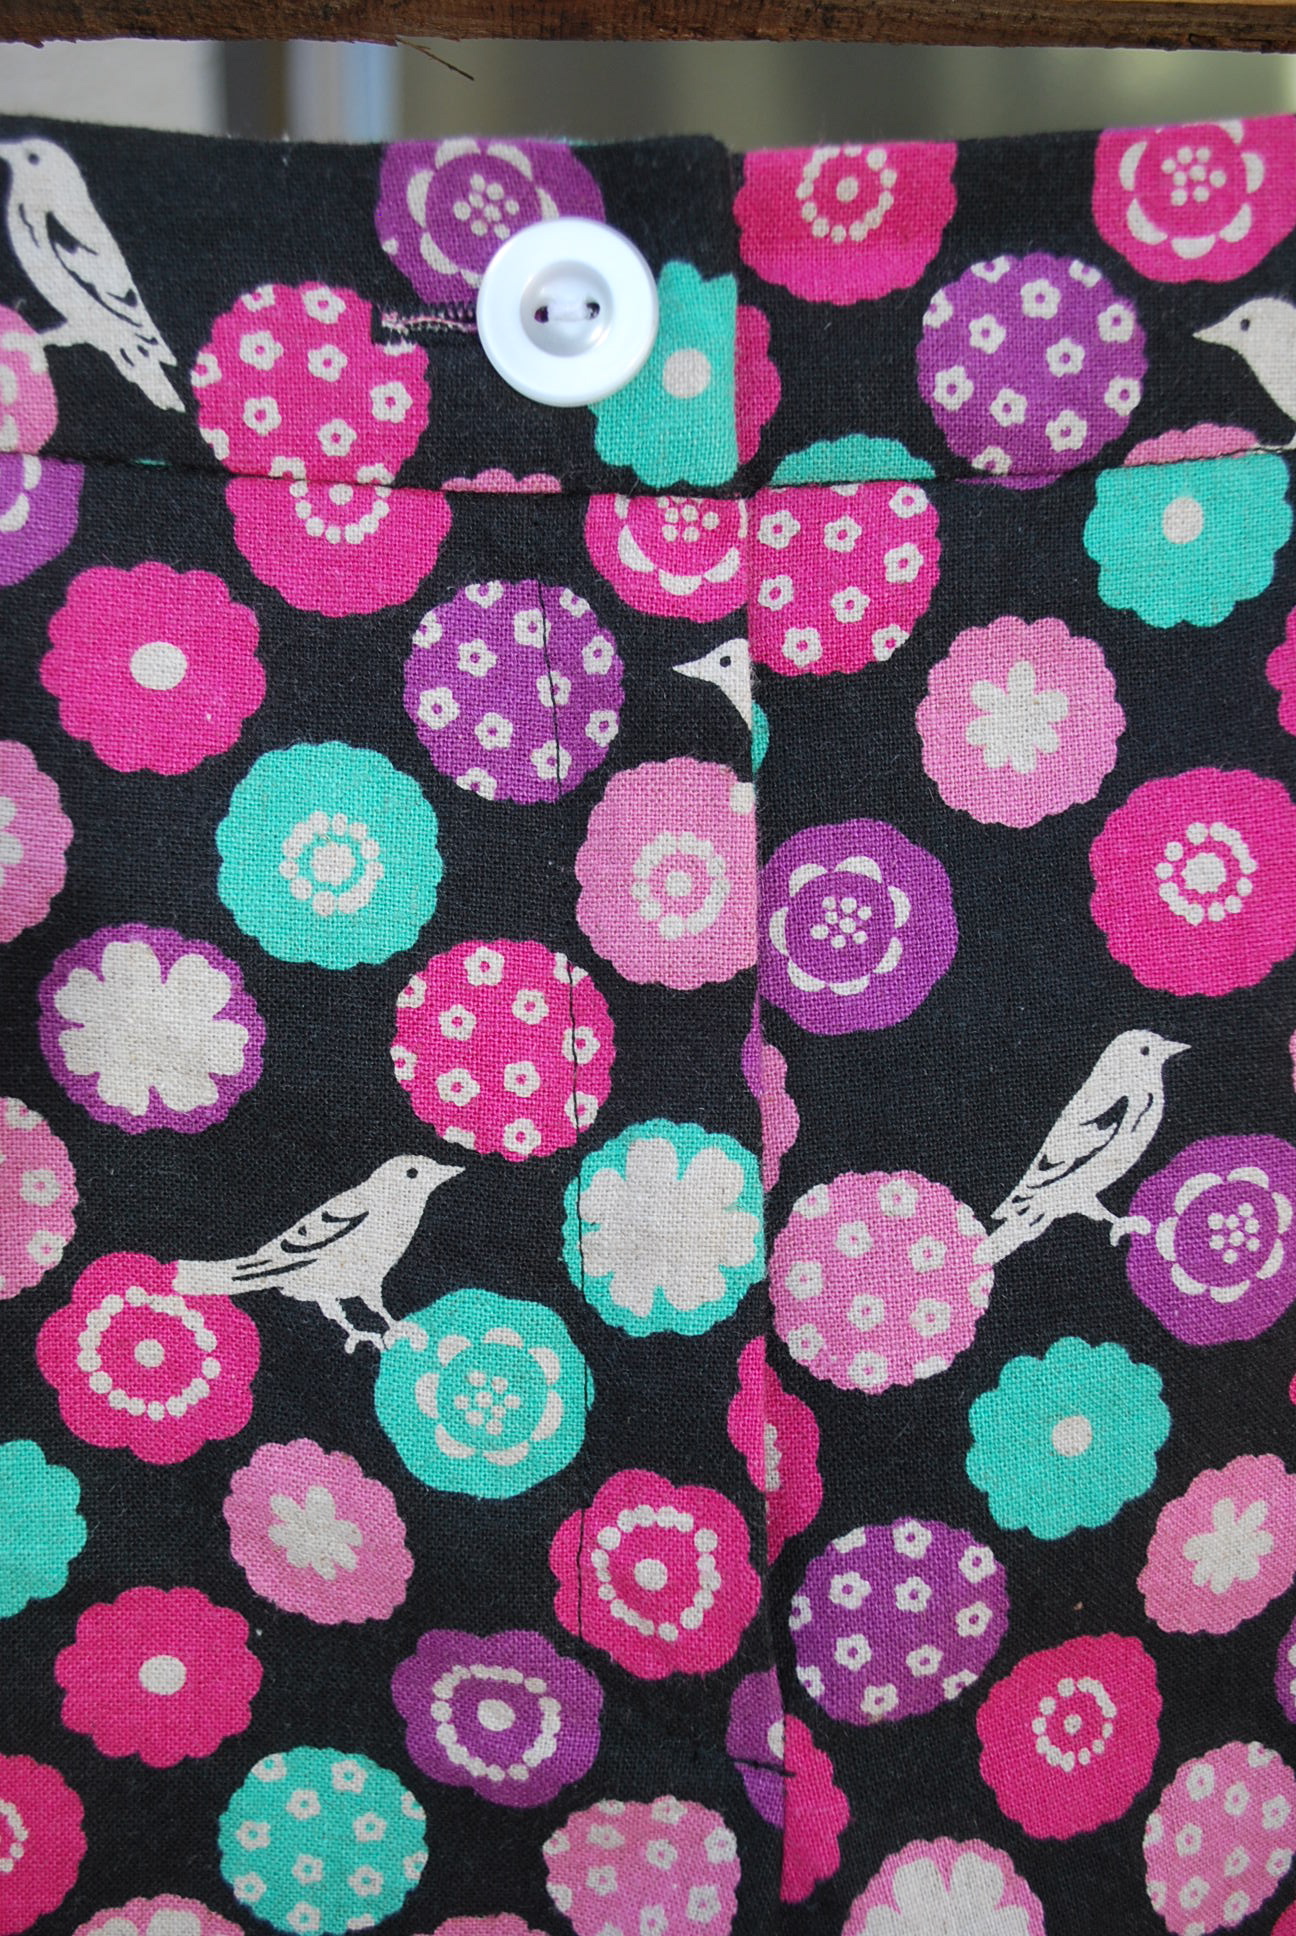
To complete the waistband, I used the “stitch-in-the-ditch” technique.

I did a machine blind hem.
LET’S BE HONEST:
1. Once again, this pattern is labeled “easy.” I would warn a beginner sewist not to attempt this pattern without access to help from an “in person,” experienced sewist, especially with techniques such as a front fly and waistband. I find the instructions to be a bit assumptive about a person’s knowledge and also found a few small discrepancies in the text and or illustrations that might be confusing without previous experience.
2. I’m not as big as I think. Erroring on the side of caution, I cut an 18! I did end up taking it in on the sides and back middle seam after my first fitting. I realize now that I was a little rusty at estimating my “wearing ease” for close fitting garments. 1″ at the waist and 2″ at the hips beyond your actual measurements should be fine.
3. I wanted the shorts to hit somewhere along my upper knee cap. I ended up cutting off 2″ of fabric before doing my 1 1/4″ hem.
4. Side note – I broke my boycott to not buy any “fast fashion” to have a shirt to wear in my photos. I bought the shirt on sale at Old Navy, and hemmed it up 3″. Hopefully I will find some time to make the perfect shirt to wear with my shorts.
Overall I am happy with my Strolling Shorts. I wore them to make puppets with third graders this morning! Thank you for reading my post and I welcome your comments. Lori