I am keeping true to my declaration of wearing more dresses and skirts, and less jean shorts and capris for spring and summer. I’m building my collection of warm weather clothing with a versatile sleeveless dress for Fresh Make #8.
 The pattern I choose is Butterick 5781. I purchased it at JoAnn’s Fabrics for $1.40 as part of their 5 Butterick patterns for $7 sale. This style of dress seems to have made a bit of a comeback, and it’s been years and years since I made a dress comfy dress like this for myself. I named it the Sunshine Jumper because, while it’s a sundress, it can also be worned with a t-shirt underneath.
 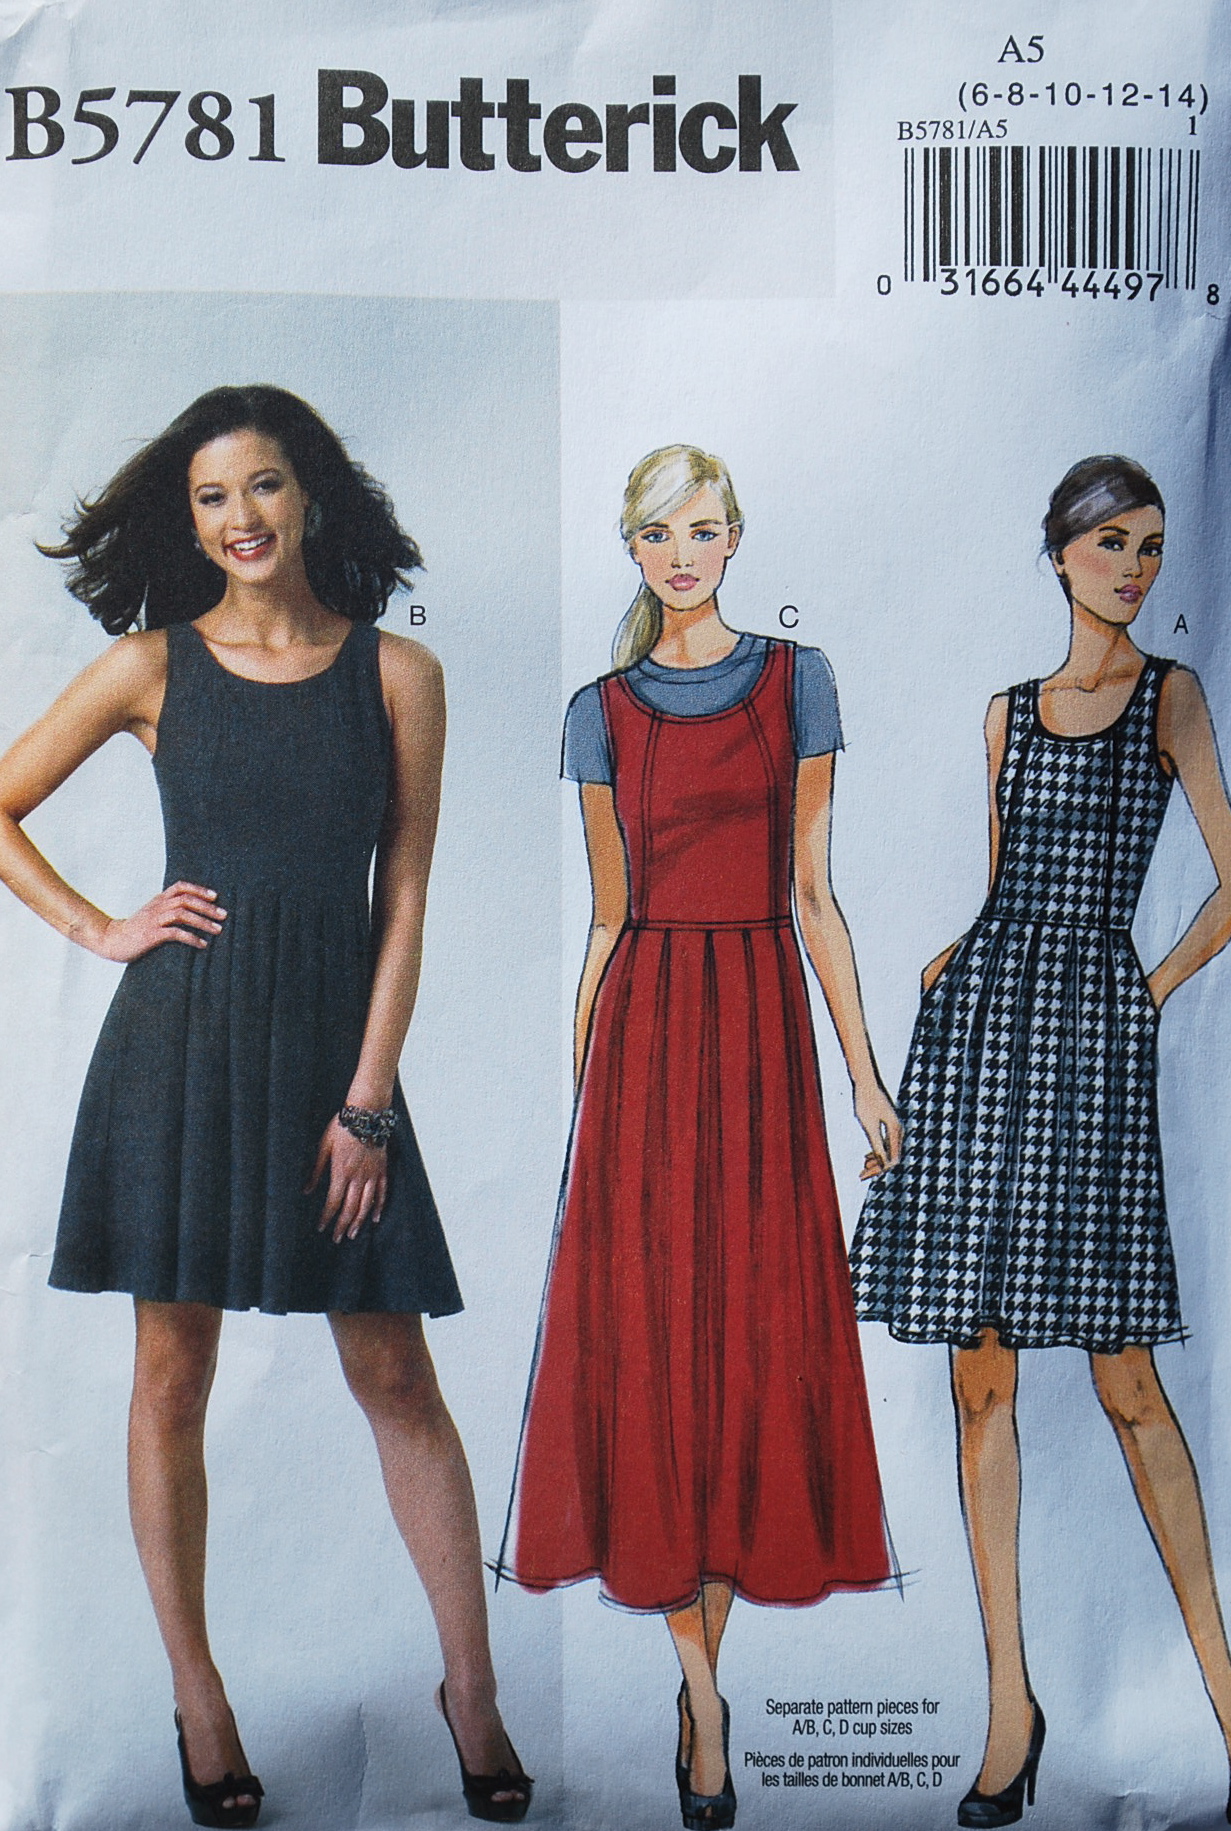 I purchased the fabric from my favorite online fabric store, Hawthorne Threads. The prints are by Lotta Jansdotter, specifically, Blomster in Coral from the Mormor collection and Ruta in White from the Sylvia collection. The fabric is quilting weight, 100% cotton, perfect for this dress. The fabric was $9.25 per yard, and I needed about 1 yard for the bodice and 2 yards for the skirt. I also lined the bodice with 1 yard of white cotton from JoAnn’s.

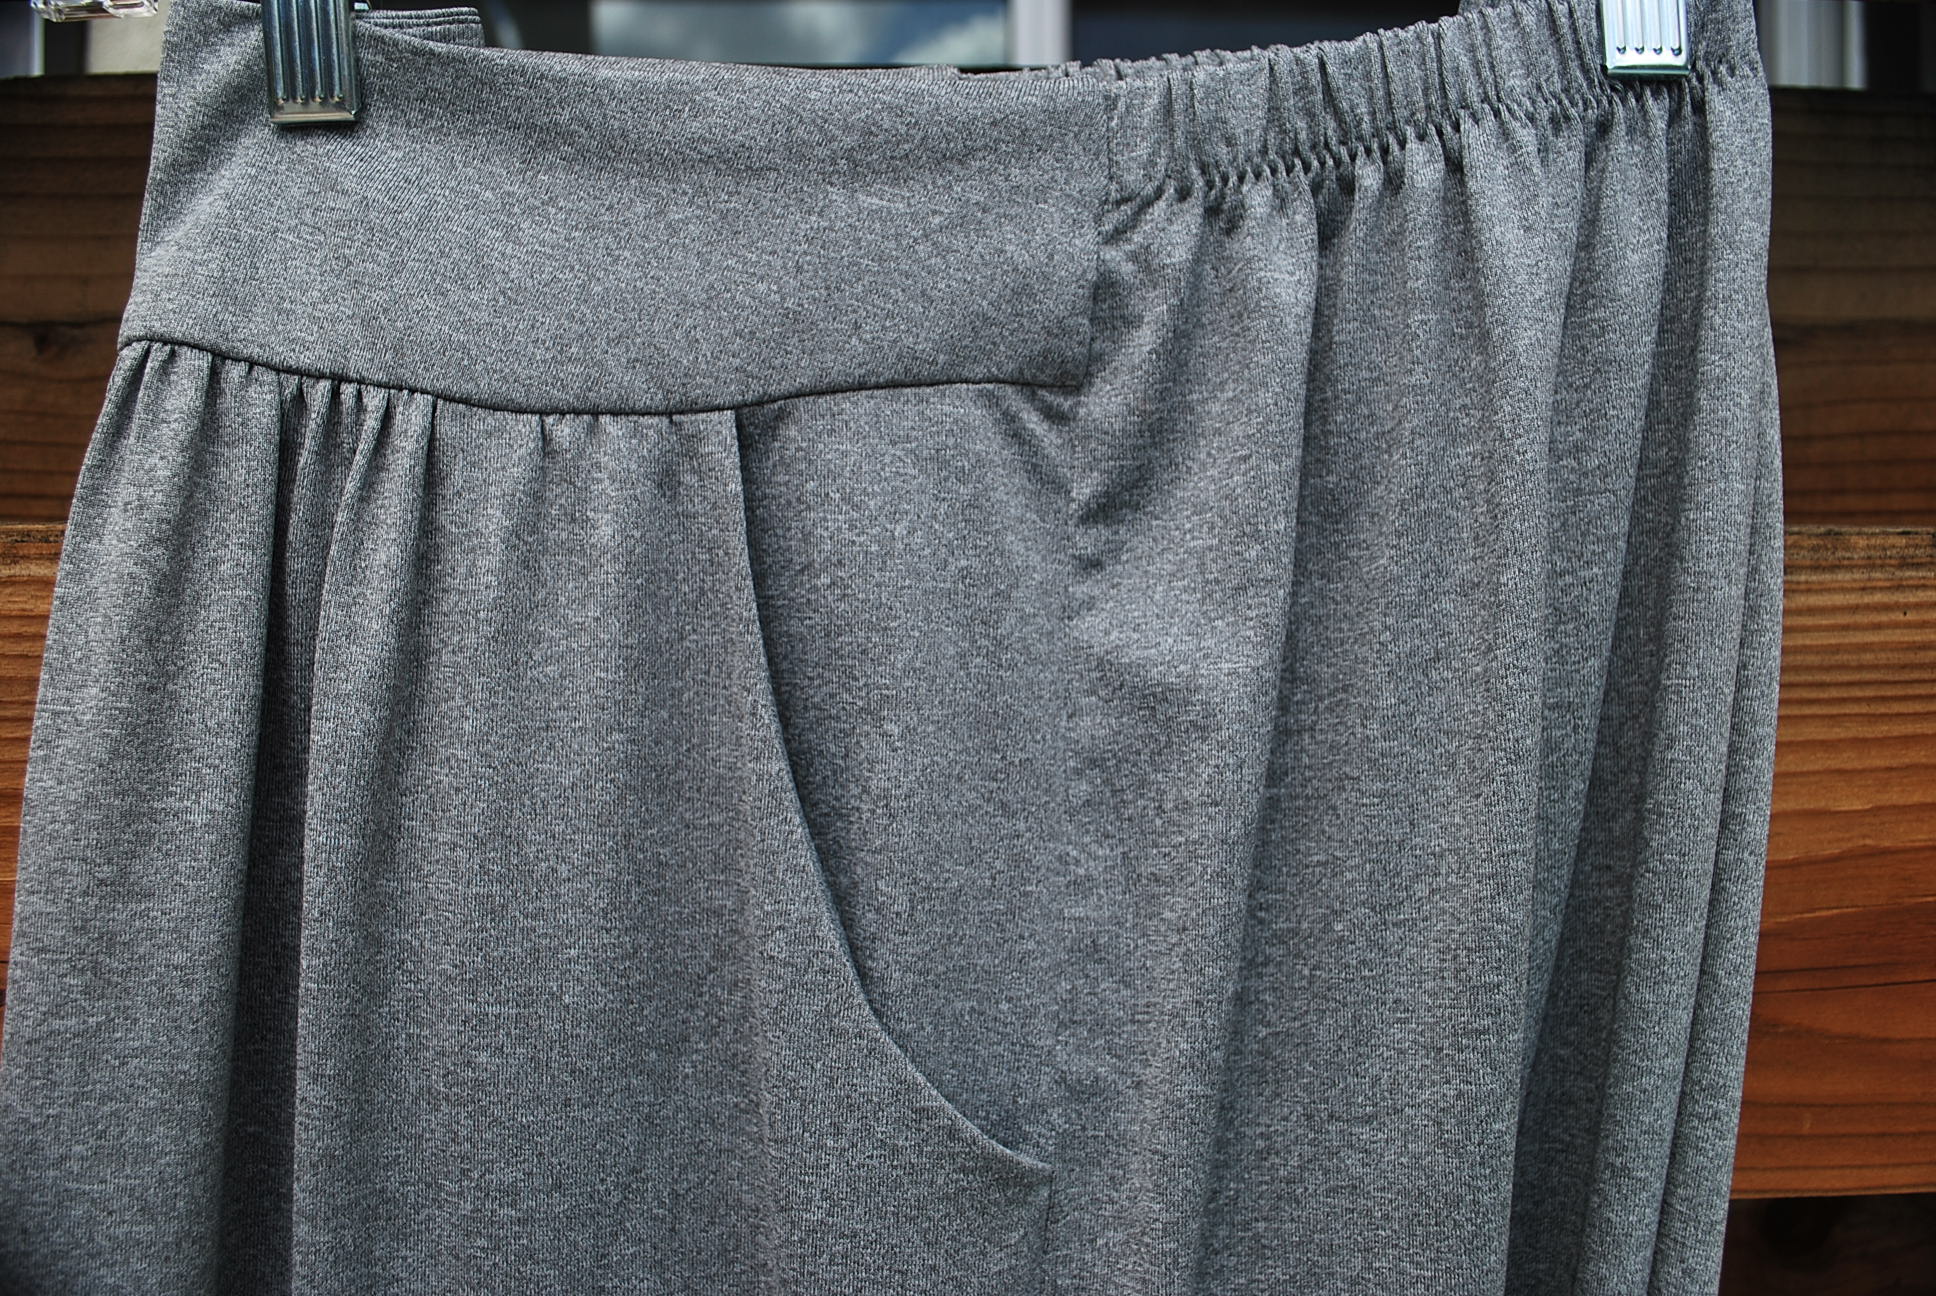
The dress has hidden seam pockets.
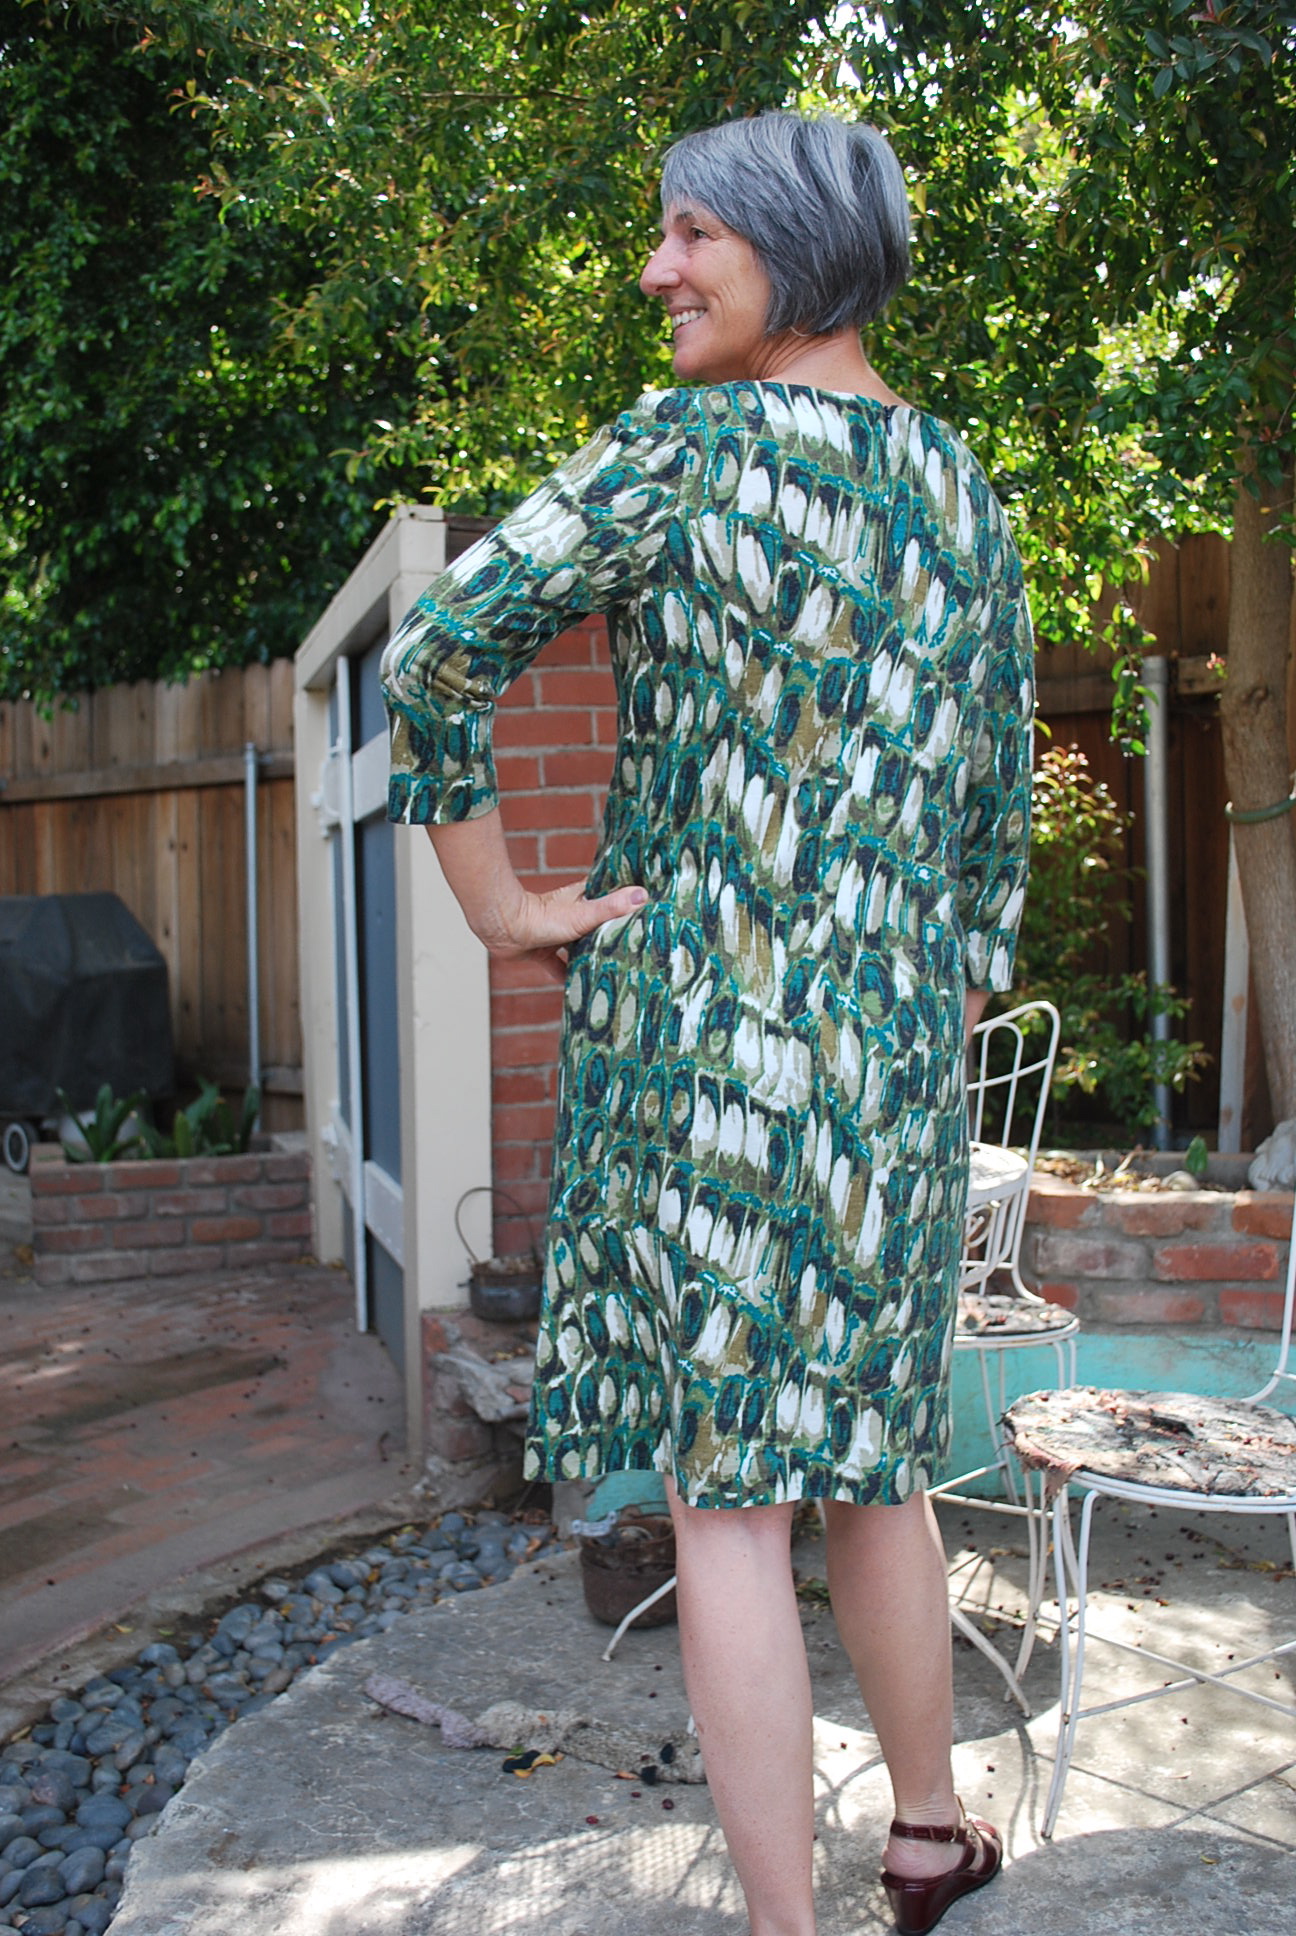
I’m not sure a have the perfect shoes for this dress. I think I might need to go shopping! I’m modeling it with two different types of sandals to show the versatility of the dress. 


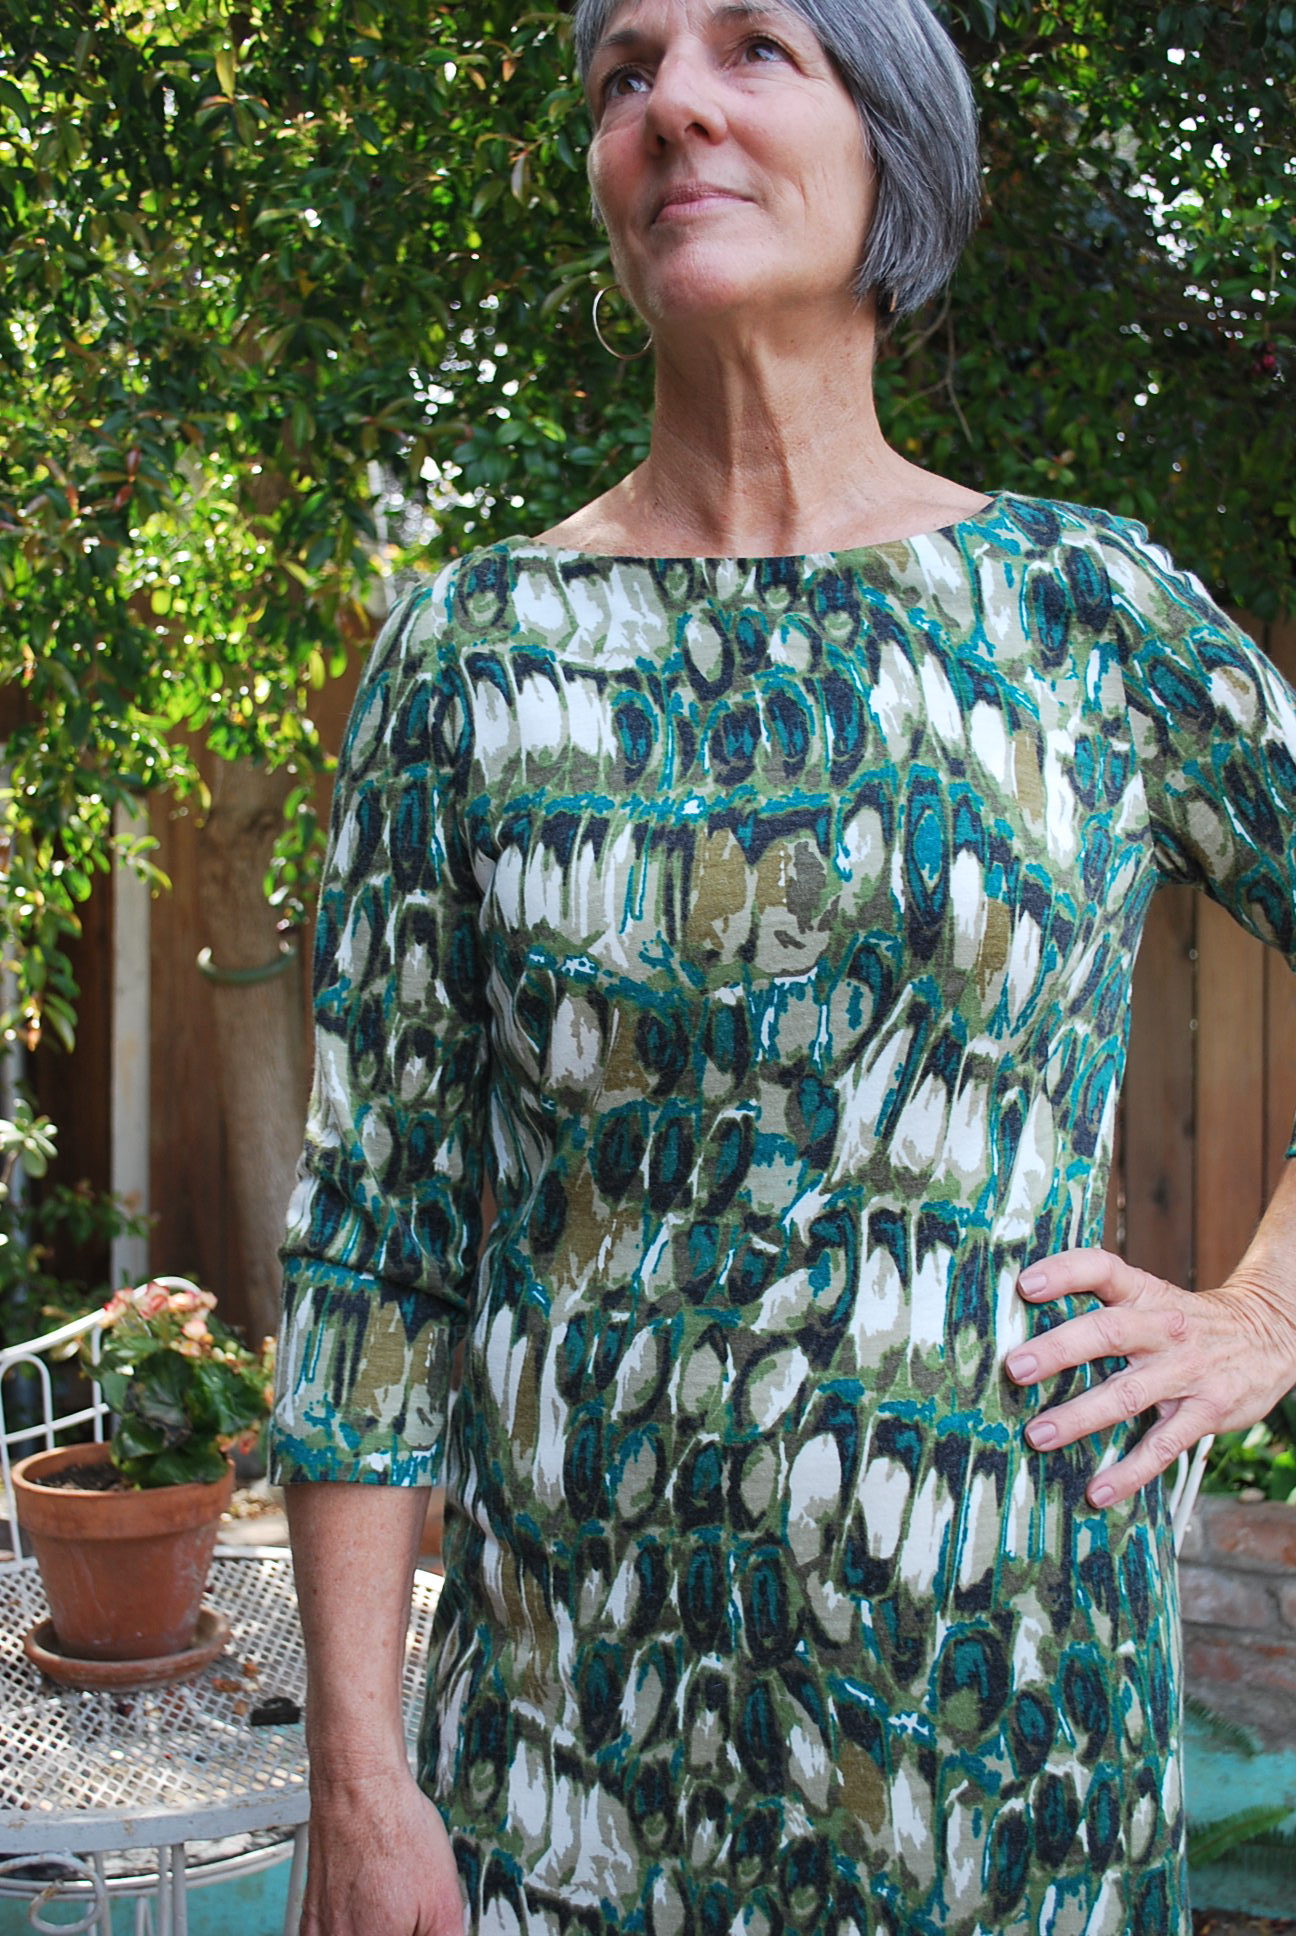
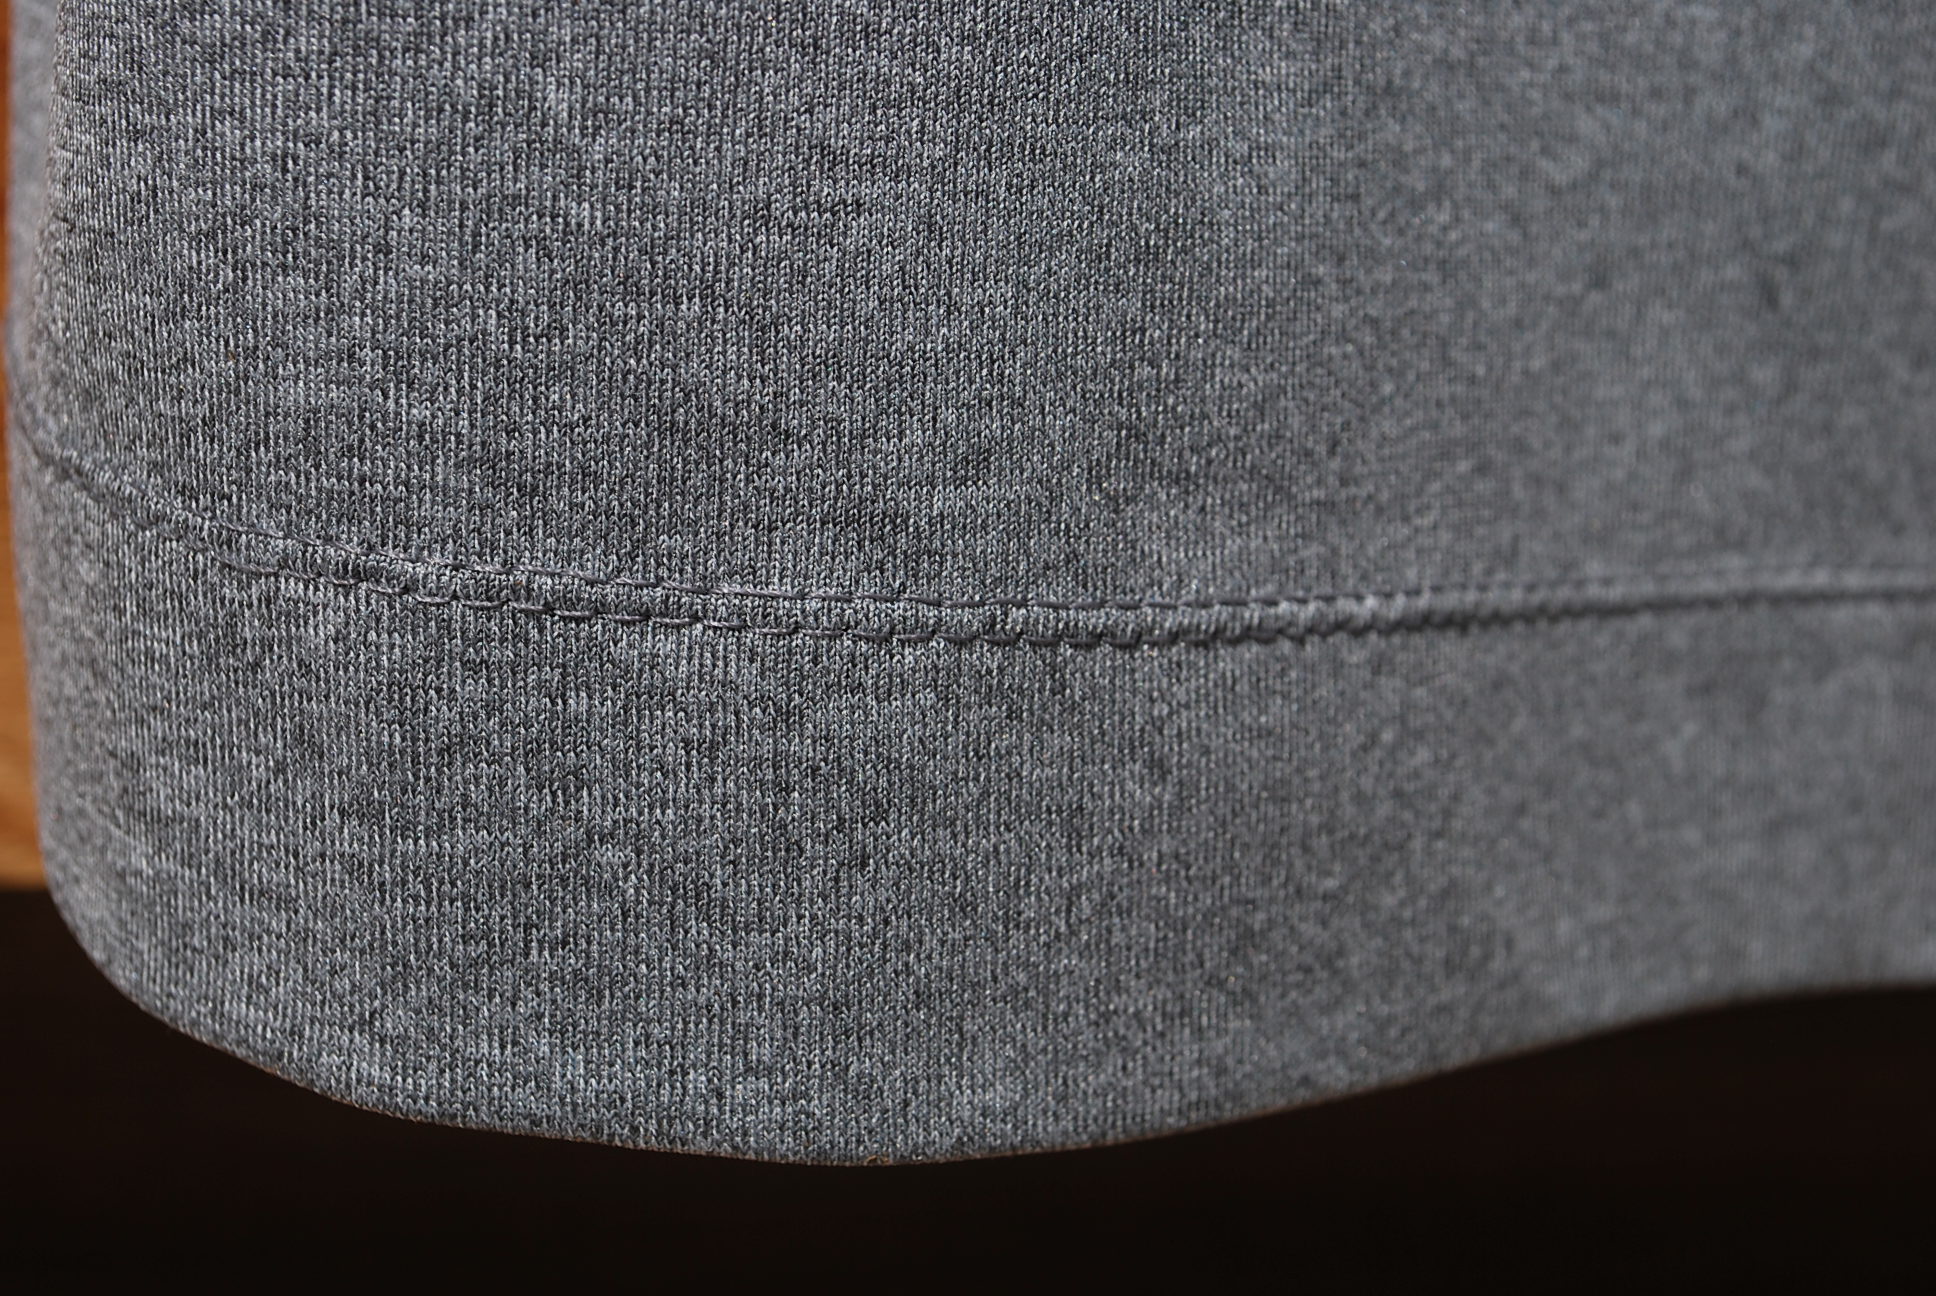
The feel and style of the dress lent itself to some double white topstitching on the bodice.
 The bodice is fully lined and all the seams are overlocked. The hand-sewn hem is 2″ wide.
LET’S BE HONEST:
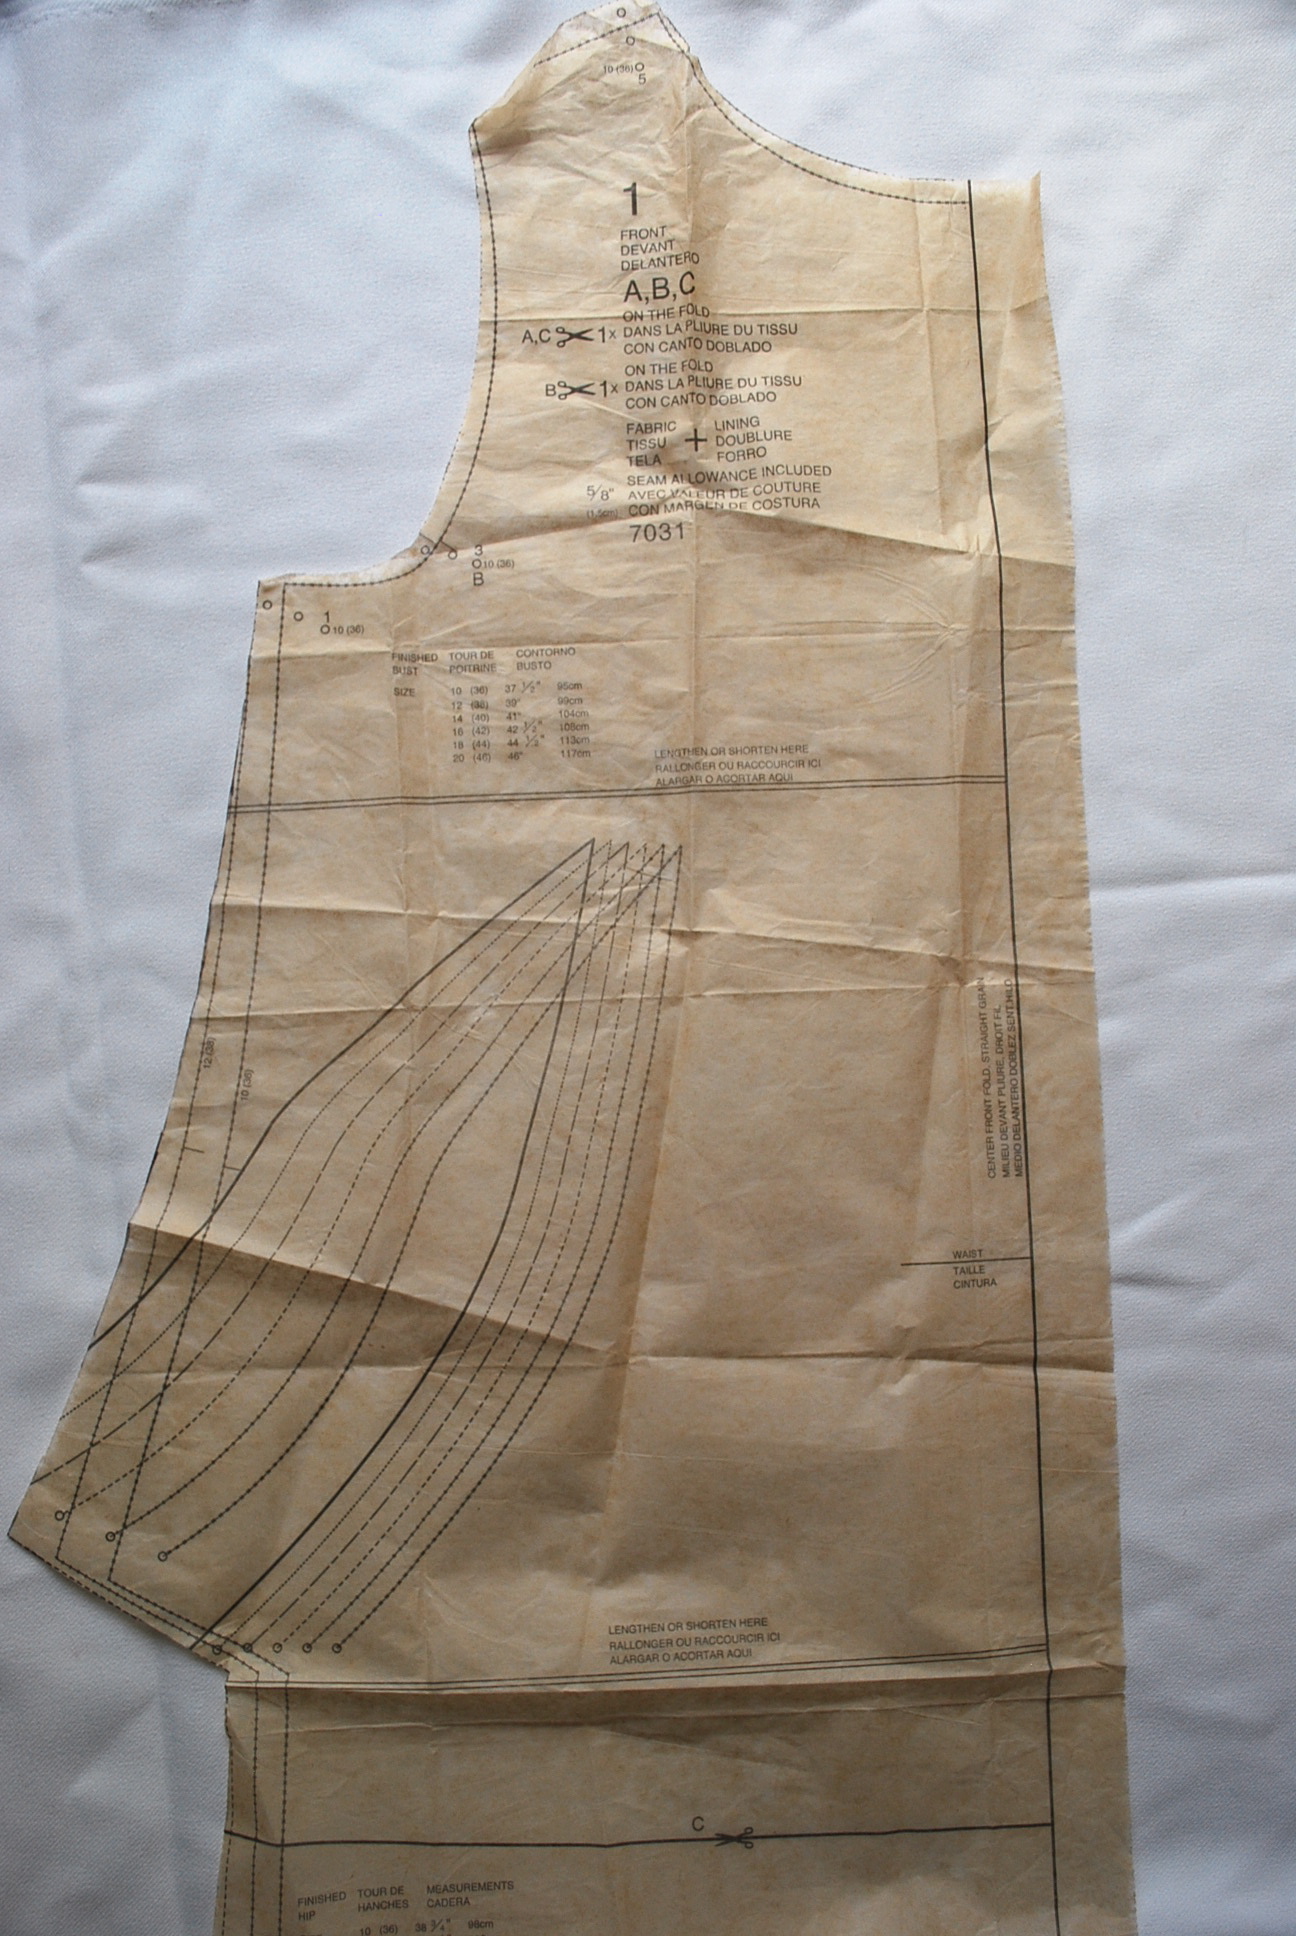
1. The Butterick pattern is labeled Easy. In reality, it is easy for an experienced sewer. There are quite a few techniques that wouldn’t be easy if you were doing them for the first time such as facings, zipper, pleats, and princess seams. Overall there are no surprises or odd features to this pattern.
2. There’s no other way of saying it – I am small busted. The advantage for me of constructing my own garments is I can balance out my portions by custom fitting. With this pattern, I was going for more of a semi-fitted bodice, rather than a fitted one because I felt like a fitted bodice would emphasize the discrepancy in size between my top and bottom half, especially with a full skirt. This pattern had different bodice pattern pieces for A/B, C, and D cups. Of course I used the A/B pattern piece and still took it in at the bust after my first try-on. I took it in again at the side seams after my second try-on. I eventually achieved the fit I wanted.
3. I LOVE the pleats on the skirt. I was hesitant to make a dress with a full skirt because my extra inches through my mid-section. But these pleats lay completely flat with no extra poof where you don’t need it. I’m still staying away from gathers, but yes, I can do pleats!
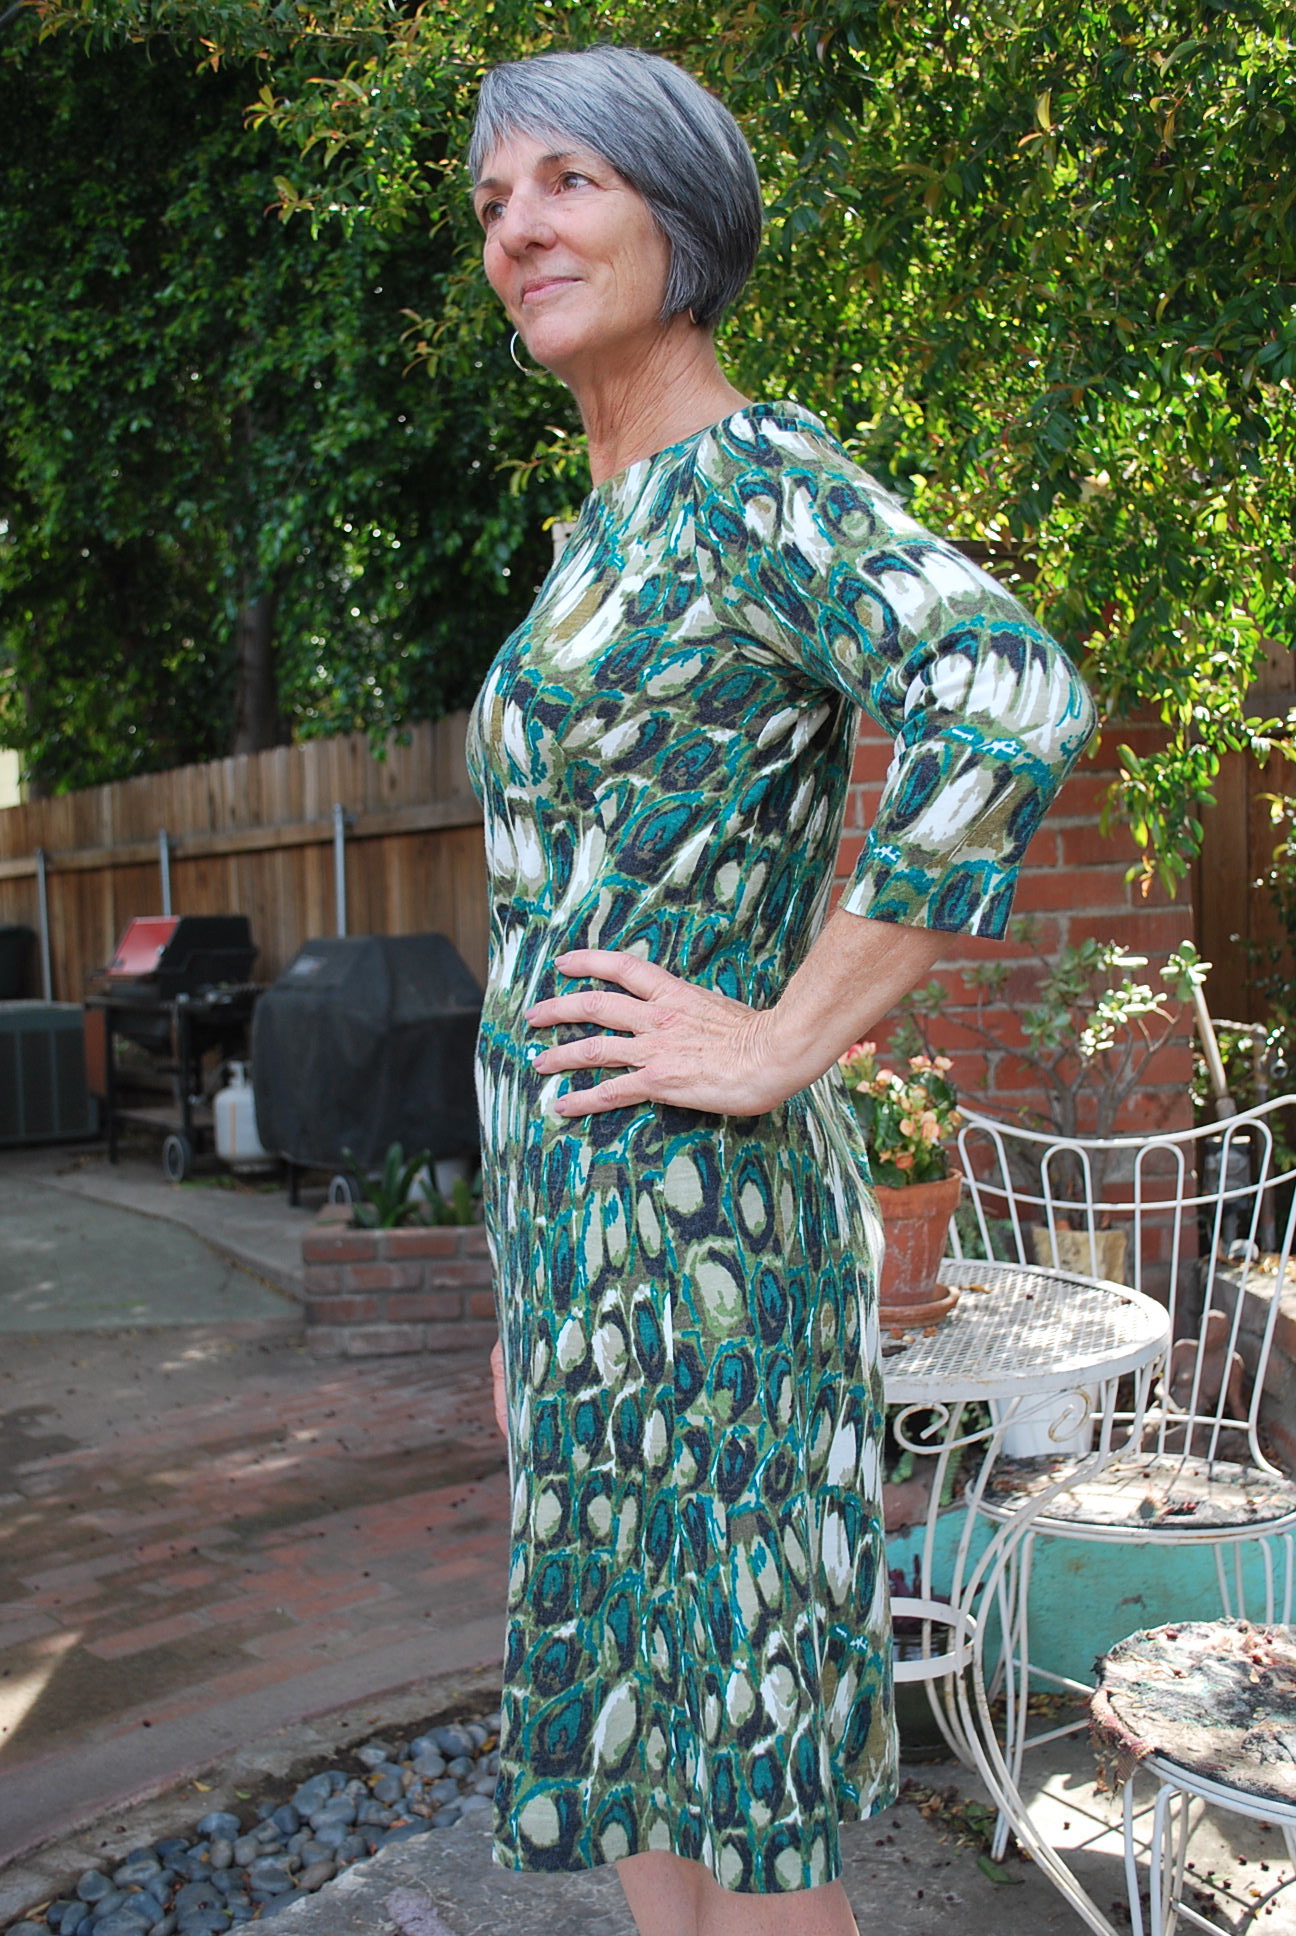
4. I wanted my hemline to be between view A and C, so I added a few inches onto the skirt A length pattern piece before cutting out the fabric. I like my hem to hit right below the knee cap at the narrowist part of the leg above the calf. That’s where it most flattering because you’re showing off your curves rather than cutting your leg off at a wider part.
Overall, I love my Sunshine Jumper and plan on wearing it a whole lot this summer and spring. Thank you for taking the time to read this post. I welcome your comments. Lori