As soon as I saw this pattern while shopping a Butterick pattern sale at JoAnn’s several months ago, I knew I wanted to make this for my sister-in-law who loves that 50’s retro vibe. So I am once again sewing someone else stylish for Fresh Make #18.

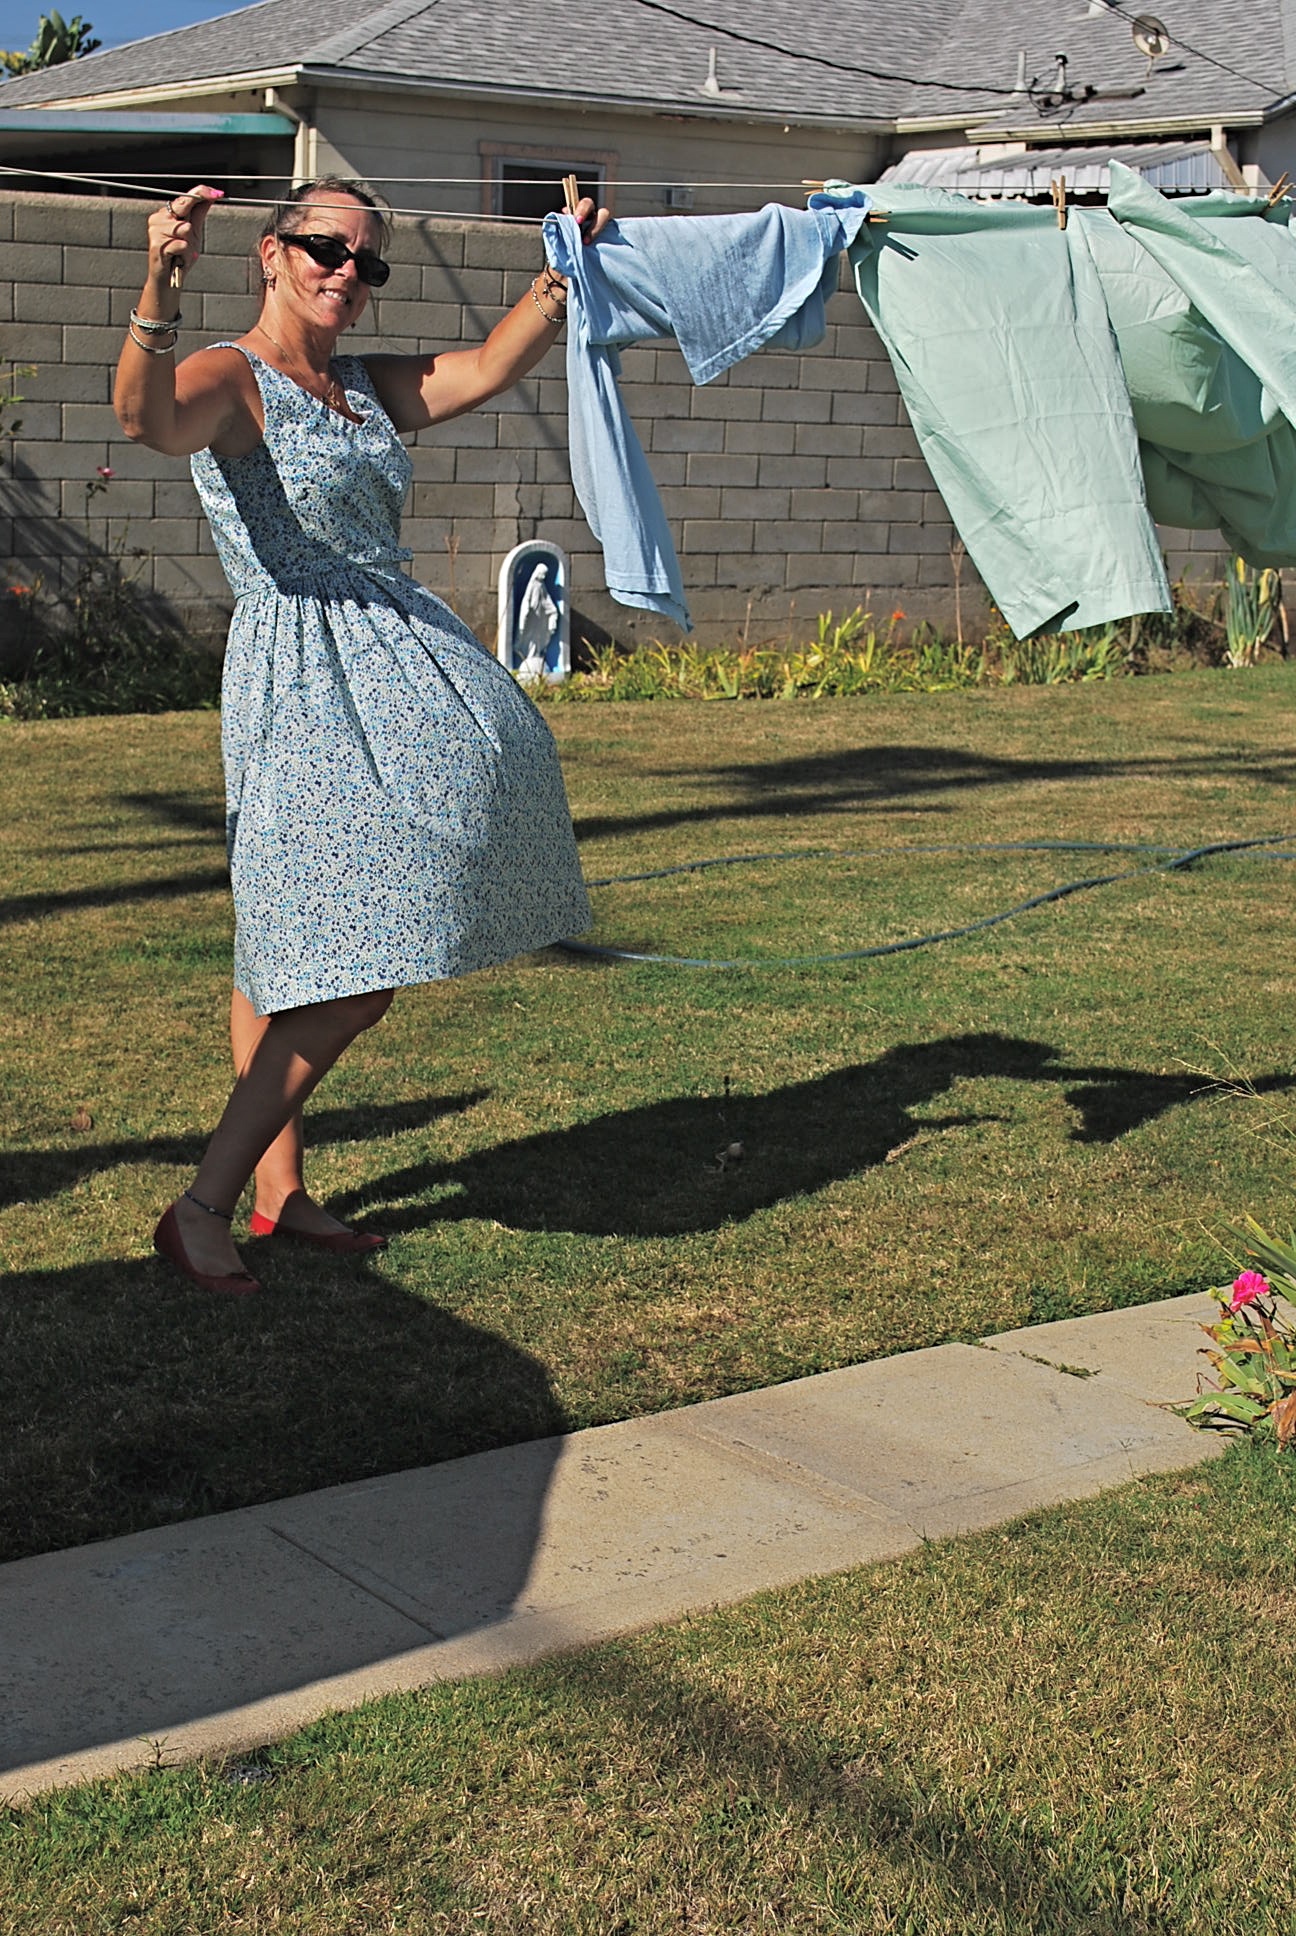
The pattern I used is Butterick 5982. I basically made a sleeveless version of view C. As mentioned above, I bought the pattern on sale at JoAnn’s for $1.40. I named it the Jennifer Dress after my sister-in-law.
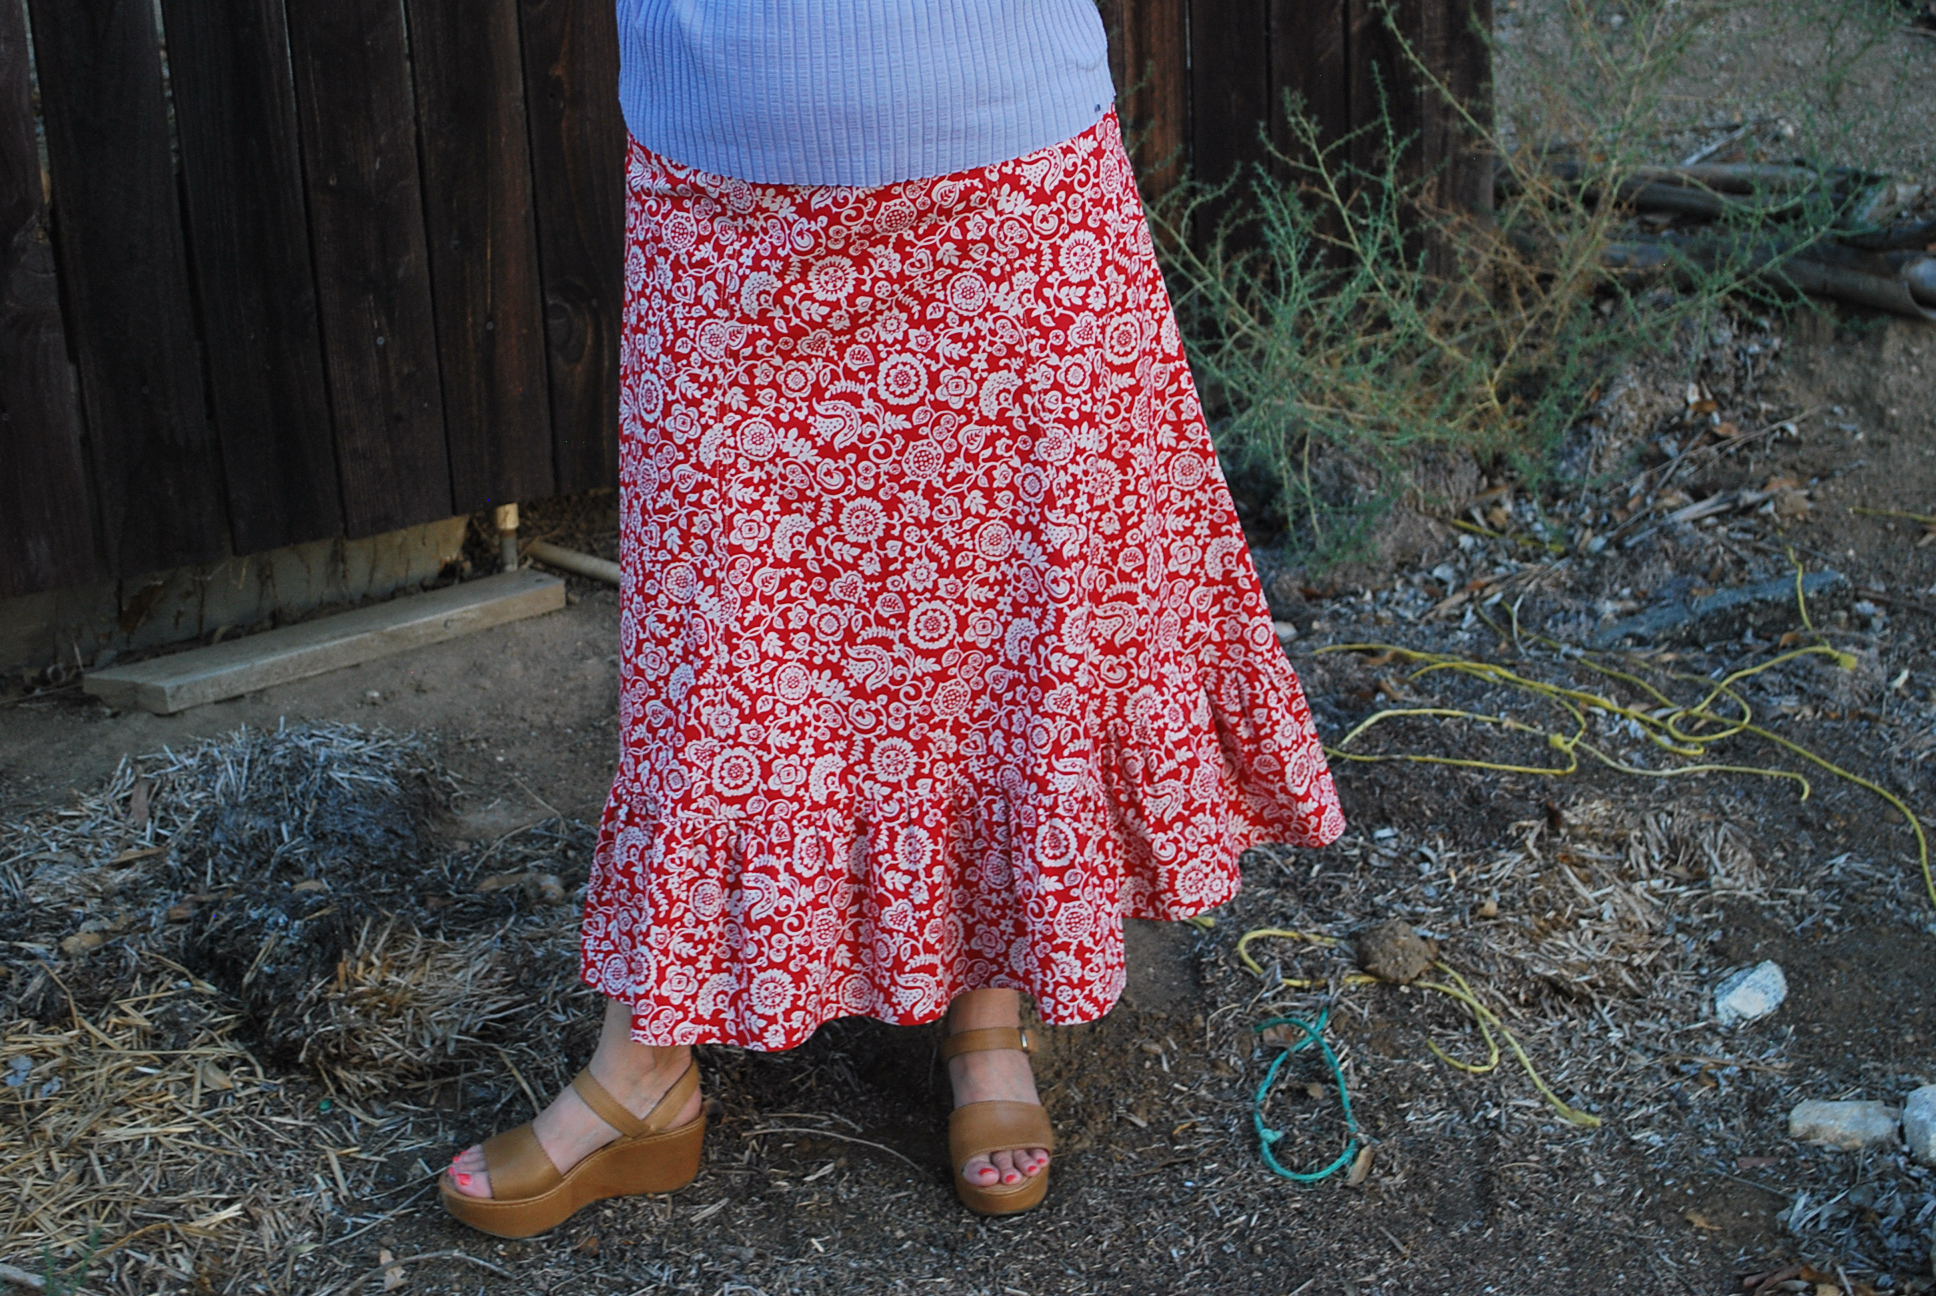
The fabric is a soft, smooth lawn cotton we purchased at The Fabric Store on La Brea Avenue in Los Angeles. My photos unfortunately do not do this fabric justice. It’s a calico like print of rich blue colored flowers set on a creamy white background, and it’s looks beautiful against Jennifer’s sun kissed skin.
One of the design details I really like about this pattern, along with that adorable bow, is the flat center skirt front. The gathers go up to an inverted pleat on both sides and then it’s flat for about 6″ in the middle. A flattering element for those of us whose waists and bellies aren’t what they used to be. (No, Jennifer, I’m not talking about you! I’m sure you would look good with gathers around the whole waist. I’m just speaking in general.)

Please excuse the coloring in this photos. I took it in the early morning and then went to Jennifer’s house and gave the dress to her. So no retakes.

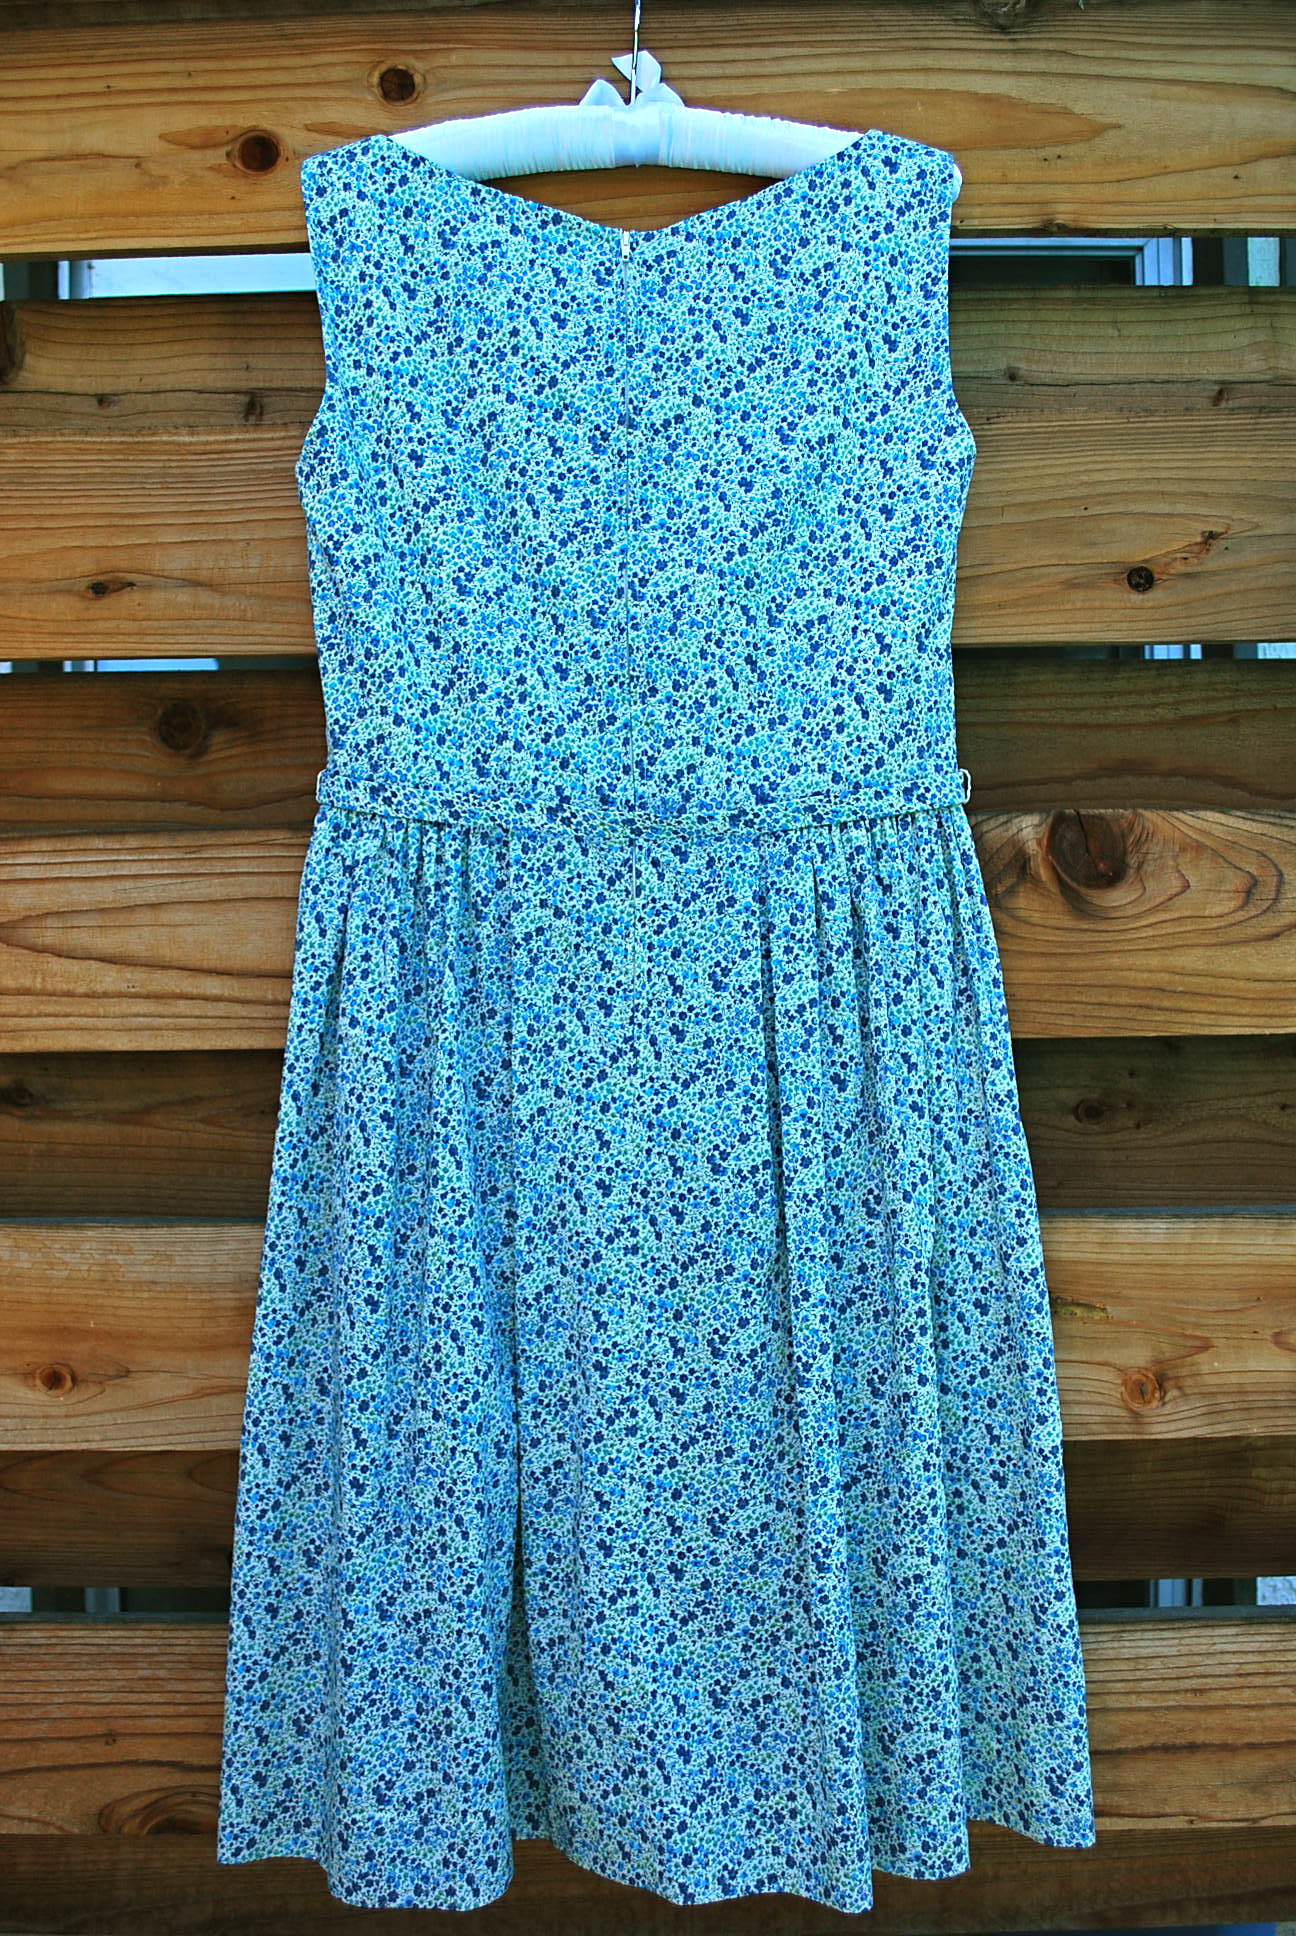
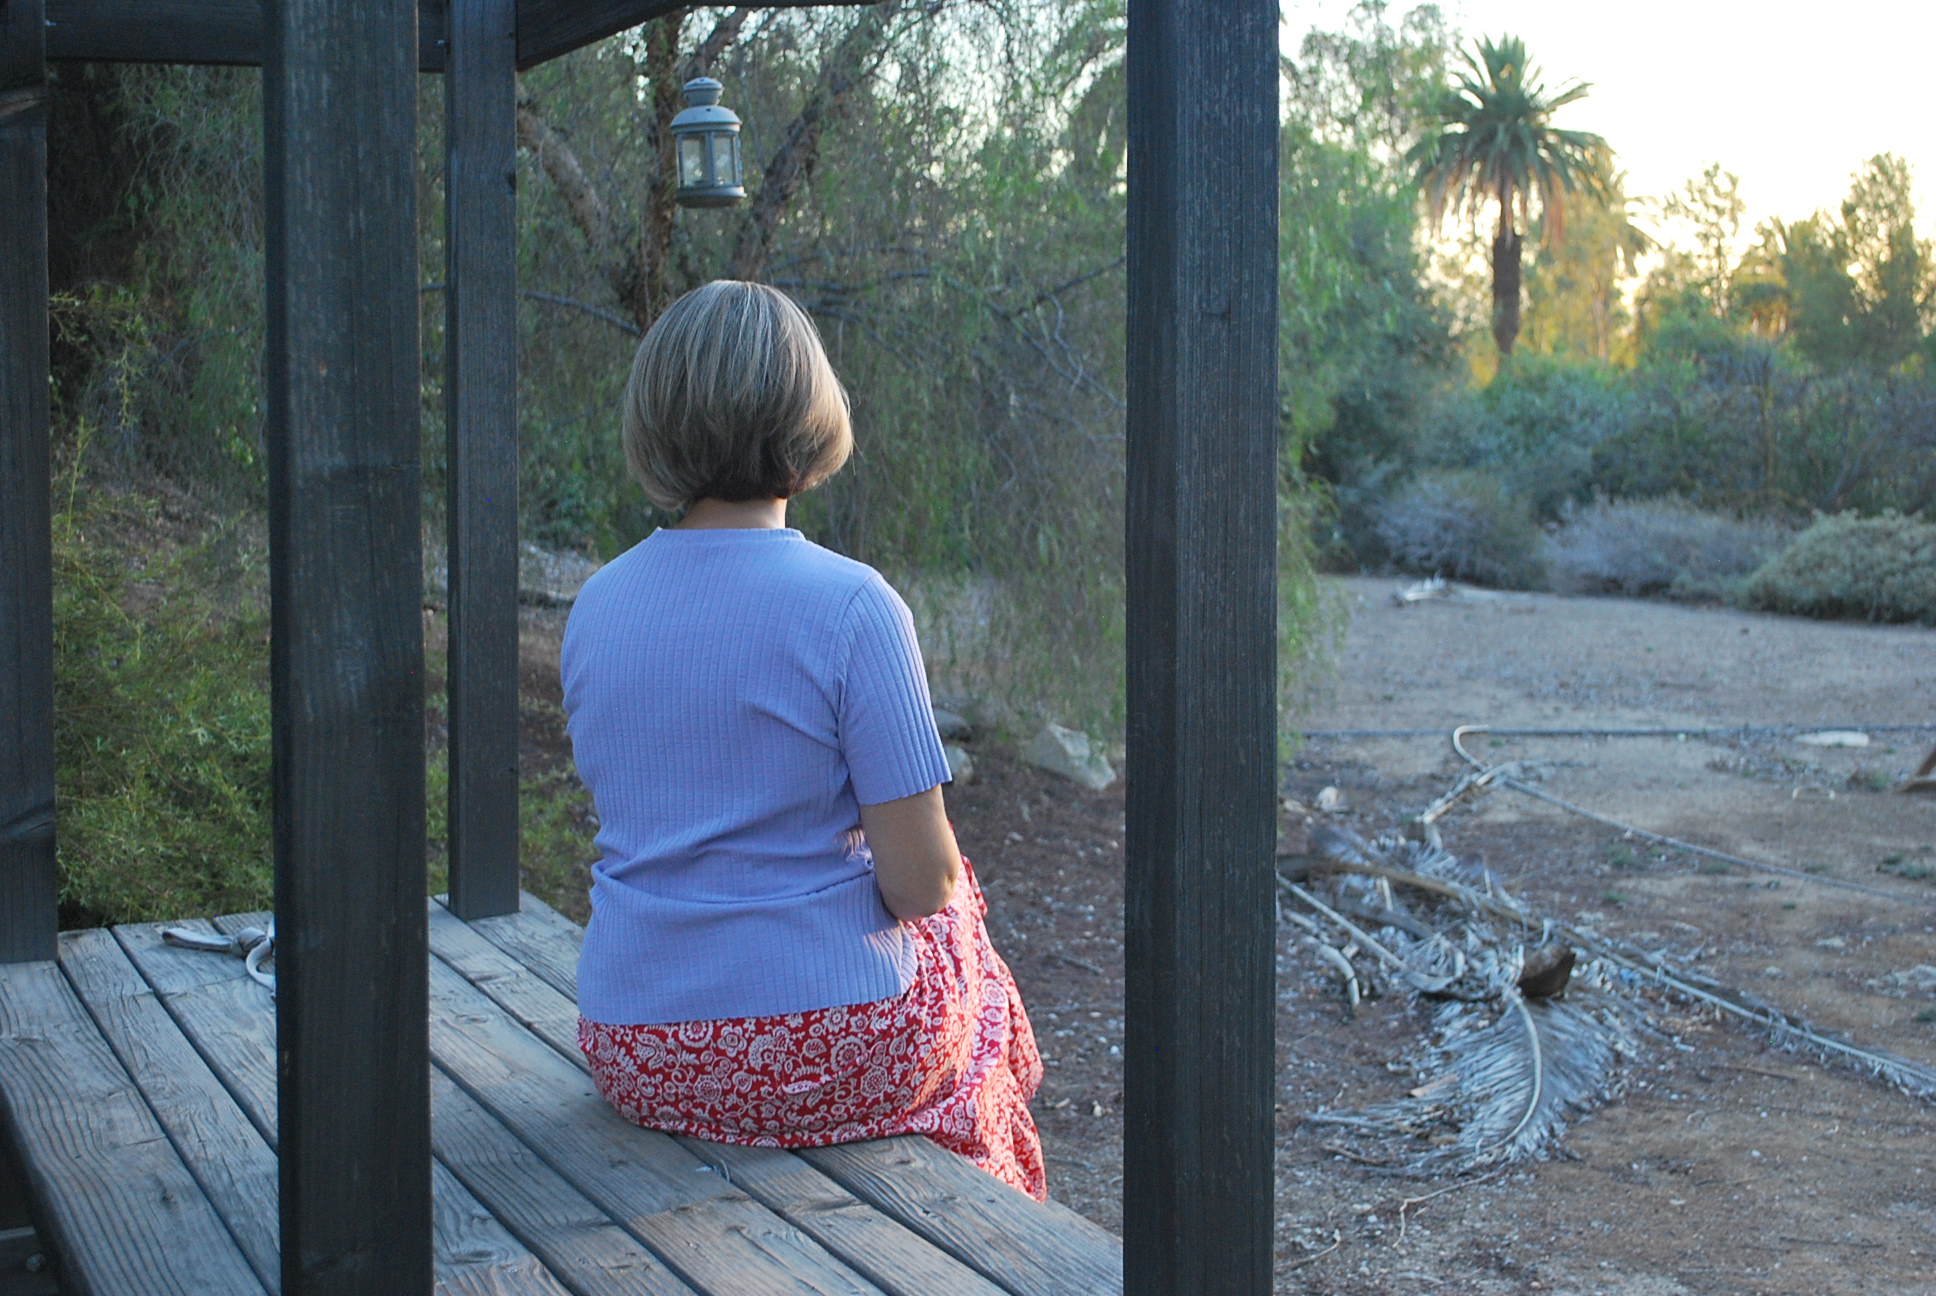
back view
You might notice some puckering at the neckline. You can read about that below if you’re interested.
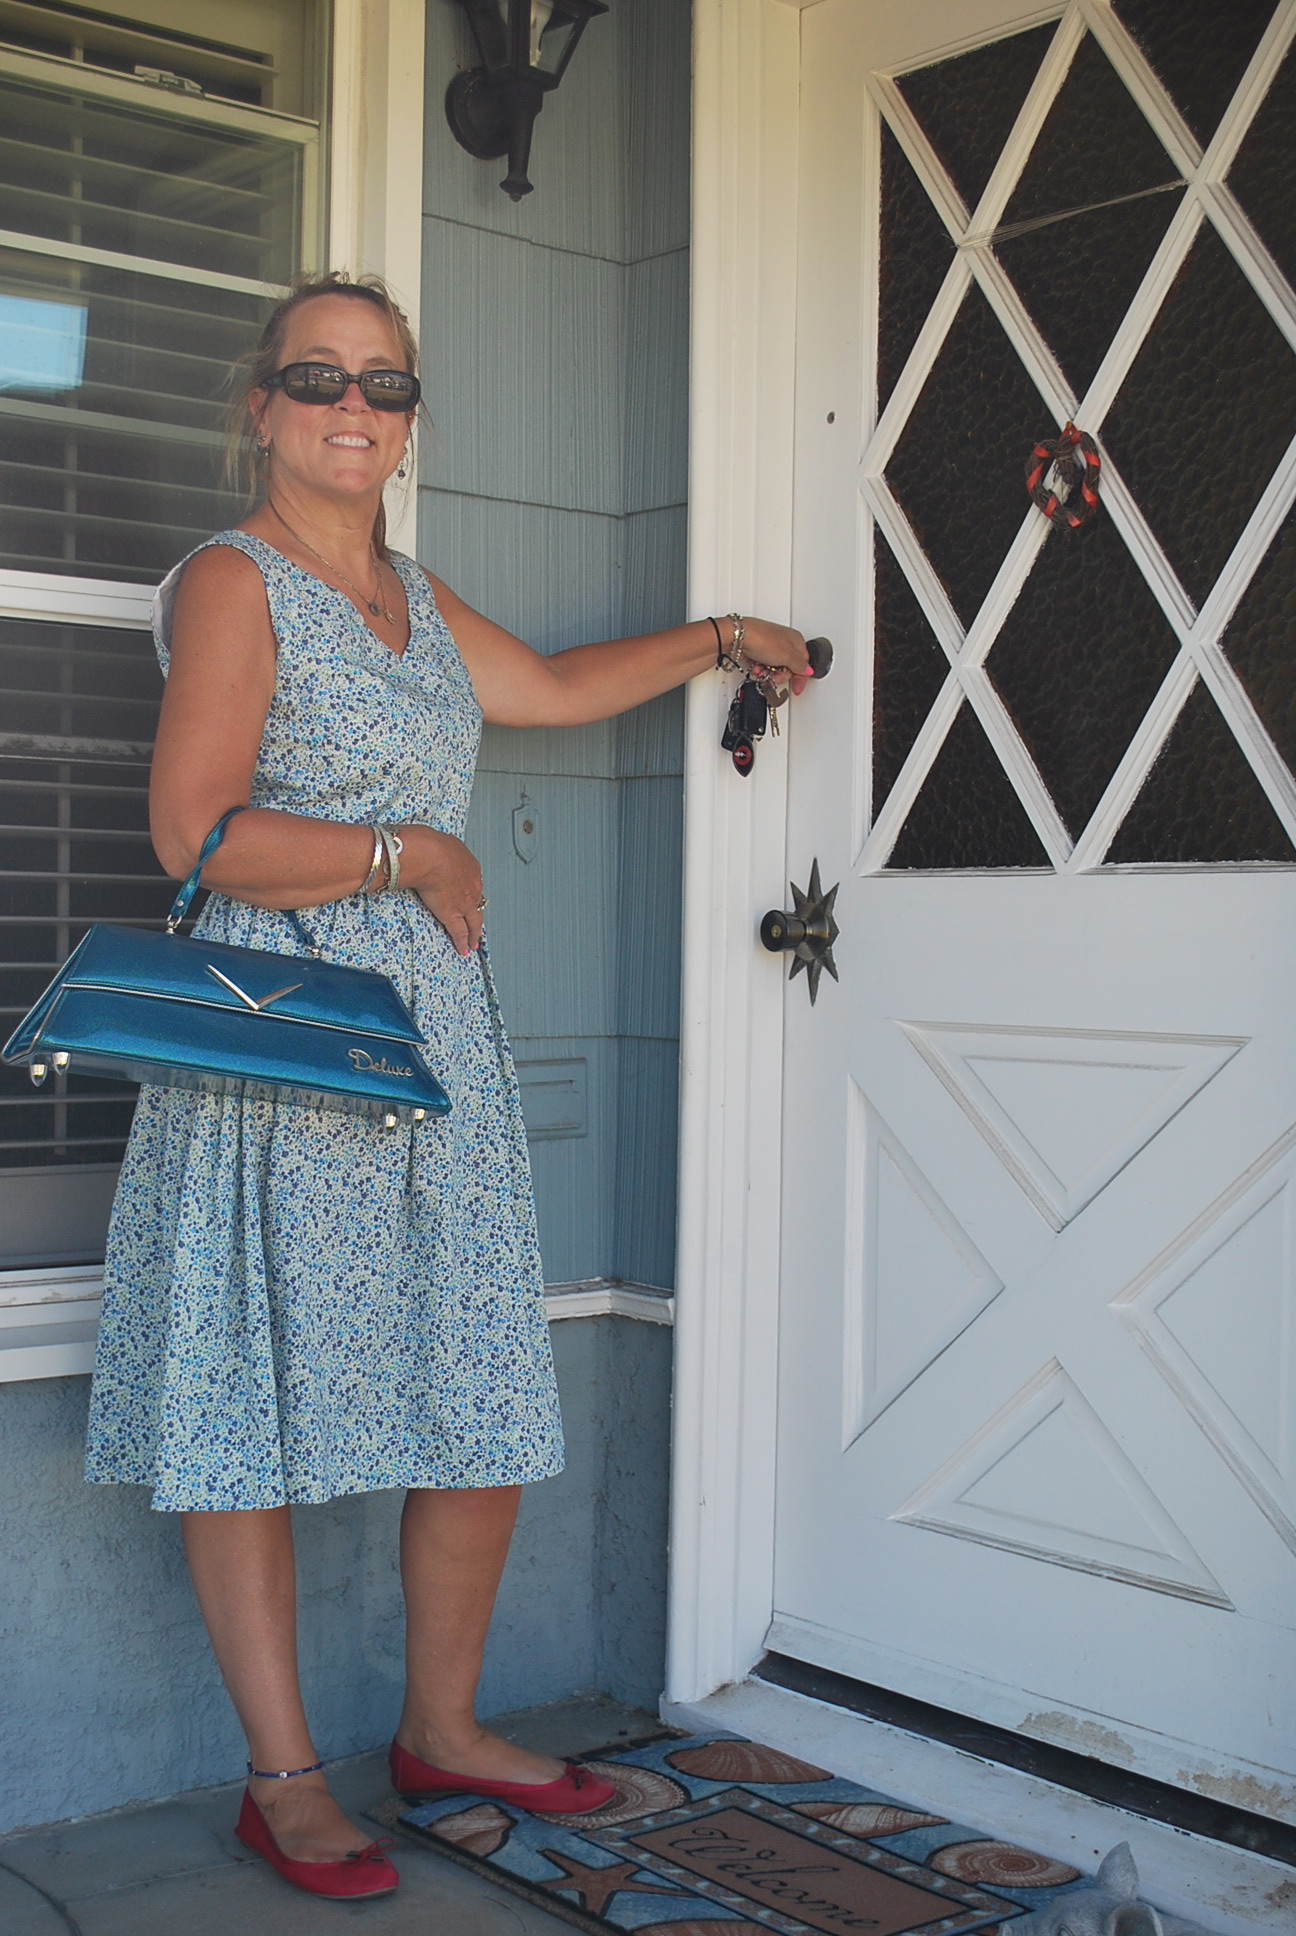
Jennifer is on the front porch of her newly purchased home!
LET’S BE HONEST:
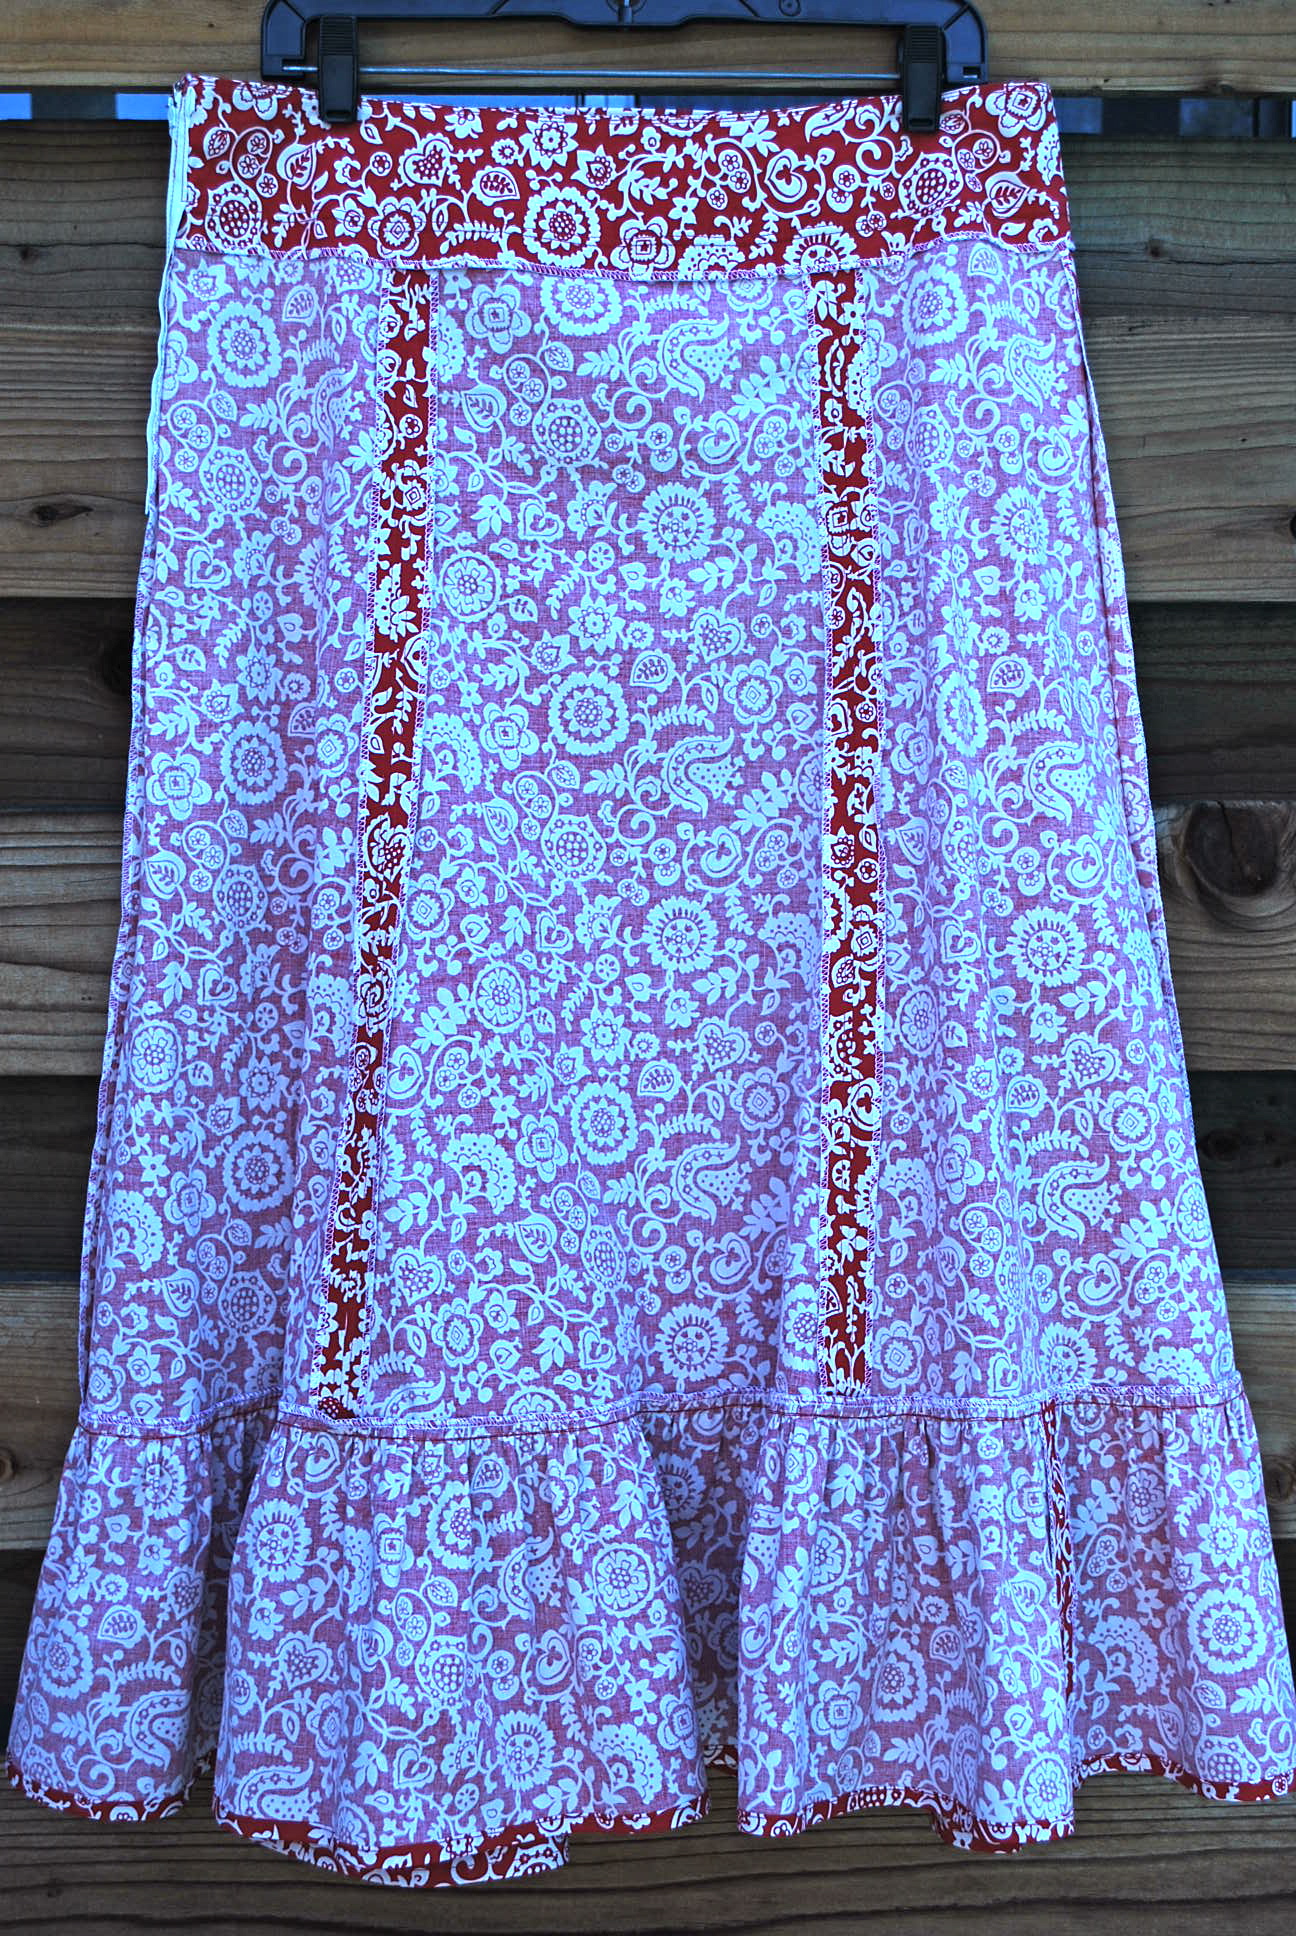
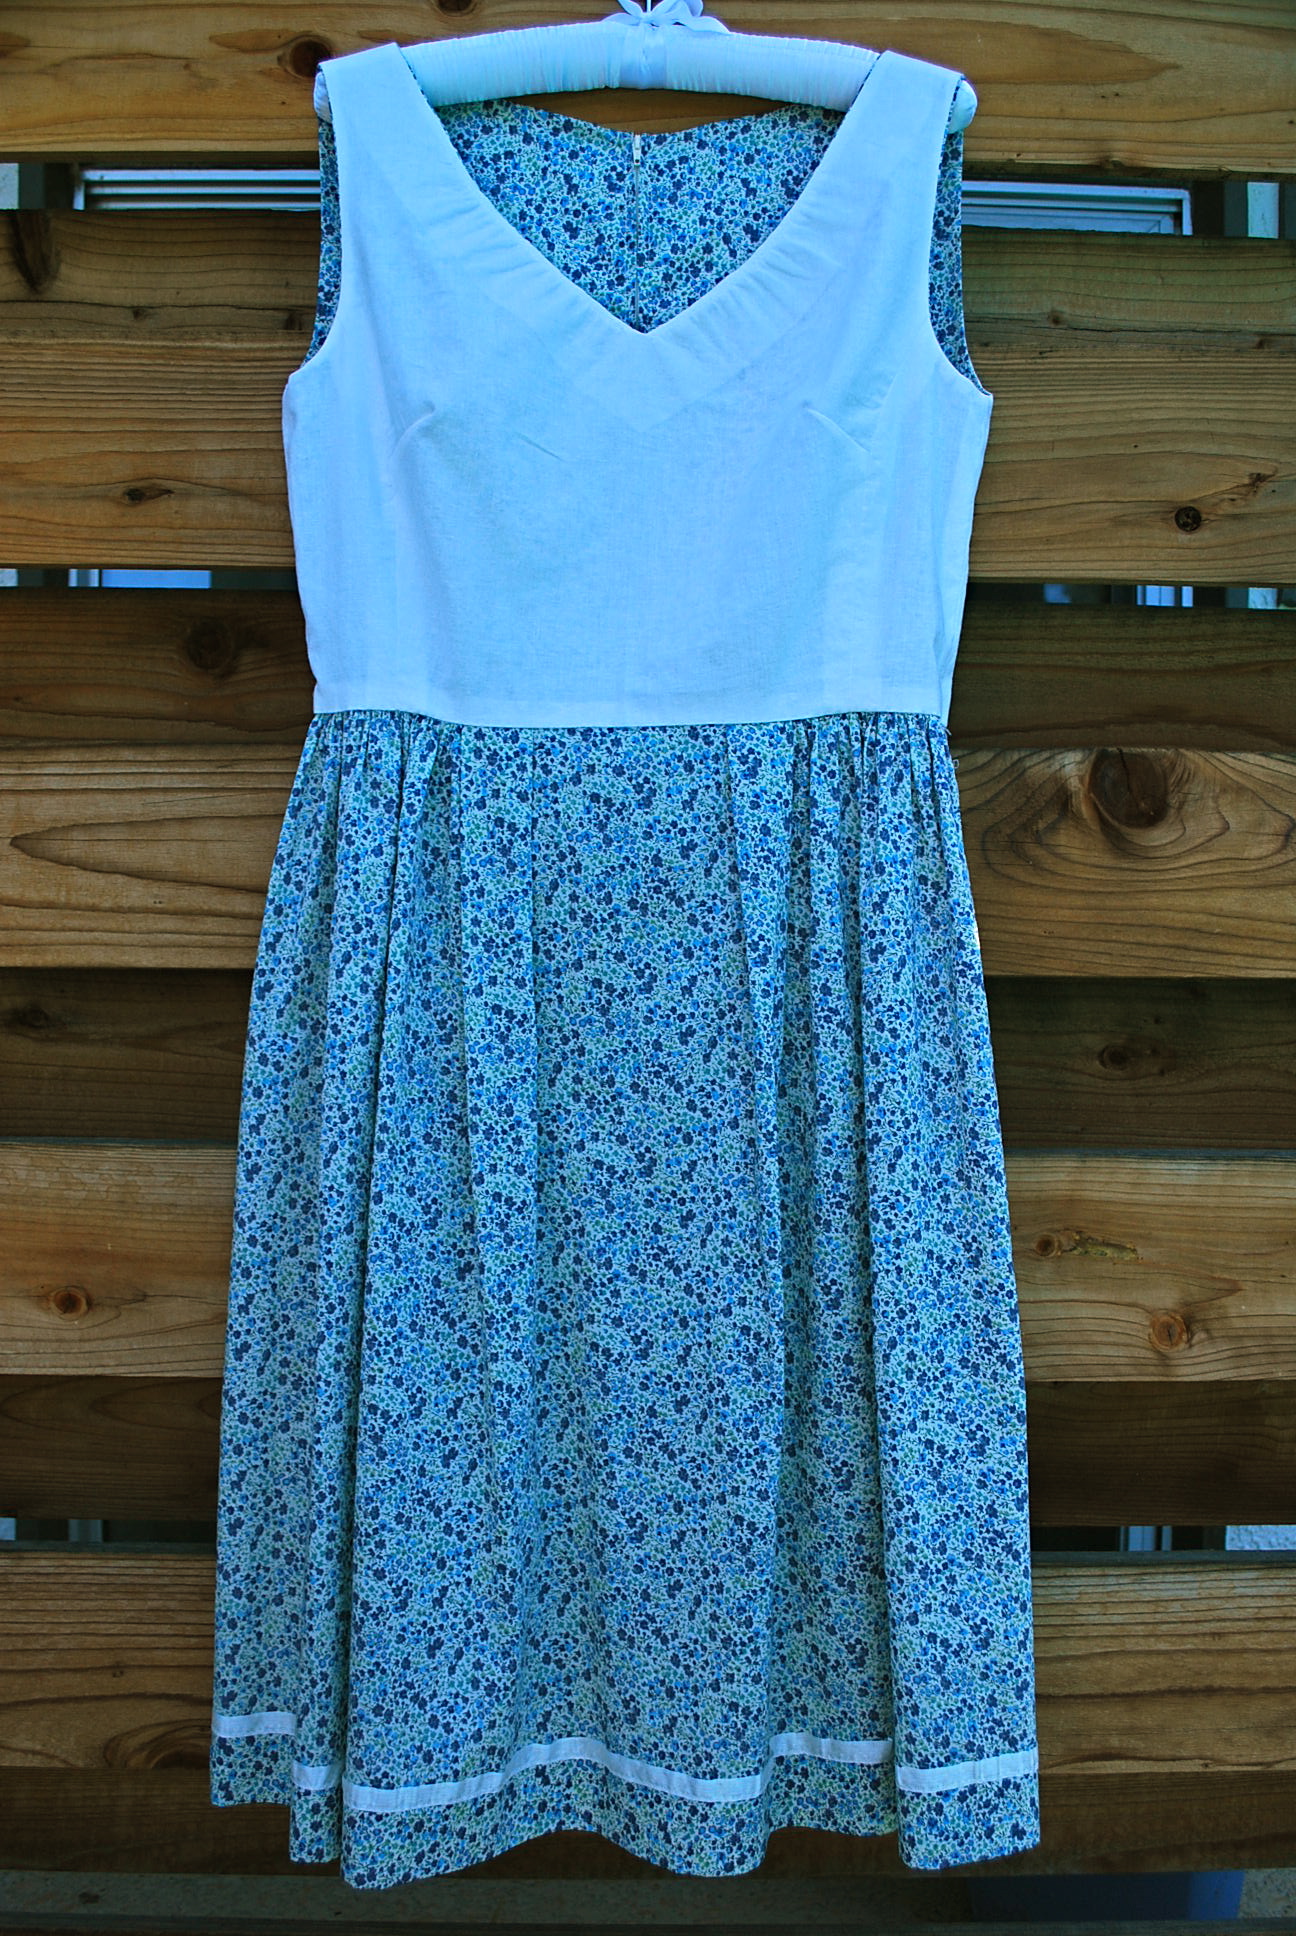
1. It is always a joy for me to sew for others. The drawback is coordinating fittings or sacrificing a few when that person does not live that close to me. On the first fitting, before I applied the lining or did any finish work, the neckline layed flat on Jennifer. On the second fitting, it pooched out as if the fabric was stretched when I attached the lining at the neckline. I was flummoxed and the truth is it didn’t matter how it happened, I needed to find way to fix it. I was not up for ripping out the lining and re-doing the whole bodice. I had not yet attached the lining at the waist, I decided to run some rows of basing stitches on the lining layer only, close to the neck edge and ease in the extra width. You can see this in the photo of the dress inside. It’s not a proud sewing moment for me, but a reasonable solution. Jennifer was fine with it.
2. It’s a bit confusing as to how the bodice is supposed to fit on this pattern. Of course, the beauty of sewing is you can make it fit however you want. I just want to point out that the photo of the orange dress on the envelope front has a semi-fitted bodice, and the illustrations look close-fitted. Additionally the description on the back of the pattern says “close-fitting.” Jennifer’s bodice fits like the photo, which is a good thing because she doesn’t care for form-fitting clothes.
3. The pattern is labeled EASY. It might be easy for this style of dress, but would say it does required some intermediate sewing skills. At least some experience with gathers, zippers, facings and linings.
4. Jennifer wanted the dress to hit below her knees, so I added 5″ to the skirt bottom when cutting out the fabric. It was just enough for a 2″ hem.
I think Jennifer loves her new dress. When she put the finished dress on for our photo shoot, she didn’t want to take it off. But she did because she wanted to keep it nice to wear on the first day of school. She’s a third grade teacher.
Thanks again for reading my blog. I welcome your comments about this dress or your experiences sewing for others. Cheers, Lori