The Teacher Dress

I found myself unexpectedly with a new “day” job at the end of the summer. I’m now teaching middle school math at a small private school. Even though it’s only for three hours each morning, I still want to look the part. So I made myself a simple, day dress appropriate for teaching for Fresh Make #19.DSC_0584DSC_0587DSC_0605 The pattern I choose is Vogue 8764. I already had the fabric and when I spotted this pattern, I knew it was the one. I waited a few weeks for the $4.99 Vogue pattern sale at JoAnn’s to purchase it. I have named it The Teacher Dress because it is an updated version of those full gathered dresses and jumpers of the early 90’s that my peers and I referred to as “teacher dresses.”
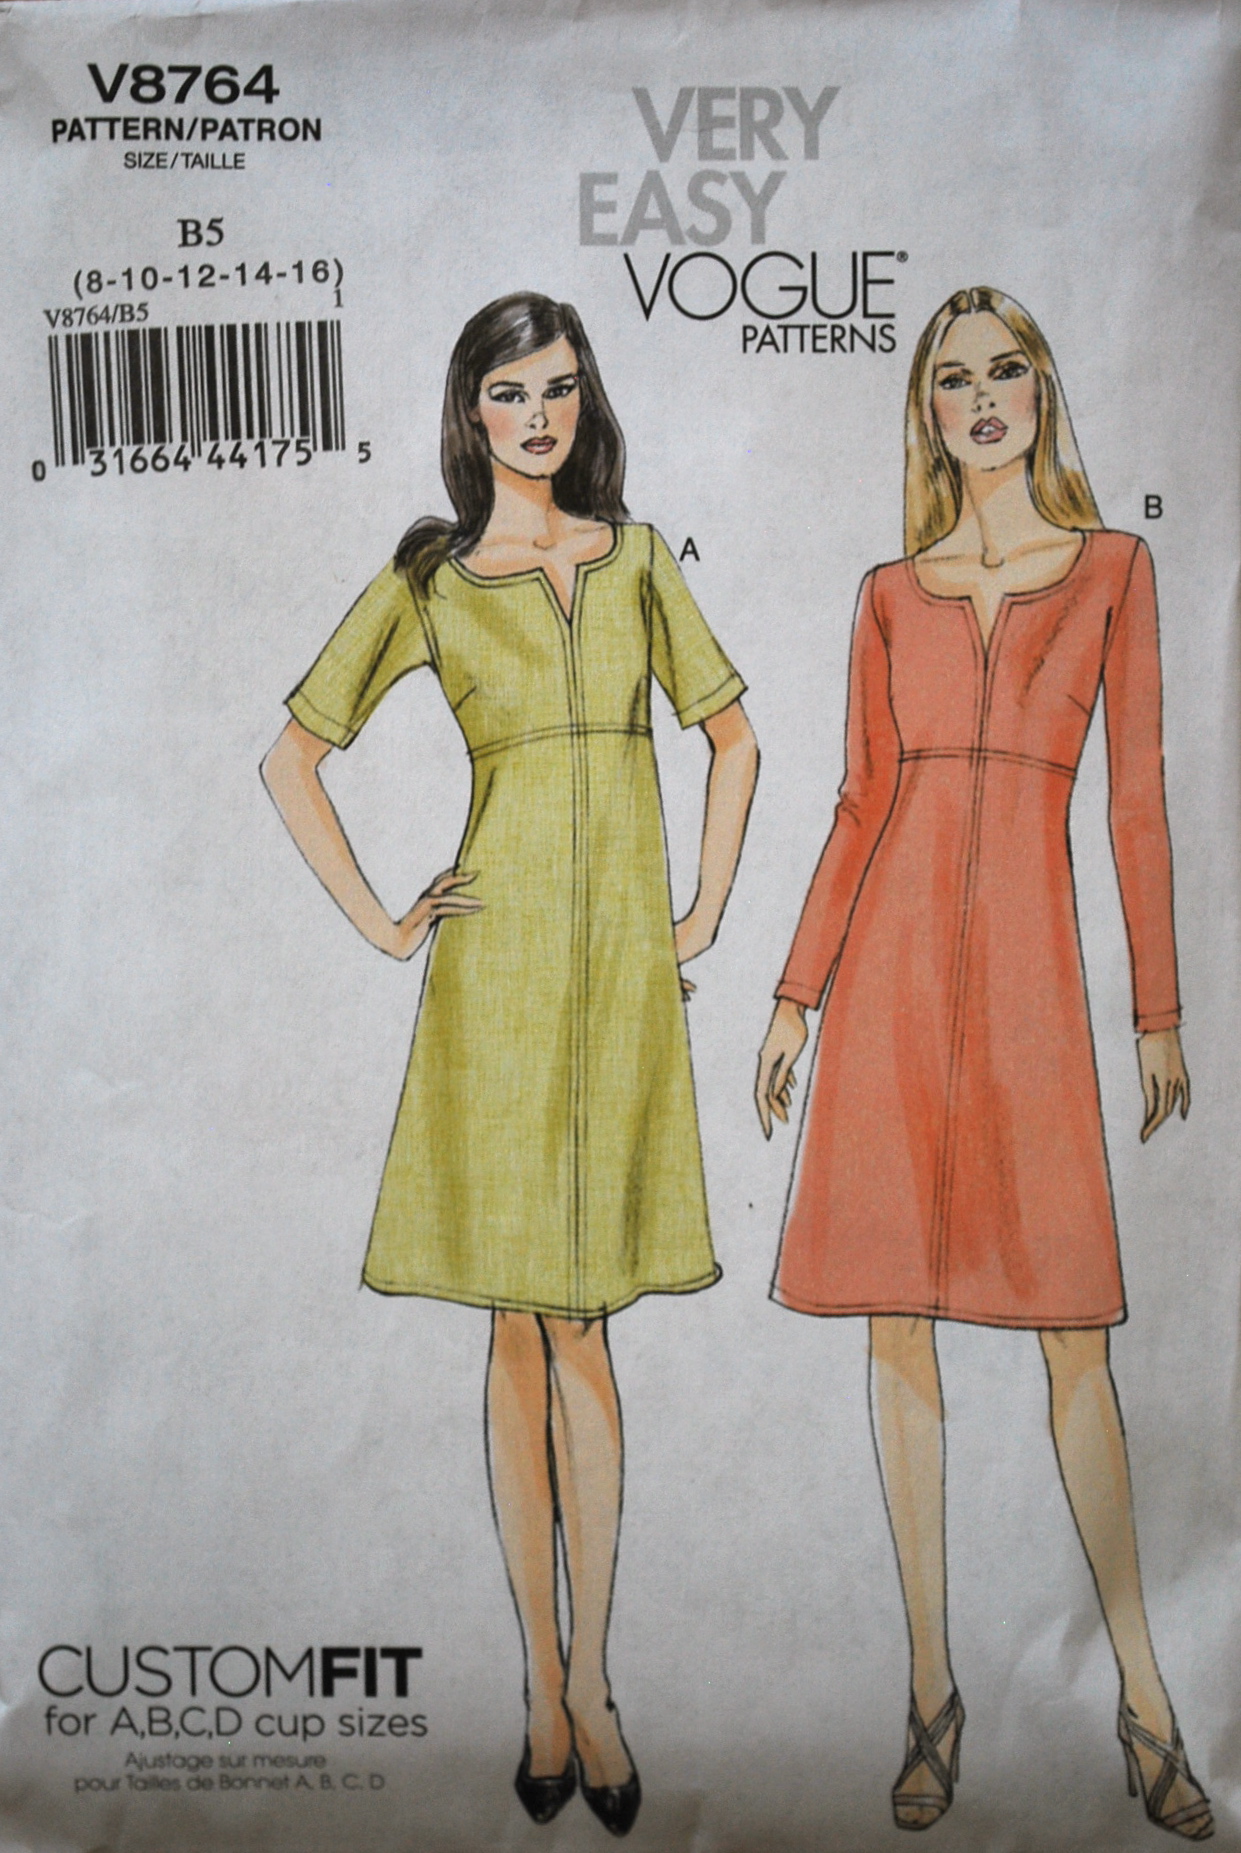
I made view A.

I made view A.

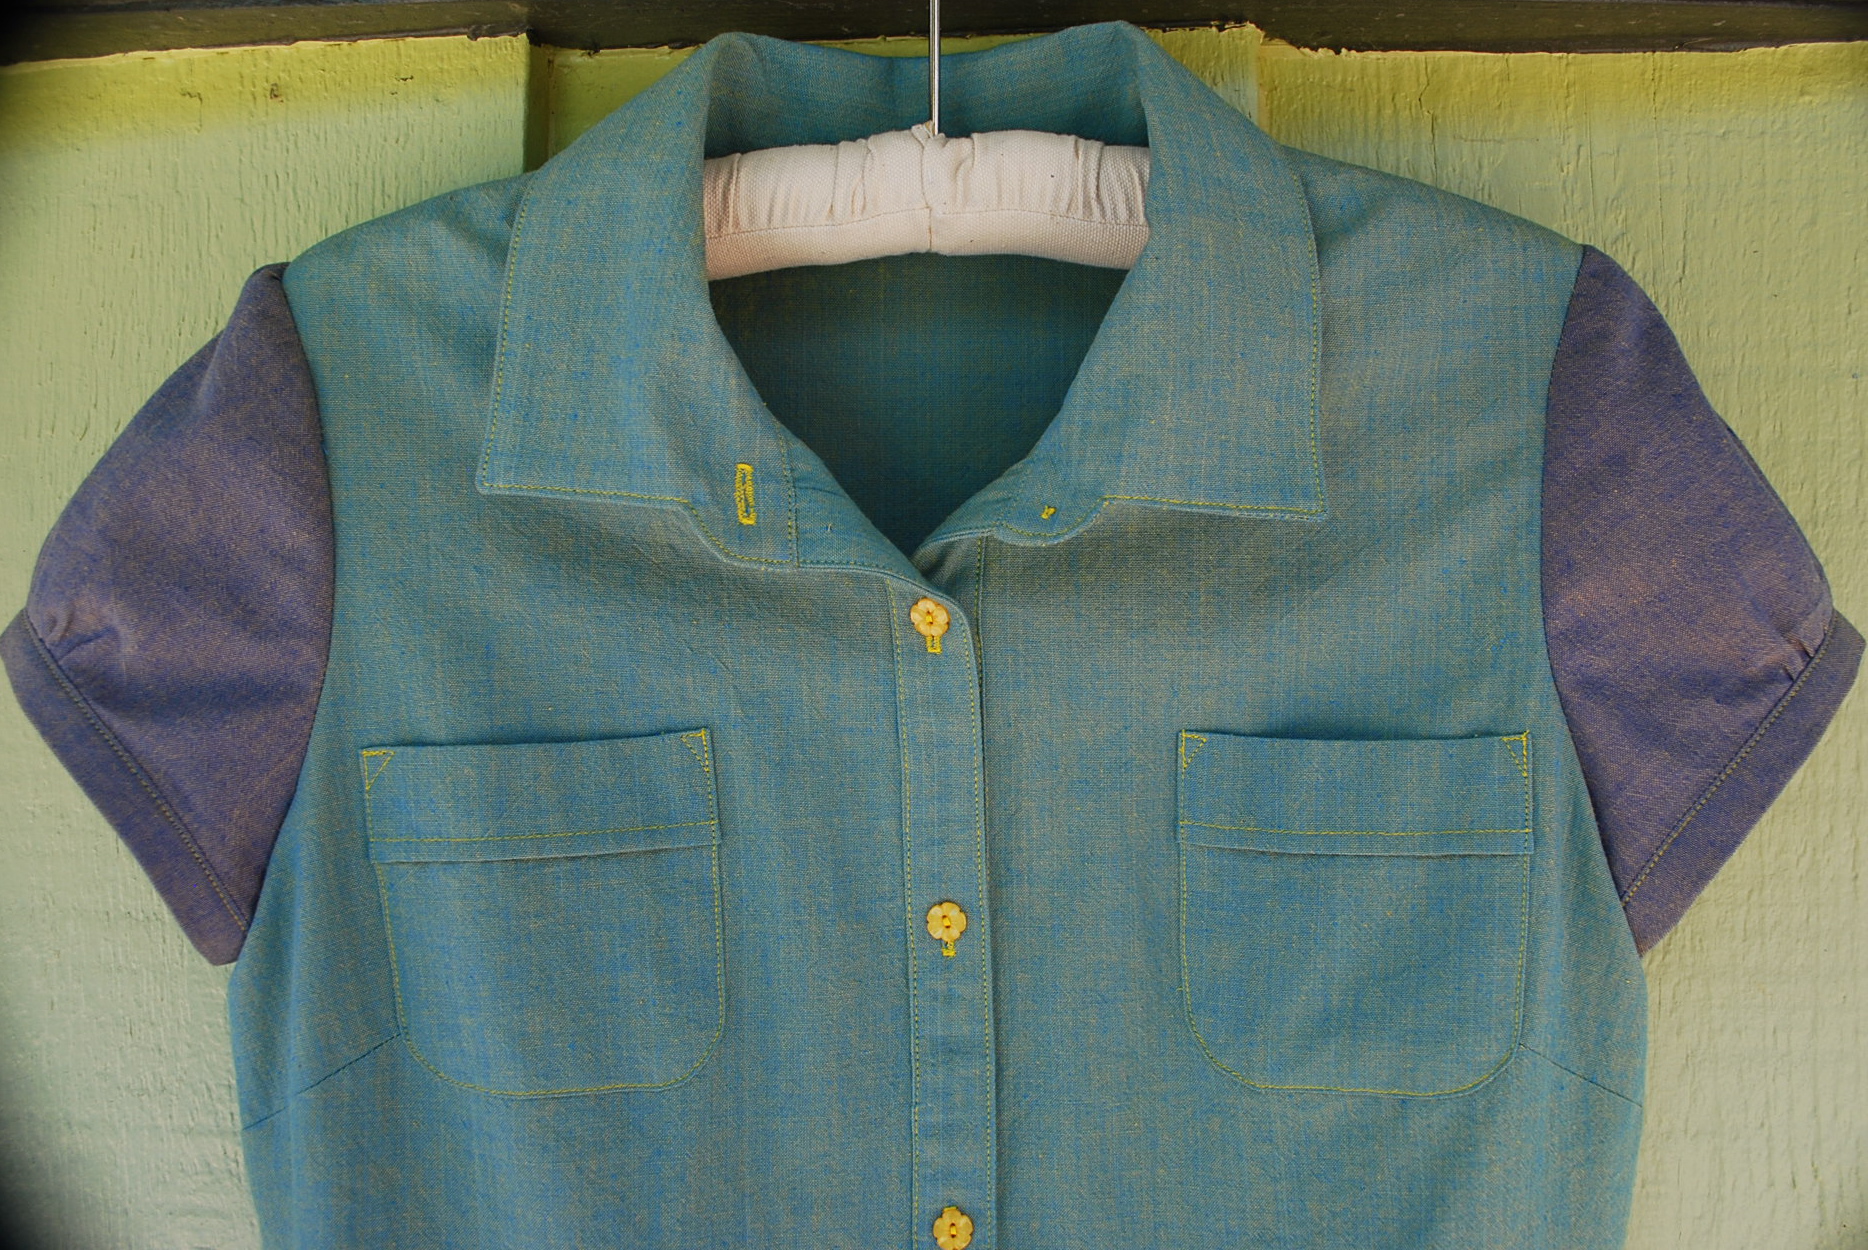
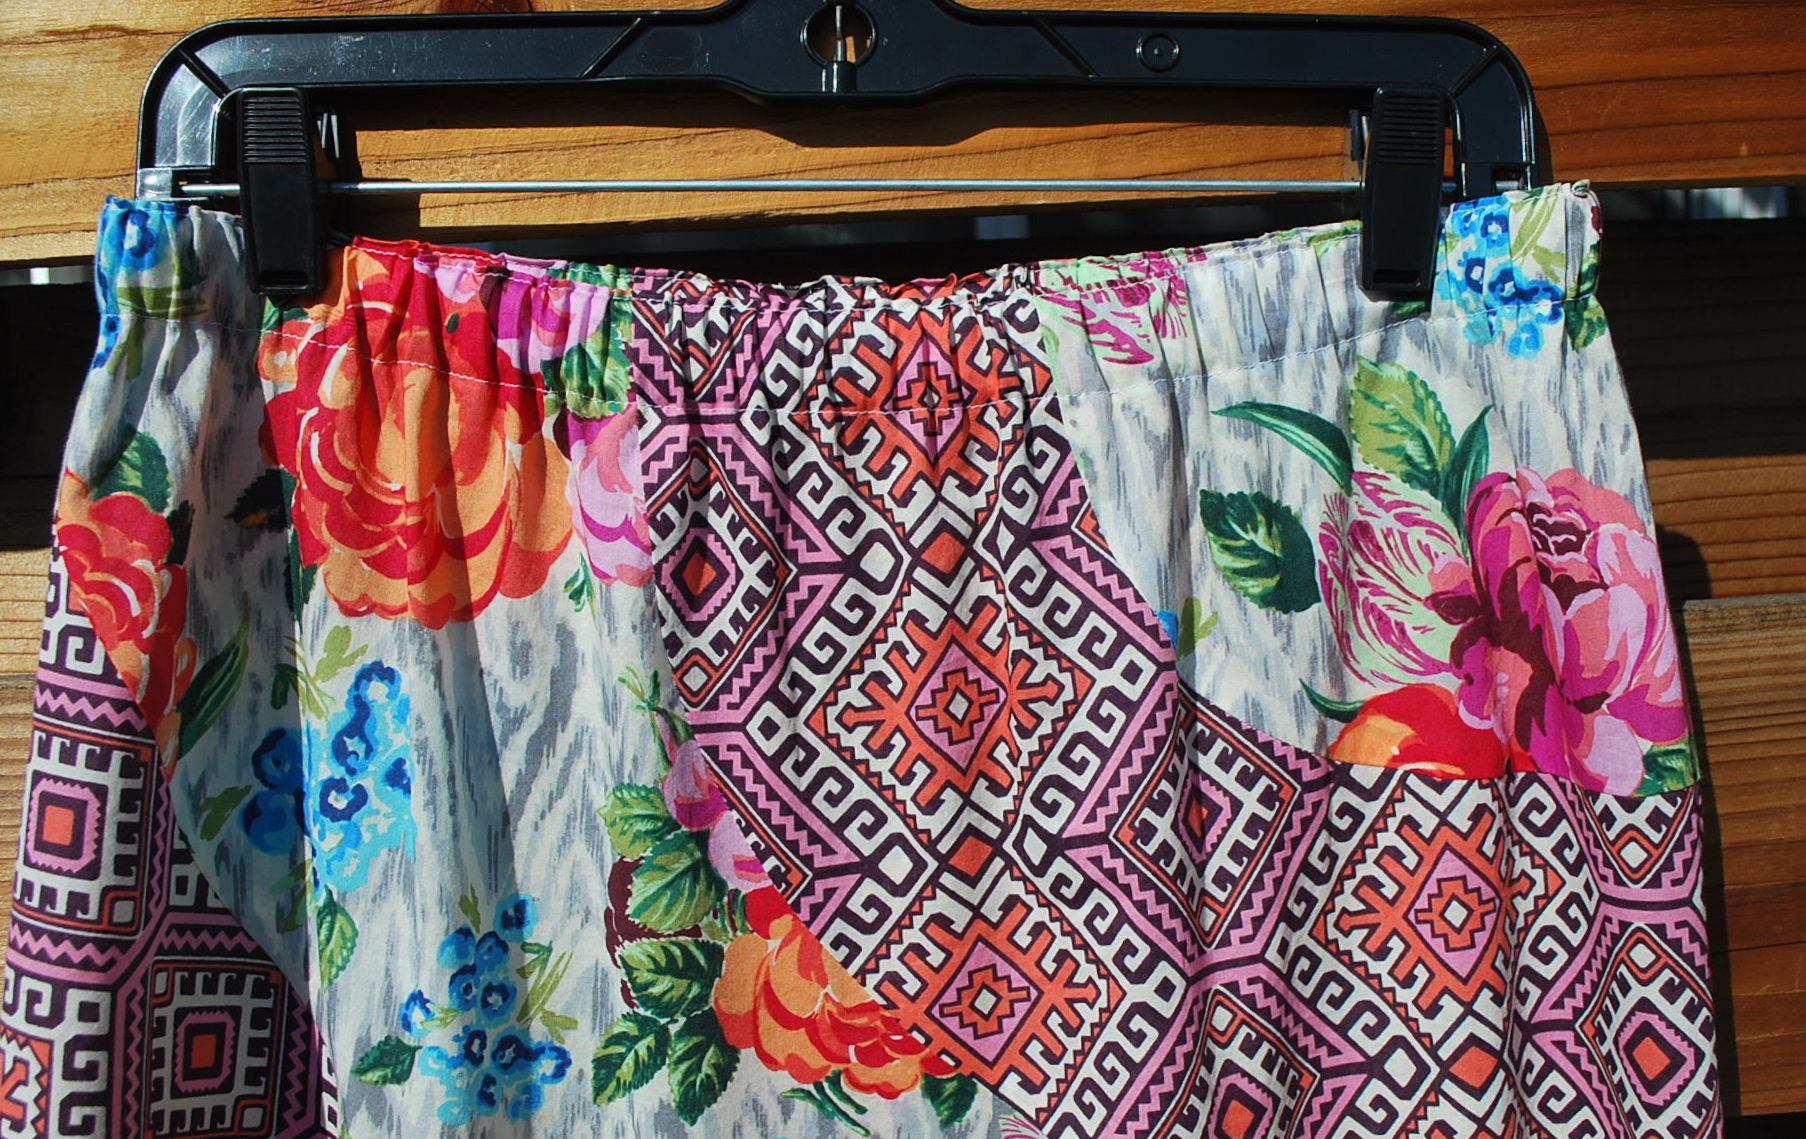
The fabric which I purchased online at Hawthorne Threads is a woven quilting weight cotton from the “Serafina” collection by Alice Kennedy. I got one yard of the red and two yards of the grey, both a $9.95 per yard. I had purchased the fabric a few months ago, in the middle of summer, with the intention of making another Sunshine Jumper. But summer escaped me without sewing it up, and I decided a short sleeved dress would serve me better in the fall.

I did a 1 1/4" hand hem.

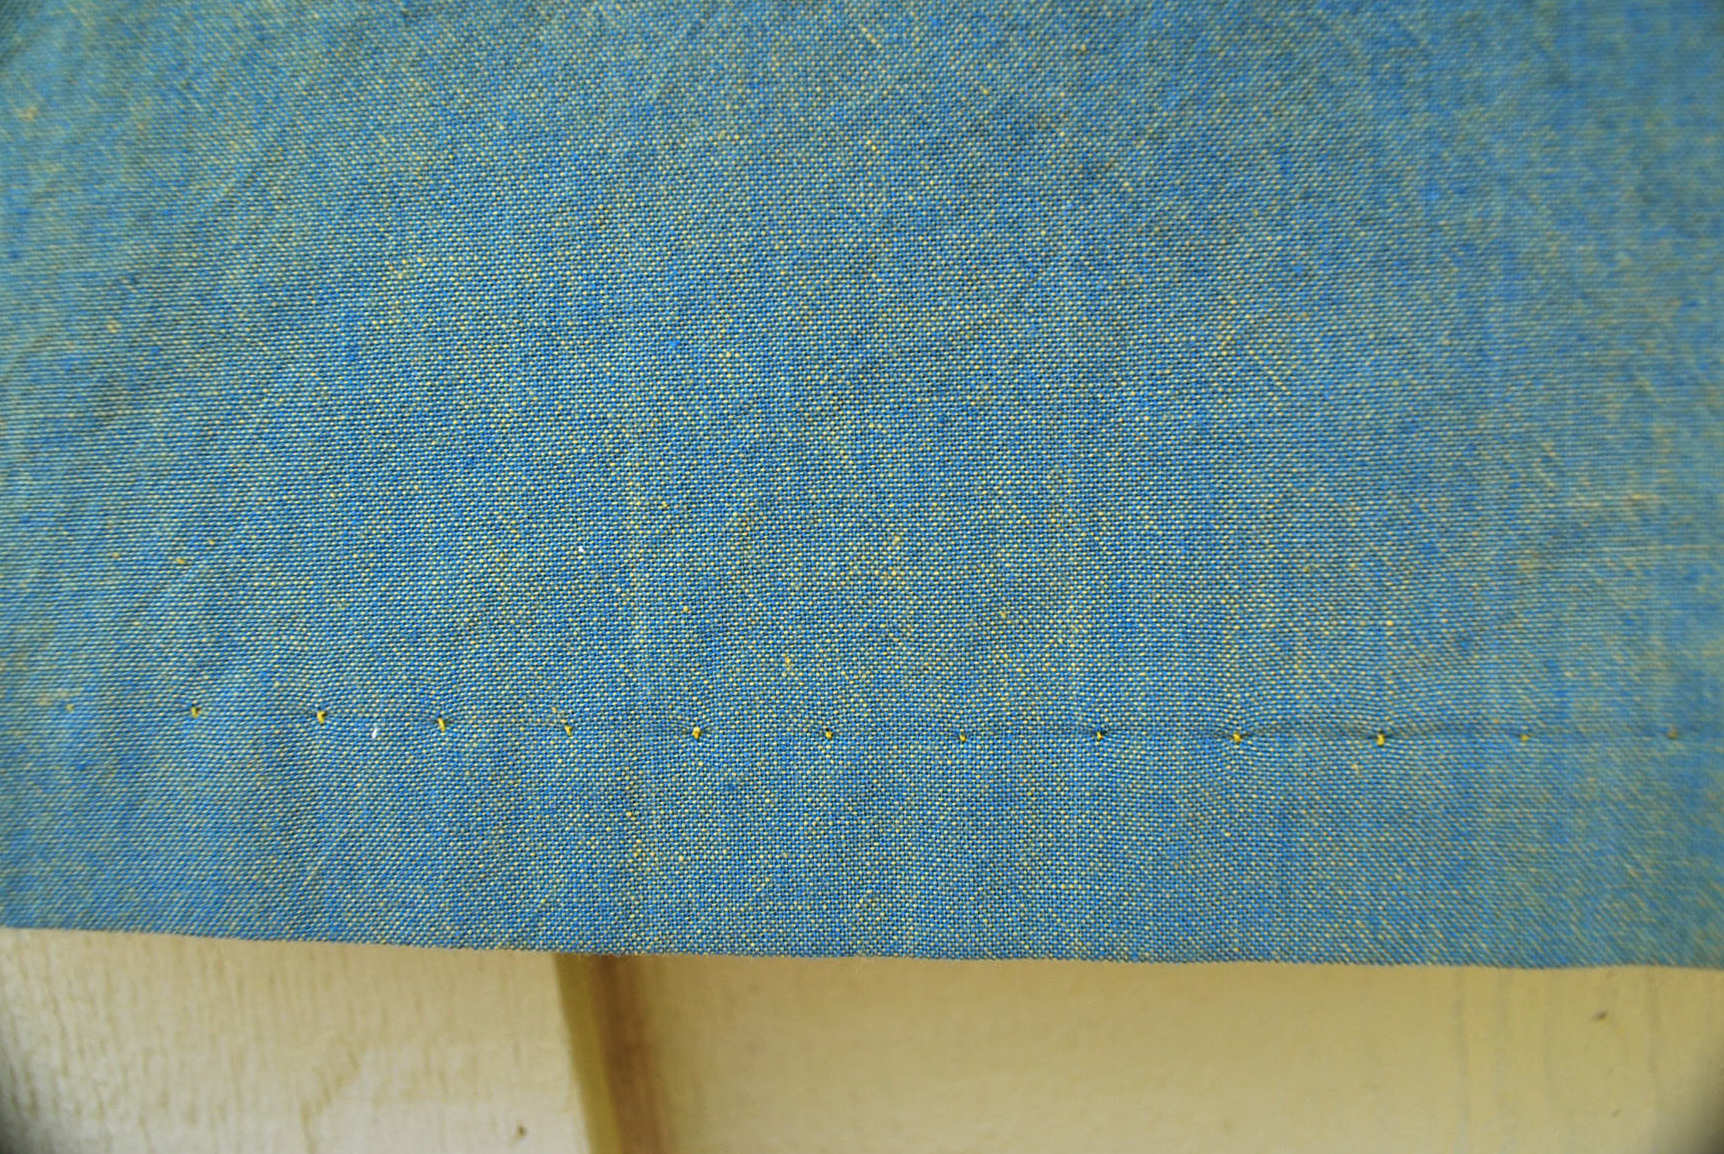
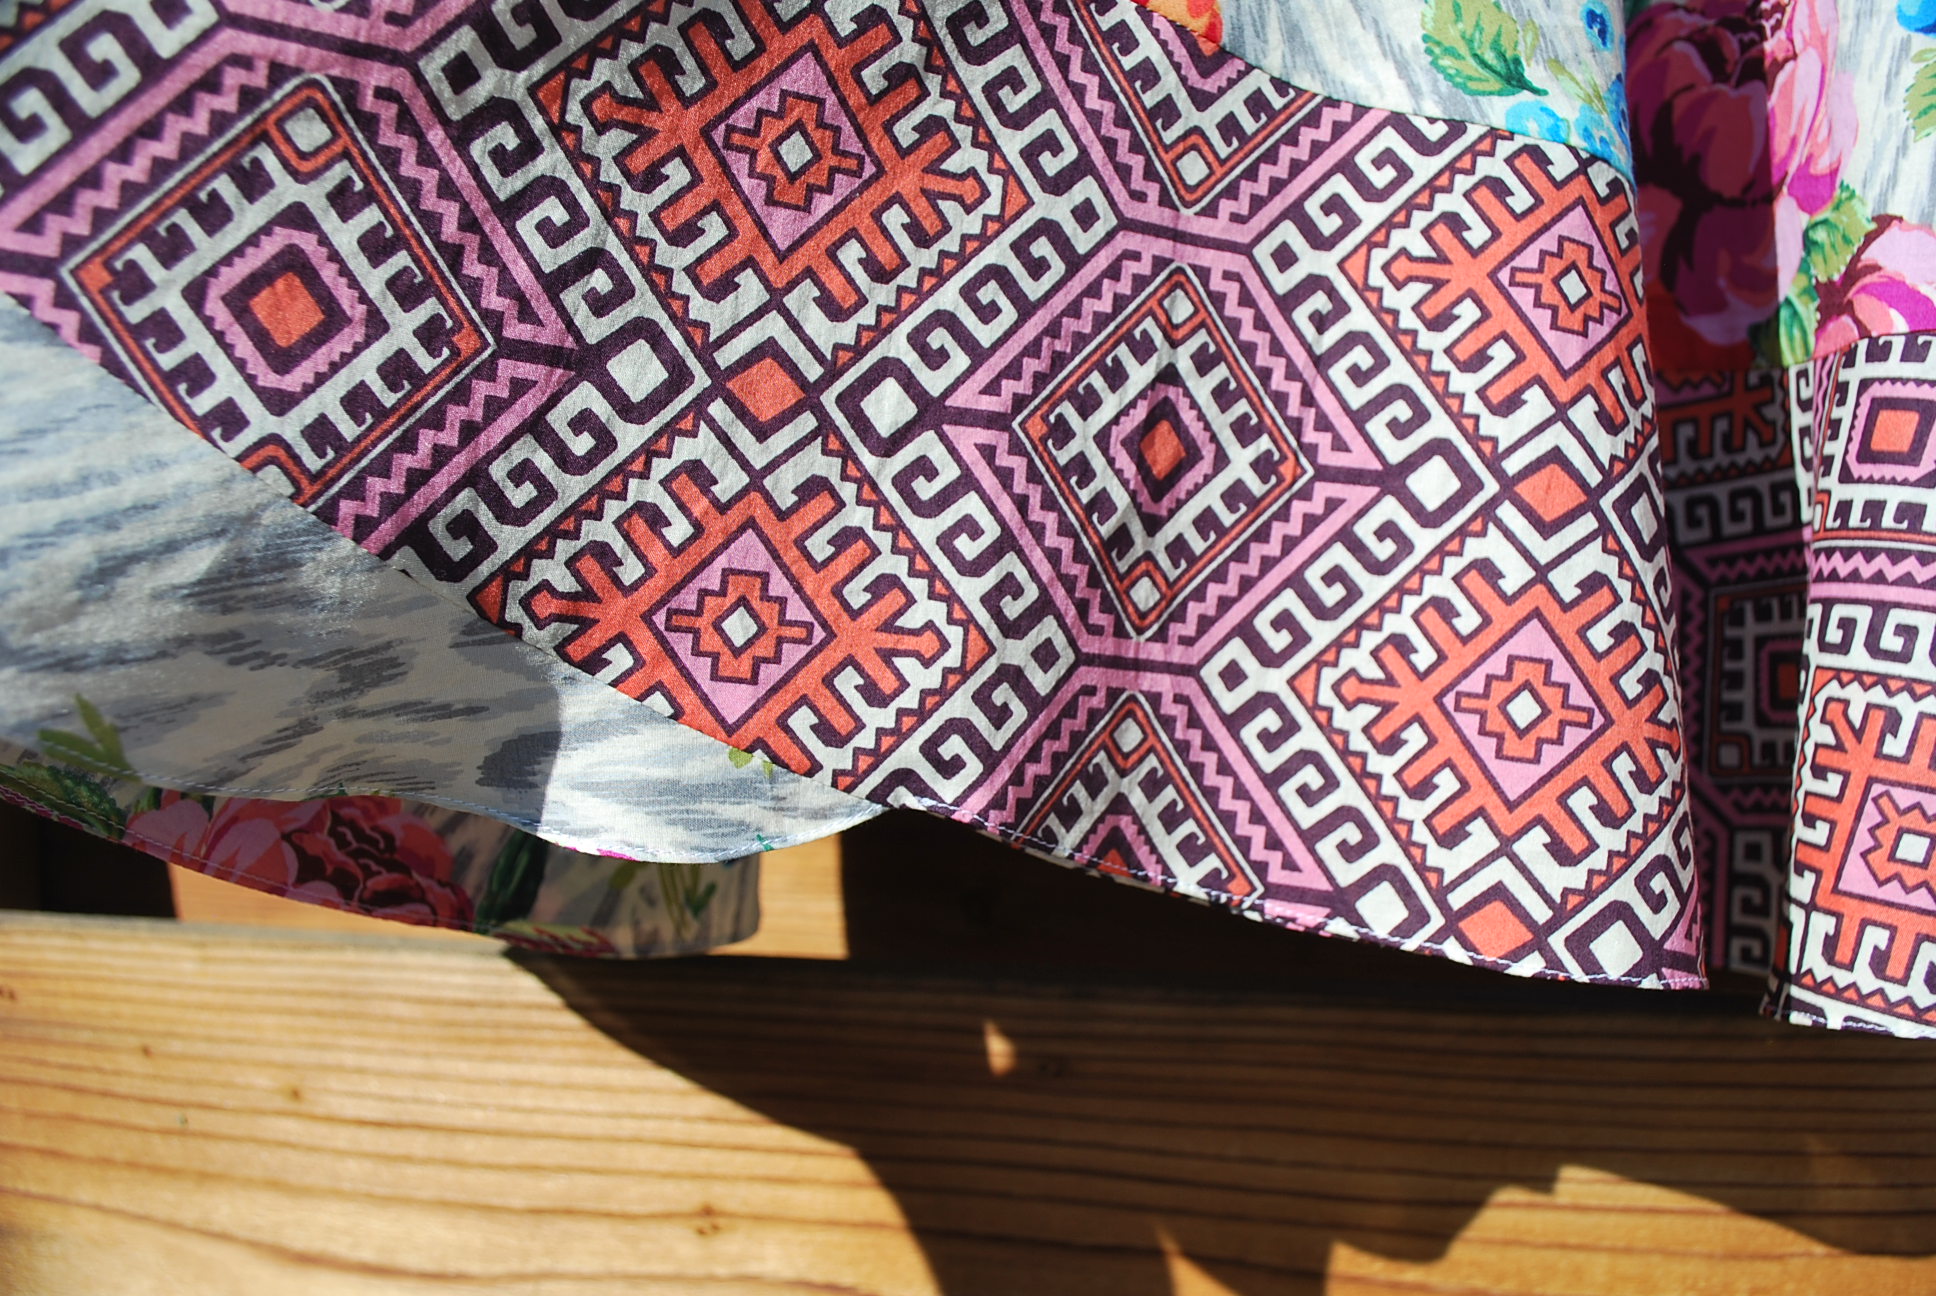
I did a 1 1/4″ hand hem.

DSC_0581

I just put a regular ol’ zipper in.

The pattern actually gives instructions for a fully lined dress. I did not want the added weight of a lining with my cotton dress. So I just put a facing on the neckline, and for this, I had to make my own front and back facing pattern pieces.DSC_0587DSC_0579
DSC_0618

LET’S BE HONEST:
1. This pattern is labeled as “very easy” and for a Vogue pattern, it probably is. There really nothing beyond basic techniques such as darts, a zipper, set-in sleeves, and, in my case, a facing. I would not, however, recommend this pattern for a beginning seamstress who is working independently.

2. I cut a size 14 on the top and graded to a 16 on the bottom. In all honesty, the bodice is still a bit big, and I could still use a tad room through belly and hips. I guess I just have to face the fact that with a semi-fitted dress, I am at least two sizes different on top and bottom. I actually do know this, but I think I’m trying to keep the original proportions of the design as illustrated. But, hey, if it’s not right for your body, don’t buy the pattern, or be happy with a change in silhouette. Right?

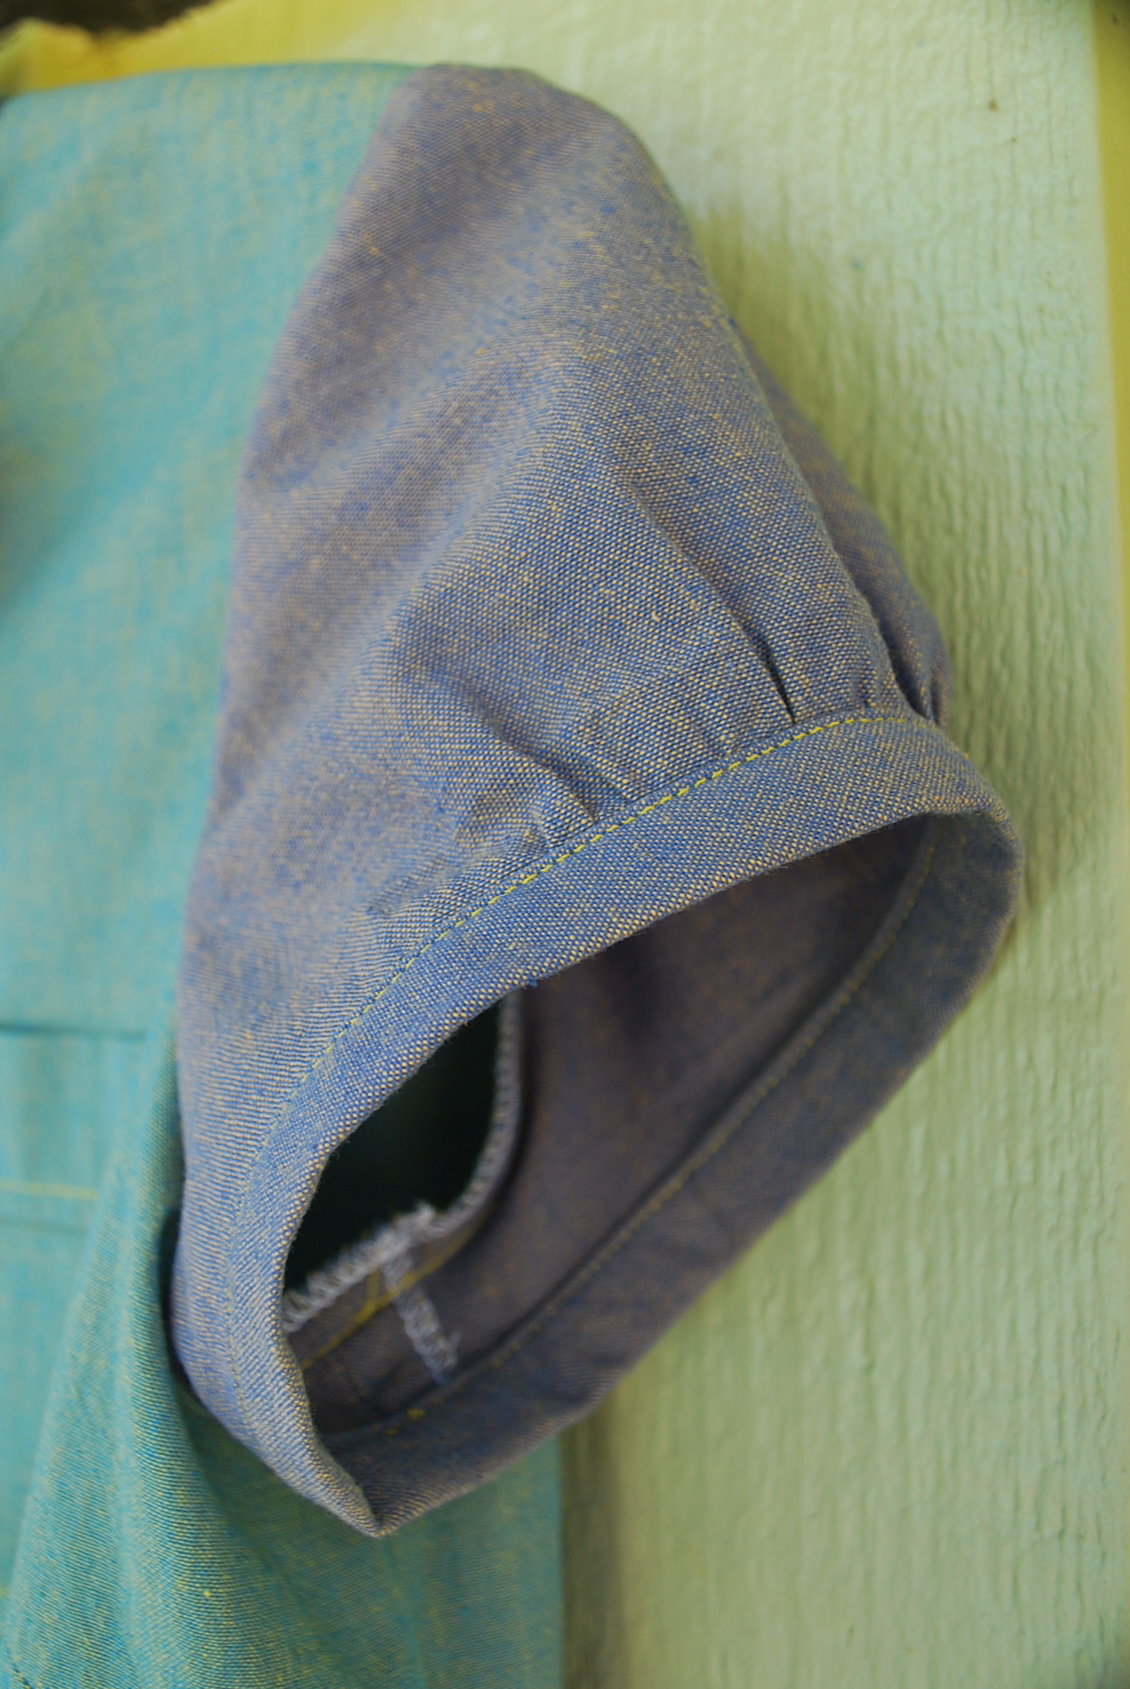
3. Unlike the instructions, I did a hand hem on both the bottom and sleeve. I added about 1″ to the bottom before cutting the pattern pieces to make sure I would have enough length to hit me mid-knee with a 1 1/4″ hem.

Overall, I am very happy with my new teacher dress. I wore it to school yesterday, got a compliment from one of my fashion forward 5th graders! I just love it when young people compliment someone who is even older than their mom!

Thanks for reading this post. I your welcome your comment and questions. Cheers! Lori

Advertisement

The Traveler Dress

Since starting this blog, I have rediscovered the joy of wearing dresses, I mean everyday, grab-n-go dresses, especially for hot summer weather. Even though we’re in the dog days of summer here in inland So Cal, I’ve started to turn my sewing thoughts to fall. So for Fresh Make #15 I have made a transition dress, one take will take me from end of summer onto fall.

I asked my filmmaker son to take photos of me and he told me to stand in the dirt in the field across the street from our house.

I asked my filmmaker son to take photos of me and he told me to stand in the dirt in the field across the street from our house.

DSC_0443DSC_0462 The pattern I chose is Simplicity 2246. This is part of the “lisette” collection, which I think is Simplicity’s attempt to appeal to the young, hip, indie sewist. Like all the indie patterns, they have even given it a name, Traveler Dress. (I didn’t have to make one up this time.) It’s an adorable shirt dress with lots of options to “make it your own.” I purchased my pattern at JoAnn’s Fabrics for $1 several months ago during one of their 5 for $5 Simplicity pattern sales.

I made View A, leaving off the hips pockets (I do not need to bring emphasis to that area of my body!). I also made the cap sleeve in View C because just looking at longer sleeves in the middle of summer makes me sweat.2246 The fabric I used is from an awesome chambray collection by Andover Fabrics. I purchased 2  1/2 yards of Chambray in Bluegrass and 1/2 yards of Chambray in Tailor at $9.25 per yard from Hawthorne Threads, my favorite online fabric store.DSC_0440 You can’t go wrong with a basic shirtdress but I couldn’t resist putting my own little twist by using a different color for the sleeve. I had seen some denim blouses and dresses that had different shades of denims on the sleeves on Pinterest, so I was hoping to be a little trendy. Maybe not. Oh, who cares, I really like it. DSC_0448

I am a big proponent of blind hme on dresses and skirts, regardless of what is shown in the directions. I'm not opposed to a machine blind hem when possible like here.

I am a big advocate of blind hems on dresses and skirts, regardless of what is shown in the directions. I am not opposed to a machine blind hem when possible, like here.

DSC_0451

LET’S BE HONEST;
1. This pattern, unlike most, does not have a difficulty rating. A shirt dress is never an appropriate project for a novice, but I have to say for a shirt dress, this pattern is “easy.” The collar does not have a separate neckband which simplifies construction, however it does sacrifice a more tailored look. Maybe you care, maybe you don’t. The instructions are typical of a big 4 pattern, only additionally there are “lisette tips” which I actually thought could be helpful for a new sewist.

2. I graded between a size 12 at the bodice to a size 14 on the bottom. As I always do, I measured the actually pattern pieces at key spots with a tape measure and then put the tape measure around me at the same spot. Then, I decide if I like that amount of wearing ease, and determine what size (or sizes) I cut from there. If you spend time doing this you should get fairly good fitting results. I’m saying this because I have to get something off my chest…I have noticed with the online sewing community, it seems to have become standard practice to make “muslins” for regular garments. That seems unappealing and time consuming to me. I just think careful measuring of the paper pattern can allow you to skip this step. To each her own, if you like making muslins, don’t let me stop you.

3. I am very happy with the cut and fit of this pattern. The slight A-line makes it possible to flatter those of us with a bit of a pear shape. The only change I would make is to the circumference of the sleeve band. I measured my upper arm and added an 1″ to the band, but I would actually add yet another 1″. It’s comfortable when my arms are at my side, but the range of motion is limited because there is no “give” in the fabric.

4. Overall, there were no surprises or oddities with pattern and I would definitely recommend it to an intermediate sewist.

Thanks for reading this post. What will you make to help you comfortably transition into fall?

The Sunshine Jumper

I am keeping true to my declaration of wearing more dresses and skirts, and less jean shorts and capris for spring and summer. I’m building my collection of warm weather clothing with a versatile sleeveless dress for Fresh Make #8.
DSC_0174 The pattern I choose is Butterick 5781. I purchased it at JoAnn’s Fabrics for $1.40 as part of their 5 Butterick patterns for $7 sale. This style of dress seems to have made a bit of a comeback, and it’s been years and years since I made a dress comfy dress like this for myself. I named it the Sunshine Jumper because, while it’s a sundress, it can also be worned with a t-shirt underneath. DSC_0184 I purchased the fabric from my favorite online fabric store, Hawthorne Threads. The prints are by Lotta Jansdotter, specifically, Blomster in Coral from the Mormor collection and Ruta in White from the Sylvia collection. The fabric is quilting weight, 100% cotton, perfect for this dress. The fabric was $9.25 per yard, and I needed about 1 yard for the bodice and 2 yards for the skirt. I also lined the bodice with 1 yard of white cotton from JoAnn’s.

The dress has hidden seam pockets.

The dress has hidden seam pockets.

I’m not sure a have the perfect shoes for this dress. I think I might need to go shopping! I’m modeling it with two different types of sandals to show the versatility of the dress. DSC_0166DSC_0172

The feel and style of the dress lent itself to some double white topstitching on the bodice.

The feel and style of the dress lent itself to some double white topstitching on the bodice.

DSC_0161 The bodice is fully lined and all the seams are overlocked. The hand-sewn hem is 2″ wide.DSC_0165

LET’S BE HONEST:

1. The Butterick pattern is labeled Easy. In reality, it is easy for an experienced sewer. There are quite a few techniques that wouldn’t be easy if you were doing them for the first time such as facings, zipper, pleats, and princess seams. Overall there are no surprises or odd features to this pattern.

2. There’s no other way of saying it – I am small busted. The advantage for me of constructing my own garments is I can balance out my portions by custom fitting. With this pattern, I was going for more of a semi-fitted bodice, rather than a fitted one because I felt like a fitted bodice would emphasize the discrepancy in size between my top and bottom half, especially with a full skirt. This pattern had different bodice pattern pieces for A/B, C, and D cups. Of course I used the A/B pattern piece and still took it in at the bust after my first try-on. I took it in again at the side seams after my second try-on. I eventually achieved the fit I wanted.

3. I LOVE the pleats on the skirt. I was hesitant to make a dress with a full skirt because my extra inches through my mid-section. But these pleats lay completely flat with no extra poof where you don’t need it. I’m still staying away from gathers, but yes, I can do pleats!

4. I wanted my hemline to be between view A and C, so I added a few inches onto the skirt A length pattern piece before cutting out the fabric. I like my hem to hit right below the knee cap at the narrowist part of the leg above the calf. That’s where it most flattering because you’re showing off your curves rather than cutting your leg off at a wider part.

Overall, I love my Sunshine Jumper and plan on wearing it a whole lot this summer and spring. Thank you for taking the time to read this post. I welcome your comments. Lori

The Festival Skirt

I’m going to wear lots of skirts this spring and summer. Enough of those jeans shorts. I’m adding a second skirt to my stylish handmade collection for Fresh Make #5.
DSC_0099
The pattern I choose was Simplicity 2416. I purchased this pattern at JoAnn’s Fabrics for $1.00 during their 5 Simplicity patterns for $5.00 sale. I like this pattern because it has a retro 70’s vibe and it seemed like it would be a fun, feel good skirt to wear. I named the pattern The Festival Skirt because I could imagine a groovy gal frolicking around in a swirl skirt like this a summer music festival.

I made view B.

I made view B.

I am in love with the fabrics I choose. They are from Amy Butler’s Hapi Voile collection, purchased from my favorite online fabric store, Hawthorne Threads. This cotton voile is amazing. It’s smooth and lightweight with a beautiful drape – a delight to sew with. The cost for this fabric, including shipping was $58.50 and worth every penny.
DSC_0102

DSC_0105
DSC_0109

There's a simple elastic casing at the waist.

There’s a simple elastic casing at the waist.


I overlocked all the edges together and did a rolled hem.

I overlocked all the edges together and did a rolled hem.


LET’S BE HONEST:
1. The pattern pieces, all seven, are just a series of swirls (or flounces as they are referred to in the directions), it is viturally impossible to measure the pattern pieces for fit before cutting out the fabric. So with my new updated knowledge about my measurements, I simply cut a size 16. Always error to the larger size – you can always trim off fabric, but you can’t add on. Right? It turns out it fit fine. I probably could have gotten away with a 14, but for me, there’s nothing worse than fabric pulling across the tummy.

2. 54″ vs. 6o” I ran across this same issue with The Instead Top. The pattern envelope gave yardage amounts for 45″ and 60″, but this Amy Butler fabric is 54″ wide. Again, I thought it would be fine to buy the specified amount for 60″, but I ended up having to do some “creative” manipulations of the patterns pieces to fit them all on the fabric. I would definitely buy at least an 1/8 of a yard more of each fabric if I were to repeat this project.

3. Interesting hem. The directions instruct you to hem the second to last flouce before sewing on the last flounce. (The hem is split between the two contrasting fabrics.) This resulted in curve that I’m not sure I care for.
DSC_0113
This flouce (the flower print one) also dipped more in one spot, creating a bit of an uneven hem. But, hey, maybe I shouldn’t let that bother me. The photo on the pattern envelope kind of looked that way too.

4. I did “raise” the skirt a bit. I anticipated that the skirt would probably be too long, but also knew it would be tedious and risky to mess with the swirl pattern pieces to shorten the length. After completing the hem but before doing the elastic casing, I tried it on and determined that I would cut off 2″ from the waist to shorten it. This adjustment was minor enough that it didn’t affect the fit or look of the skirt.

Overall, I am completely enamored with the skirt! And I highly recommend the Amy Butler cotton voiles if you choose to make a Festival skirt.

Again, whether you are a sewer or non-sewer, I sincerely appreciate you for taking the time to read this post. As always, I welcome your comments and feedback. Lori