I have now become a big fan of Japanese pattern books. I bought my first book, Simple Modern Sewing, on sale, with a gift card, and as a skeptic. After two big wins from that book, I was compelled to buy another one, Stylish Dress Book, Wear with Freedom by Yoshiko Tsukiori. For Fresh Make #27 I chose a loose fitting, easy wear dress. Perfect for the hot summer that’s just around the corner.

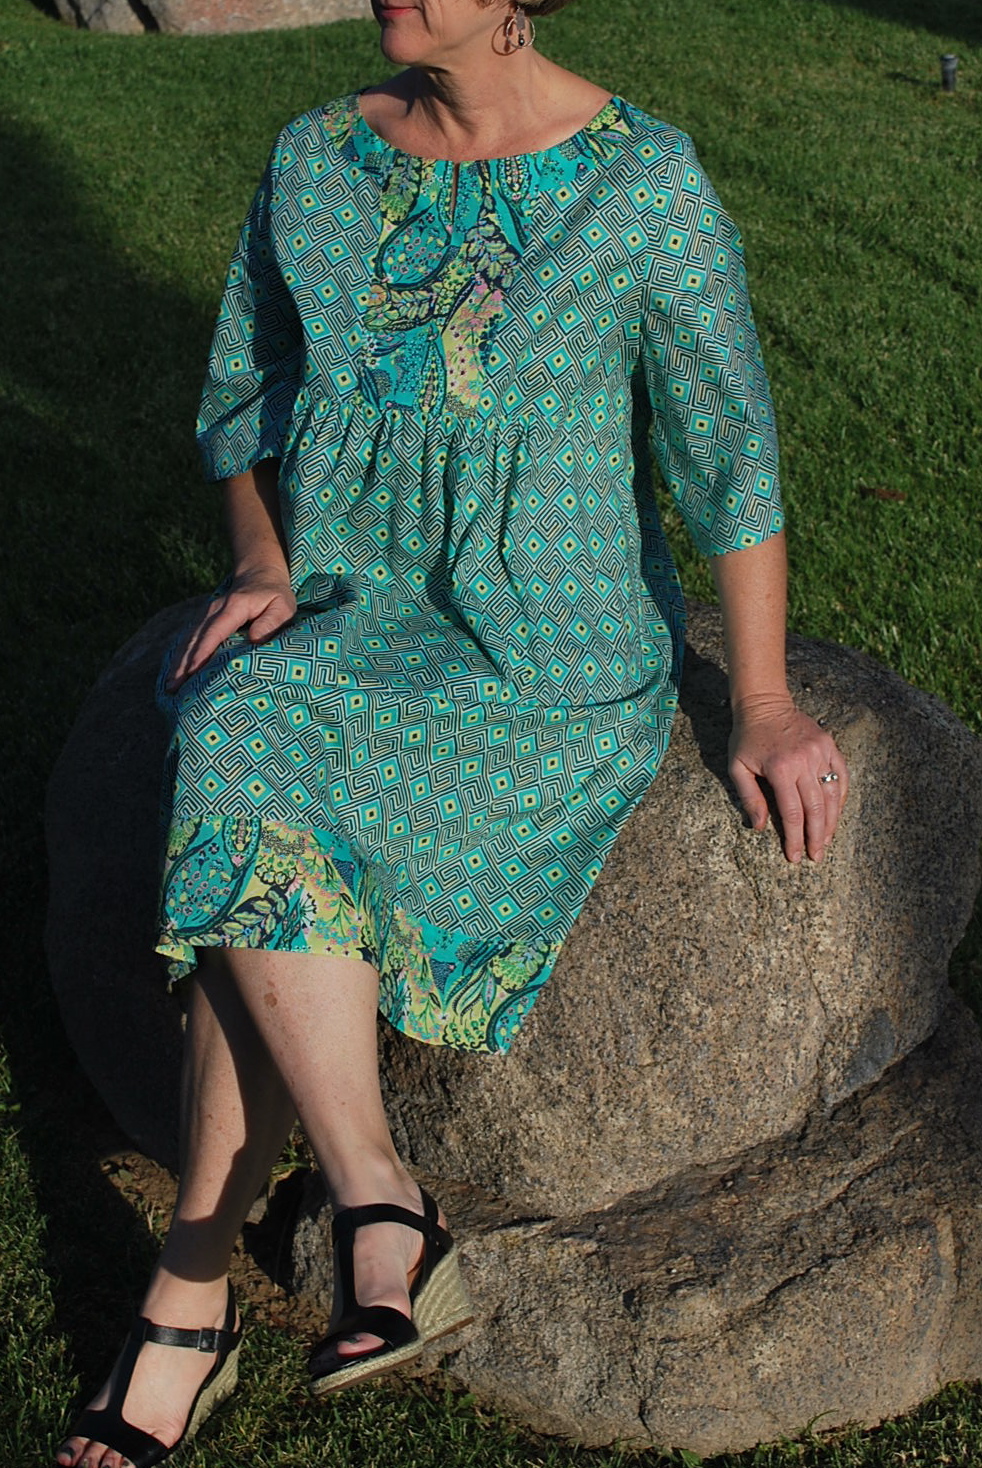
While the decision wasn’t easy from the 26 patterns, I chose Dress Y. Mainly because I wanted a pattern that combined two fabrics, and also the construction didn’t look to fussy.

This book has 26 adorable patterns to choose from.

Here’s Dress Y. Those are the complete instructions! More on that later.
The fabrics I used are from Amy Butler’s Glow Collection, Maze Voile in Grass and Jolie Voile in Grass. I purchased them online at Hawthorne Threads for $13.50 per yard. I needed a total of three yards. I have been coveting the cotton voiles that have recently become a part of designer collections that traditionally have only included quilting weight fabrics. There’s no turning back once you start making blouses and dress with voiles and lawn cottons – so light weight and luxurious.


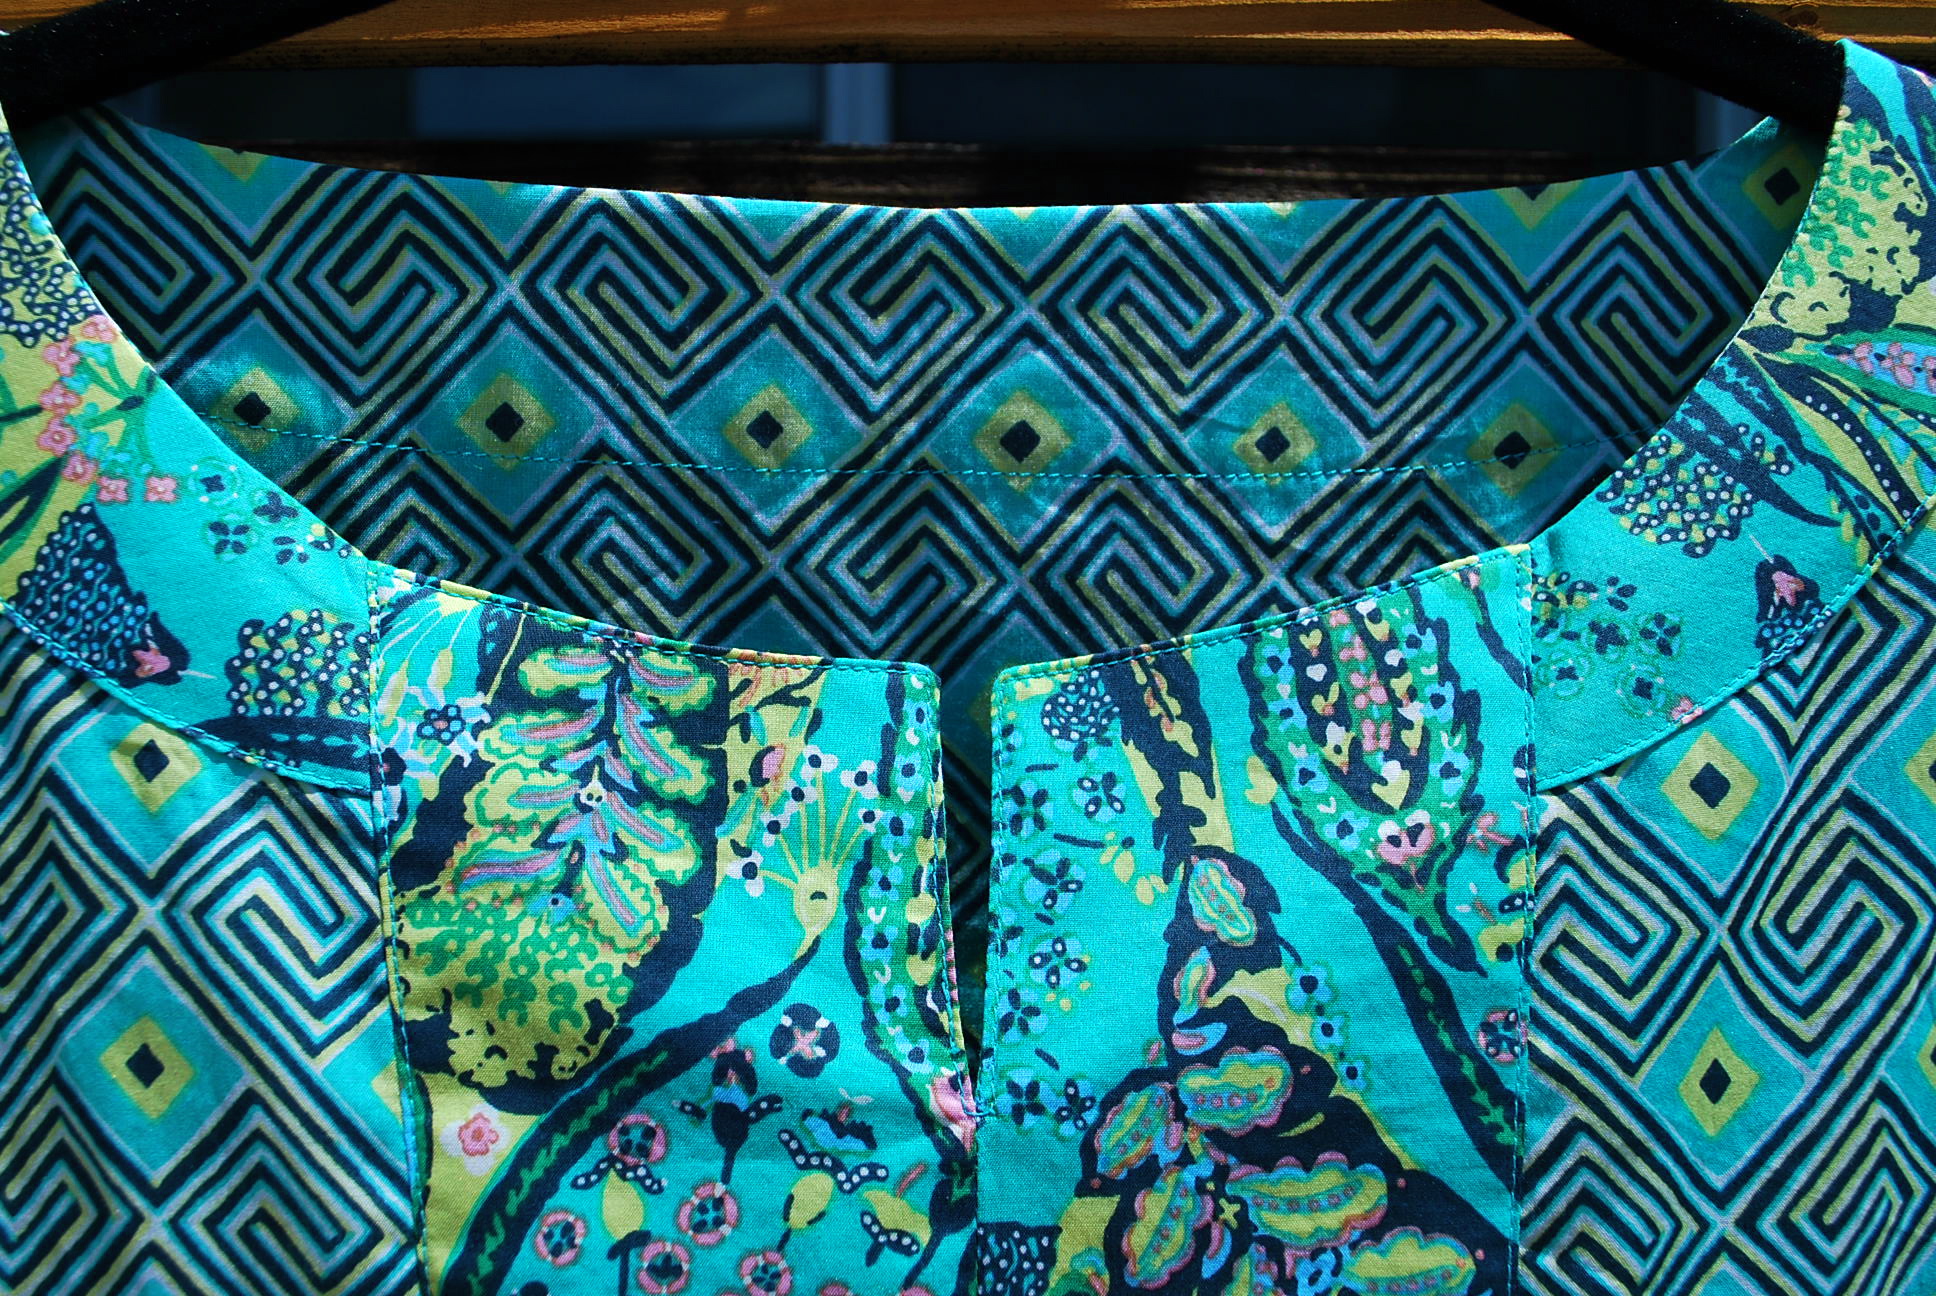
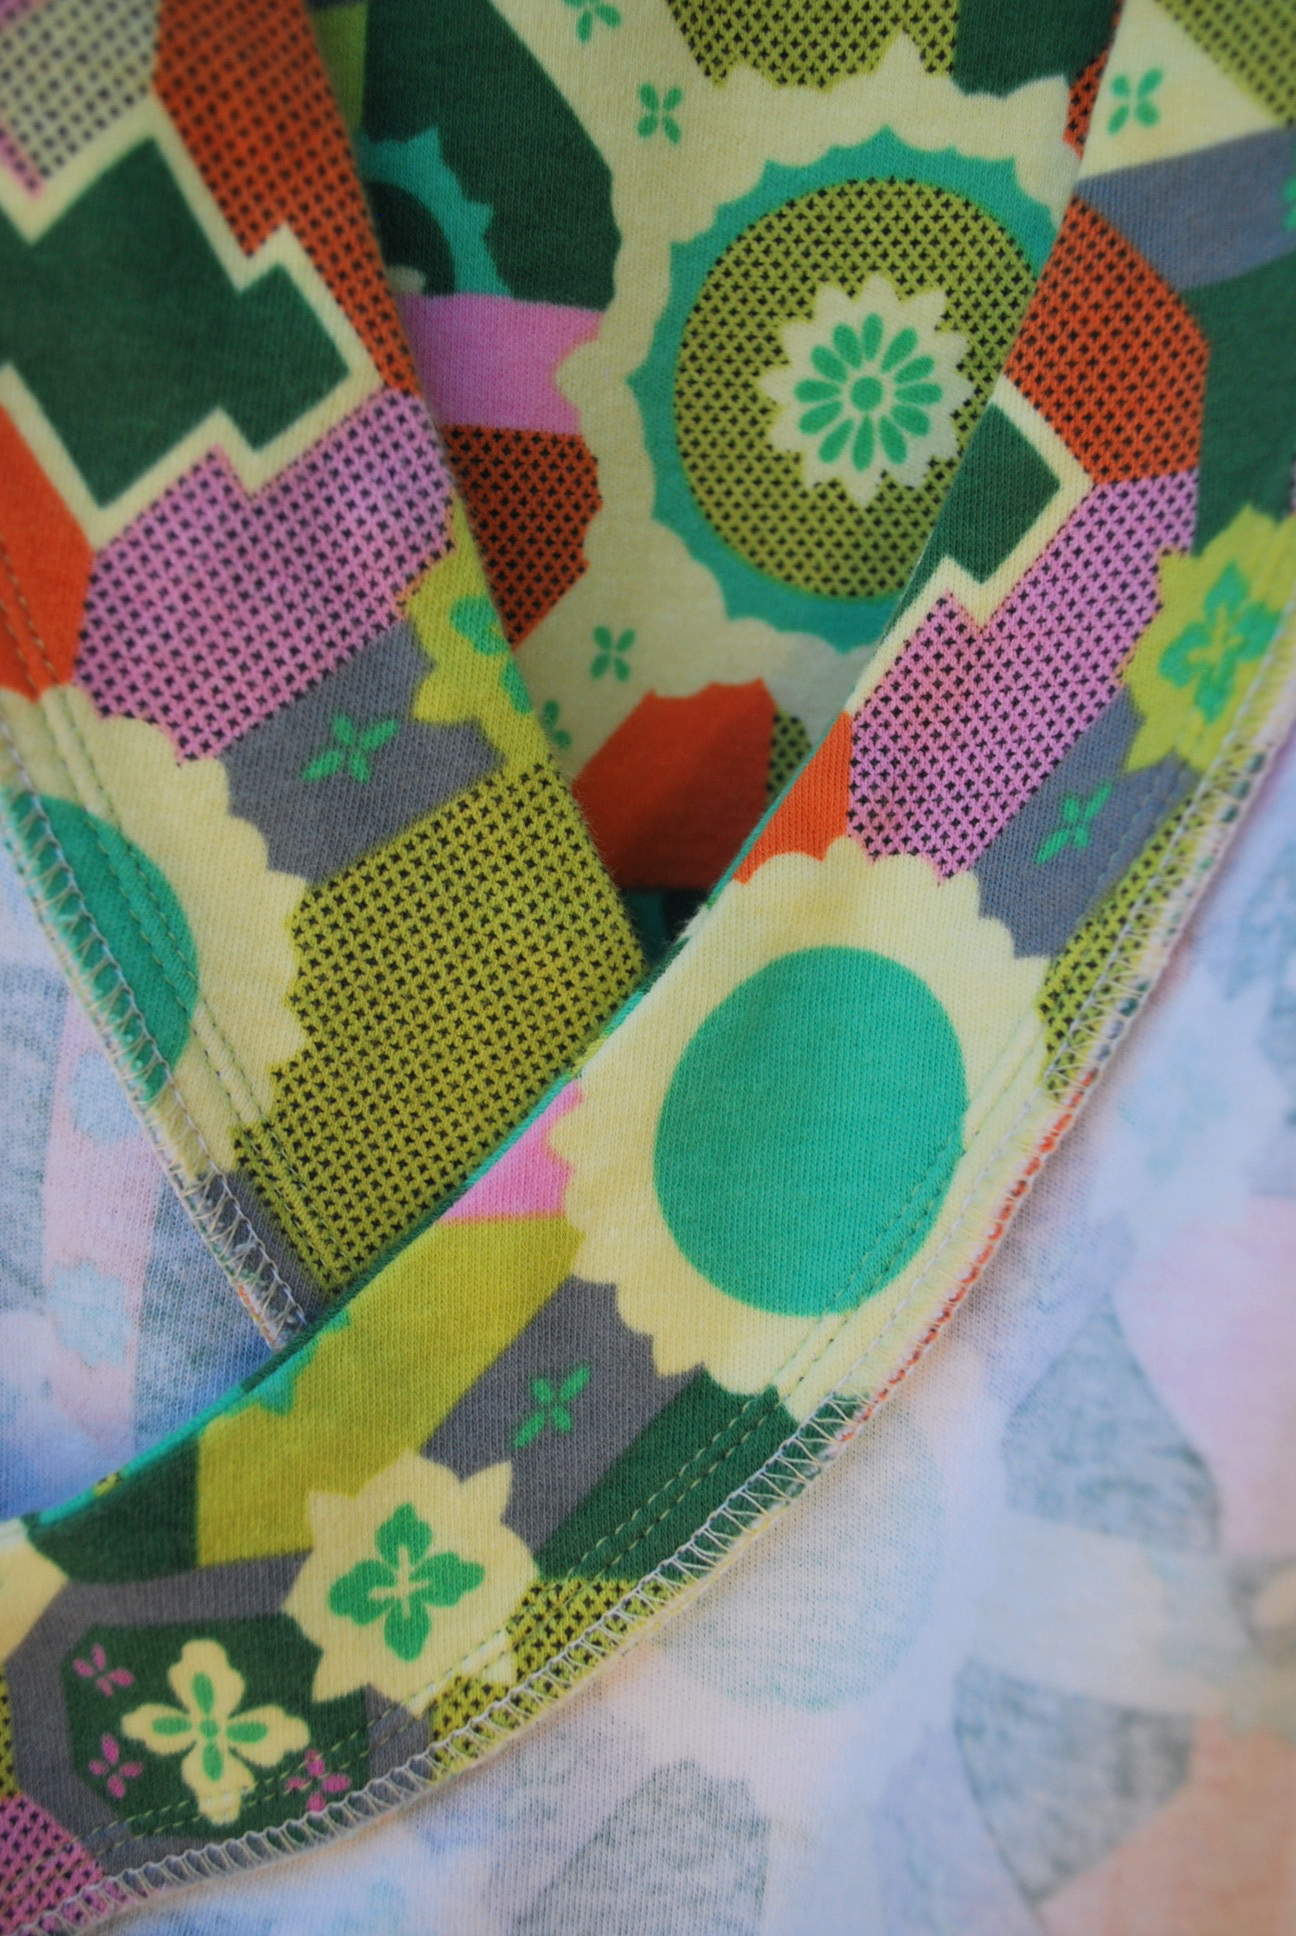
The neck trim is attached by sewing right and wrong side together at the neck edge so the seam allowances are enclosed inside when you fold the trim over to the front, and there is no need for a facing.
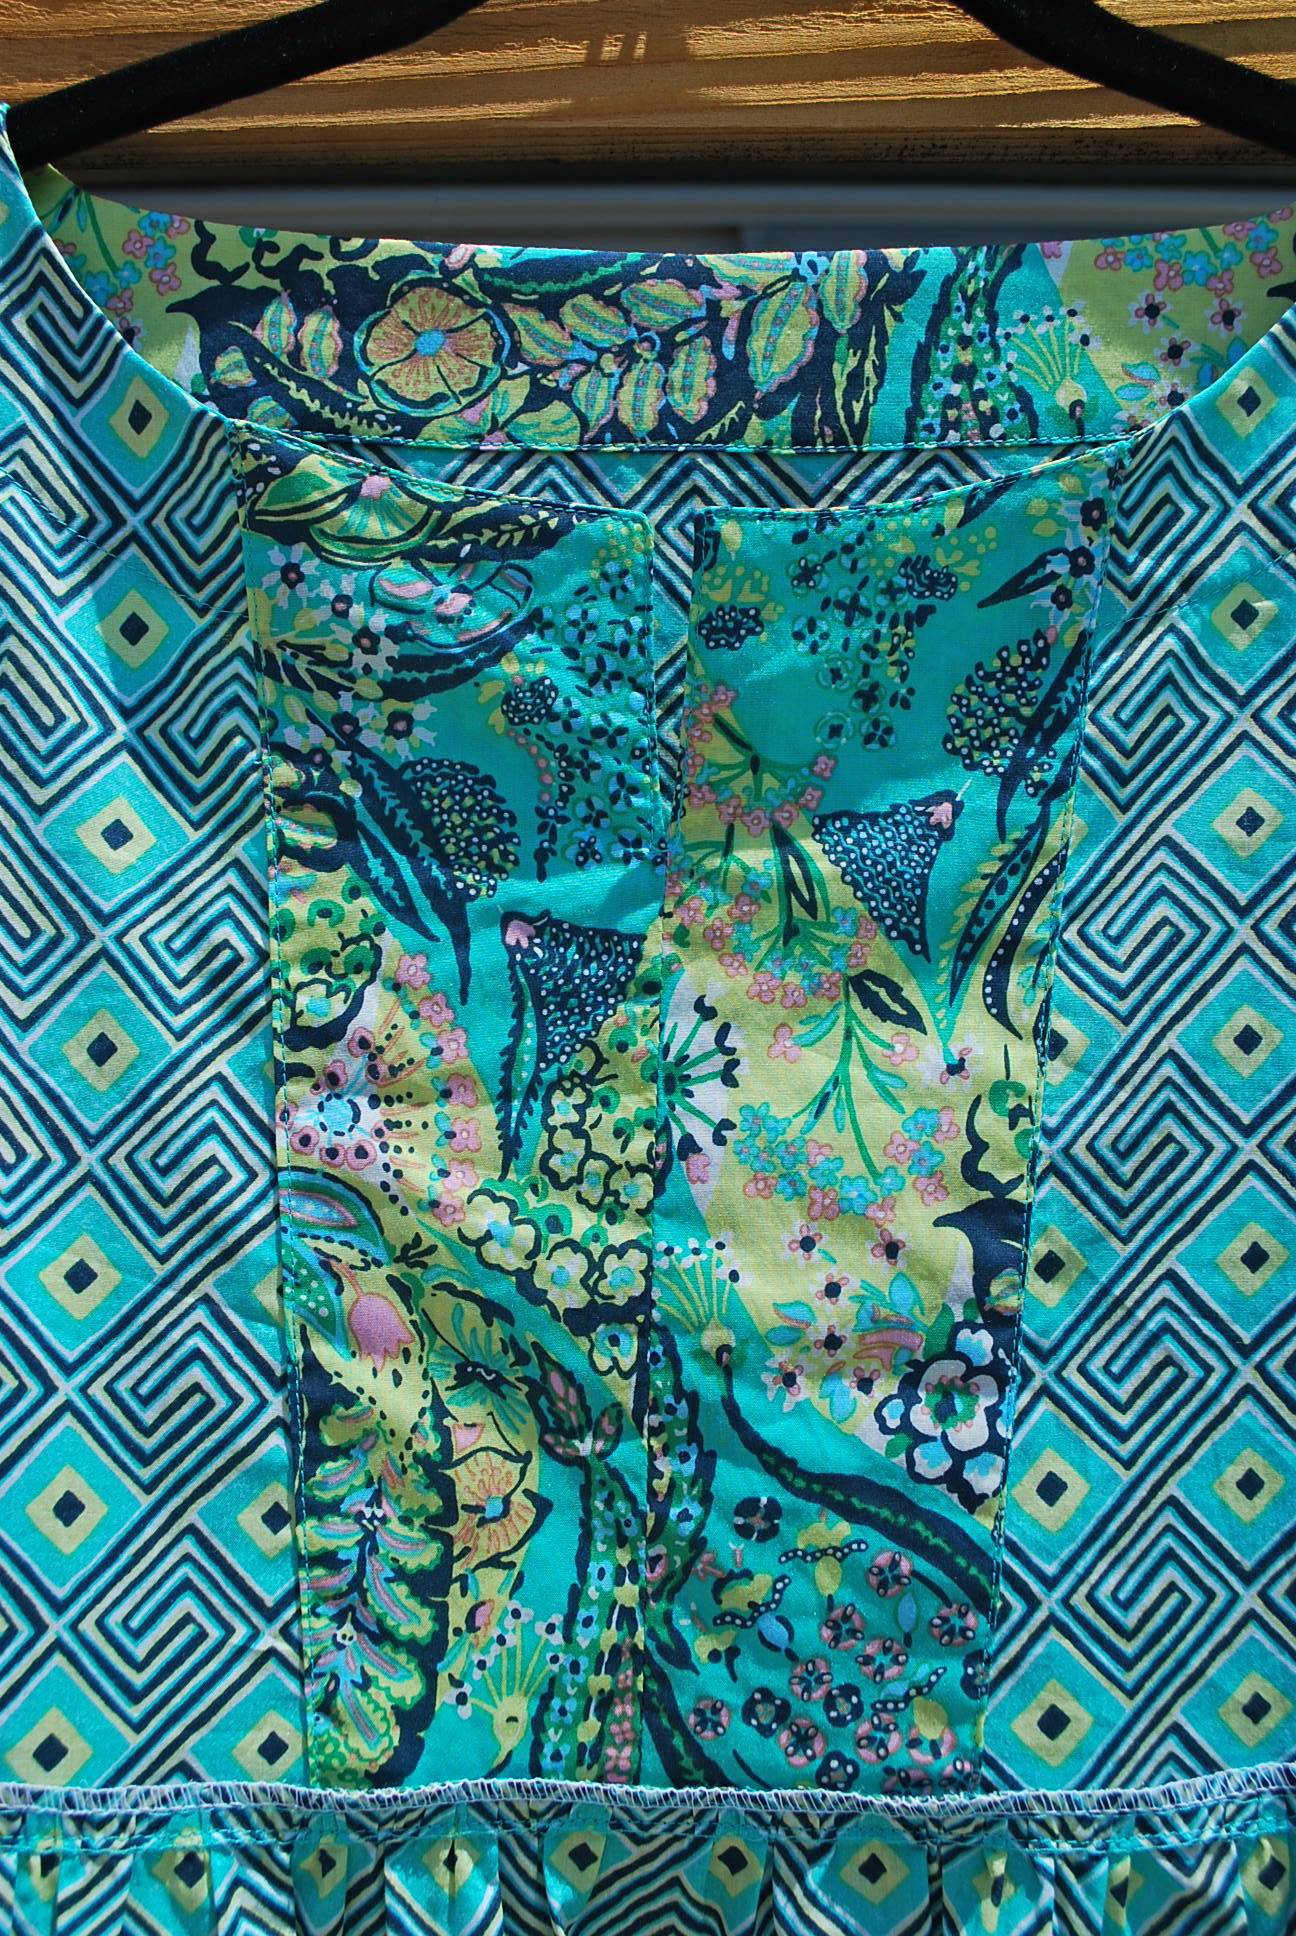
Here’s the inside. The pattern called for a single layer yoke with a bias tape trim at the top. I made a double layer for a facing instead.

The hem band is a single layer. I did a 1 1/4″ machine blind hem.
LET’S BE HONEST:
1. The pattern size range is from 6 to 16. Obiviously this is a very loose fitting design and the bust is the main measurement needed to gage your size. I cut a 12 with no alterations.
2. The width throughout the bodice and where it meets the skirt is wider than it appears in the photograph on the very skinny model in the book. It almost A-lines from the armhole. I am considering this a surprise design feature (I didn’t study the pattern pieces), rather than a misfit, because the shoulders and neckline are perfect. I feel it might not be the most flattering thing, especially from a side view, for me to have all that width floating around me.
3. Ok, after making three Japanese patterns, there is no denying they are well drafted. And also fit well, at least for a relatively narrow size range. BUT, the instructions are inadequate. (Enlarge the photo of the book above.) Beginner beware! Stay away. I because of my sewing experience, I can make a basic dress without instructions, but I try to look at what is presented from a beginner standpoint. I definitely would not attempt one of these patterns without a body of sewing knowledge.
4. I would like to question one method in the instructions. They show laying the garment out flat and sewing the sleeve in before the side seams. I usually save this technique for knits and/or sleeve caps with a straighter curve. The sleeve cap in Dress Y has a fairly high curve and I think would ease in better insetting it after the side seams are sewn. At least that’s what I did, and it work well.
Overall, despite the slightly tent-like sillouette, I love this dress. The fabric is soft, smooth and lighter than air. Dress Y like a pair of shoes that are super comfortable the first time you try them on – I know I’ll reach for it over and over again.
Have you tried any Japanese patterns? Which ones? Are you a skeptic or fan?