
Except for some last minutes sewing details for my sister-in-law‘s wedding next weekend, I am madly focused on my summer “reconstruction” makes. Click here for explanation. I’m sewing much faster than I’m blogging. I’ve got lots to share. Stay tuned. Reconstruction make #2 is a simple grab-n-go dress that’s nonrevealing and has pleats in all the right places. It’s a great alternative to shorts and a T-shirt.

This dress has been through the washer and dryer twice already.
The pattern I used is Simplicity 2147. I bought it on sale at JoAnn’s for about $1. I was attracted to this pattern because of the loose fit and bodice yoke with pleats and ample chest coverage. I was not attracted to it because it says “Learn to Sew”, although that signals quick and easy – a good thing when your whipping out summer clothes. I made view B.

The fabric I used is Robert Kaufman, Double Gauze Chambray in Indigo. I purchased it from my favorite online fabric store Hawthorne Threads. I ordered 2 yards at a cost of $11.70 per yard. This is my first double gauze experience. I have seen many makes with double gauze floating around the online sewing community and had been curious about it for some time. I love the characteristics of this fabric, it’s soft and lightweight while having a similar fashion aesthetic of a regular chambray. However, I don’t think it was the perfect choice for this pattern. I’ll explain below.

Because of the loose weave of the gauze, the fabric sort of stretches over the shoulder and creates a wing effect on the edge of the sleeves. Not a big deal, but something I wasn’t jazzed about the first time I tried it on. Can I live with it? Yes!

The side view is a bit unflatteringly “full.” I don’t know if it’s because there are also pleats in the back or it’s the nature of the fabric. What I do know, however, is that as the day wears on, you get a rear end sag from the double gauze stretching out while sitting. The dress appears freshly washed in the photo.


The neckline is finished with purchased bias tape. The sleeves have a narrow machine hem.

I like how the wrong side of the fabric is the “negative” of the right side.
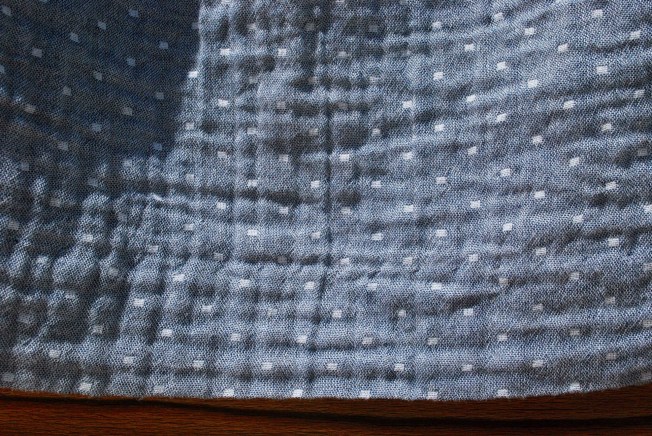
I did a machine blind hem for the bottom hem. The stitches are hiddened well in the crinkly, double gauze!
LETS BE HONEST:
1. I made a size 12 and graded out to a size 14 on the bottom half. I did not do this out of concern for my hips. I did this because I added 5″ to the hem. (View B is described as a mini-dress, which I don’t do.) I noticed that the body of the dress narrows slightly towards the bottom and I thought if I continued the inward angle following the size 12 line, it might feel a little narrow at the hem.
2. Hmm…what else can I say. Despite the winged sleeves and saggy rear end, I really love this dress and will continue to reach for it often this summer.
What about you…can you overlook disppointing details when the garment perfectly fills a need in your wardrobe?
