
Since starting this blog, I have rediscovered the joy of wearing dresses, I mean everyday, grab-n-go dresses, especially for hot summer weather. Even though we’re in the dog days of summer here in inland So Cal, I’ve started to turn my sewing thoughts to fall. So for Fresh Make #15 I have made a transition dress, one take will take me from end of summer onto fall.

I asked my filmmaker son to take photos of me and he told me to stand in the dirt in the field across the street from our house.

 The pattern I chose is Simplicity 2246. This is part of the “lisette” collection, which I think is Simplicity’s attempt to appeal to the young, hip, indie sewist. Like all the indie patterns, they have even given it a name, Traveler Dress. (I didn’t have to make one up this time.) It’s an adorable shirt dress with lots of options to “make it your own.” I purchased my pattern at JoAnn’s Fabrics for $1 several months ago during one of their 5 for $5 Simplicity pattern sales.
I made View A, leaving off the hips pockets (I do not need to bring emphasis to that area of my body!). I also made the cap sleeve in View C because just looking at longer sleeves in the middle of summer makes me sweat.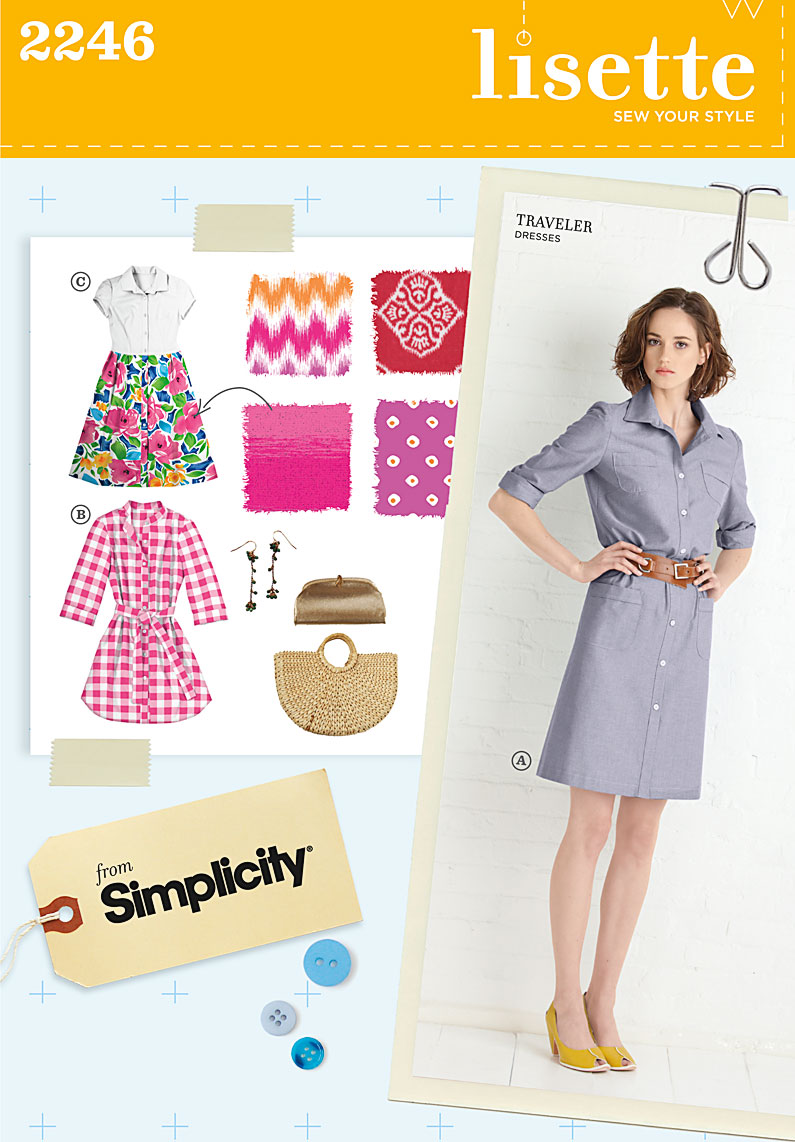 The fabric I used is from an awesome chambray collection by Andover Fabrics. I purchased 2 1/2 yards of Chambray in Bluegrass and 1/2 yards of Chambray in Tailor at $9.25 per yard from Hawthorne Threads, my favorite online fabric store.
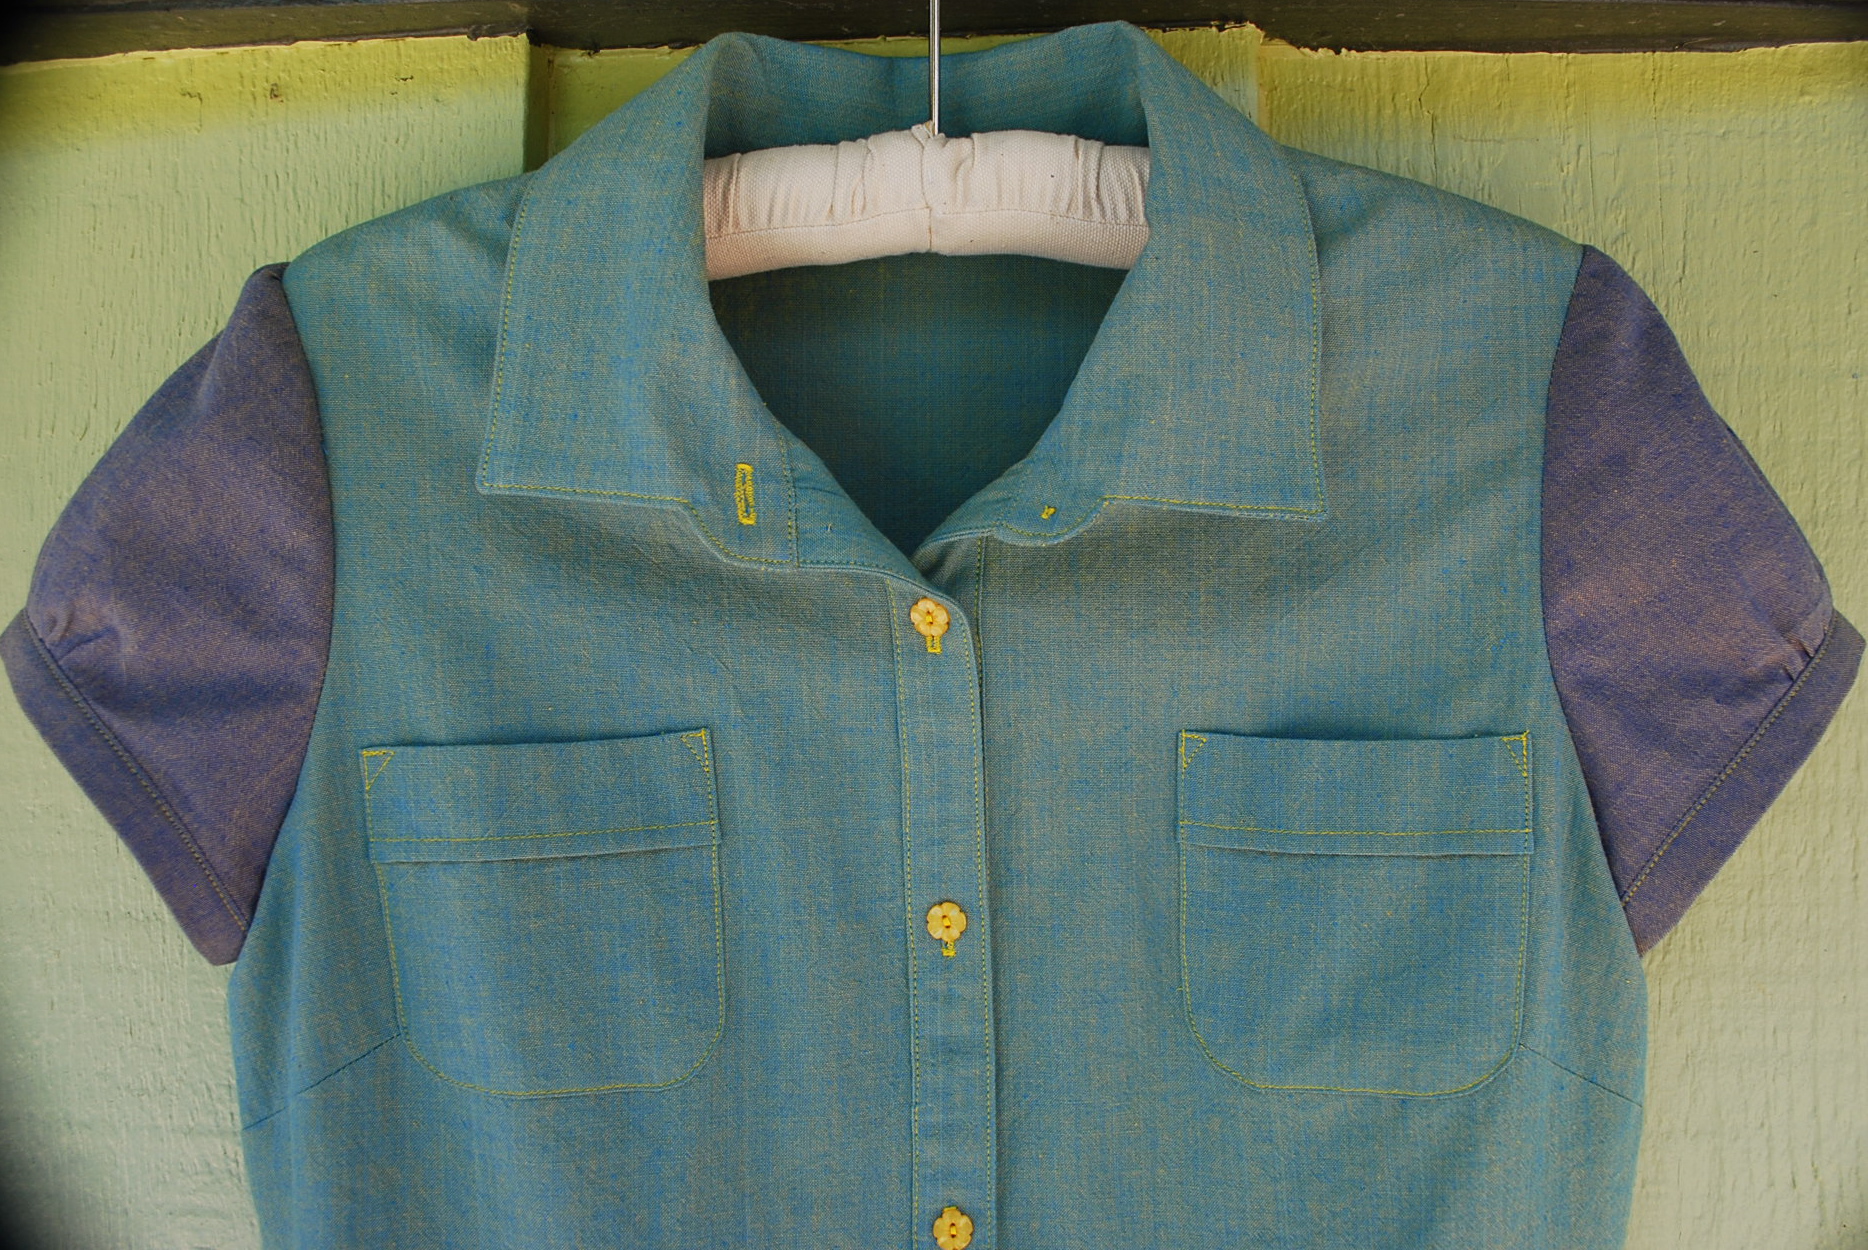 You can’t go wrong with a basic shirtdress but I couldn’t resist putting my own little twist by using a different color for the sleeve. I had seen some denim blouses and dresses that had different shades of denims on the sleeves on Pinterest, so I was hoping to be a little trendy. Maybe not. Oh, who cares, I really like it.
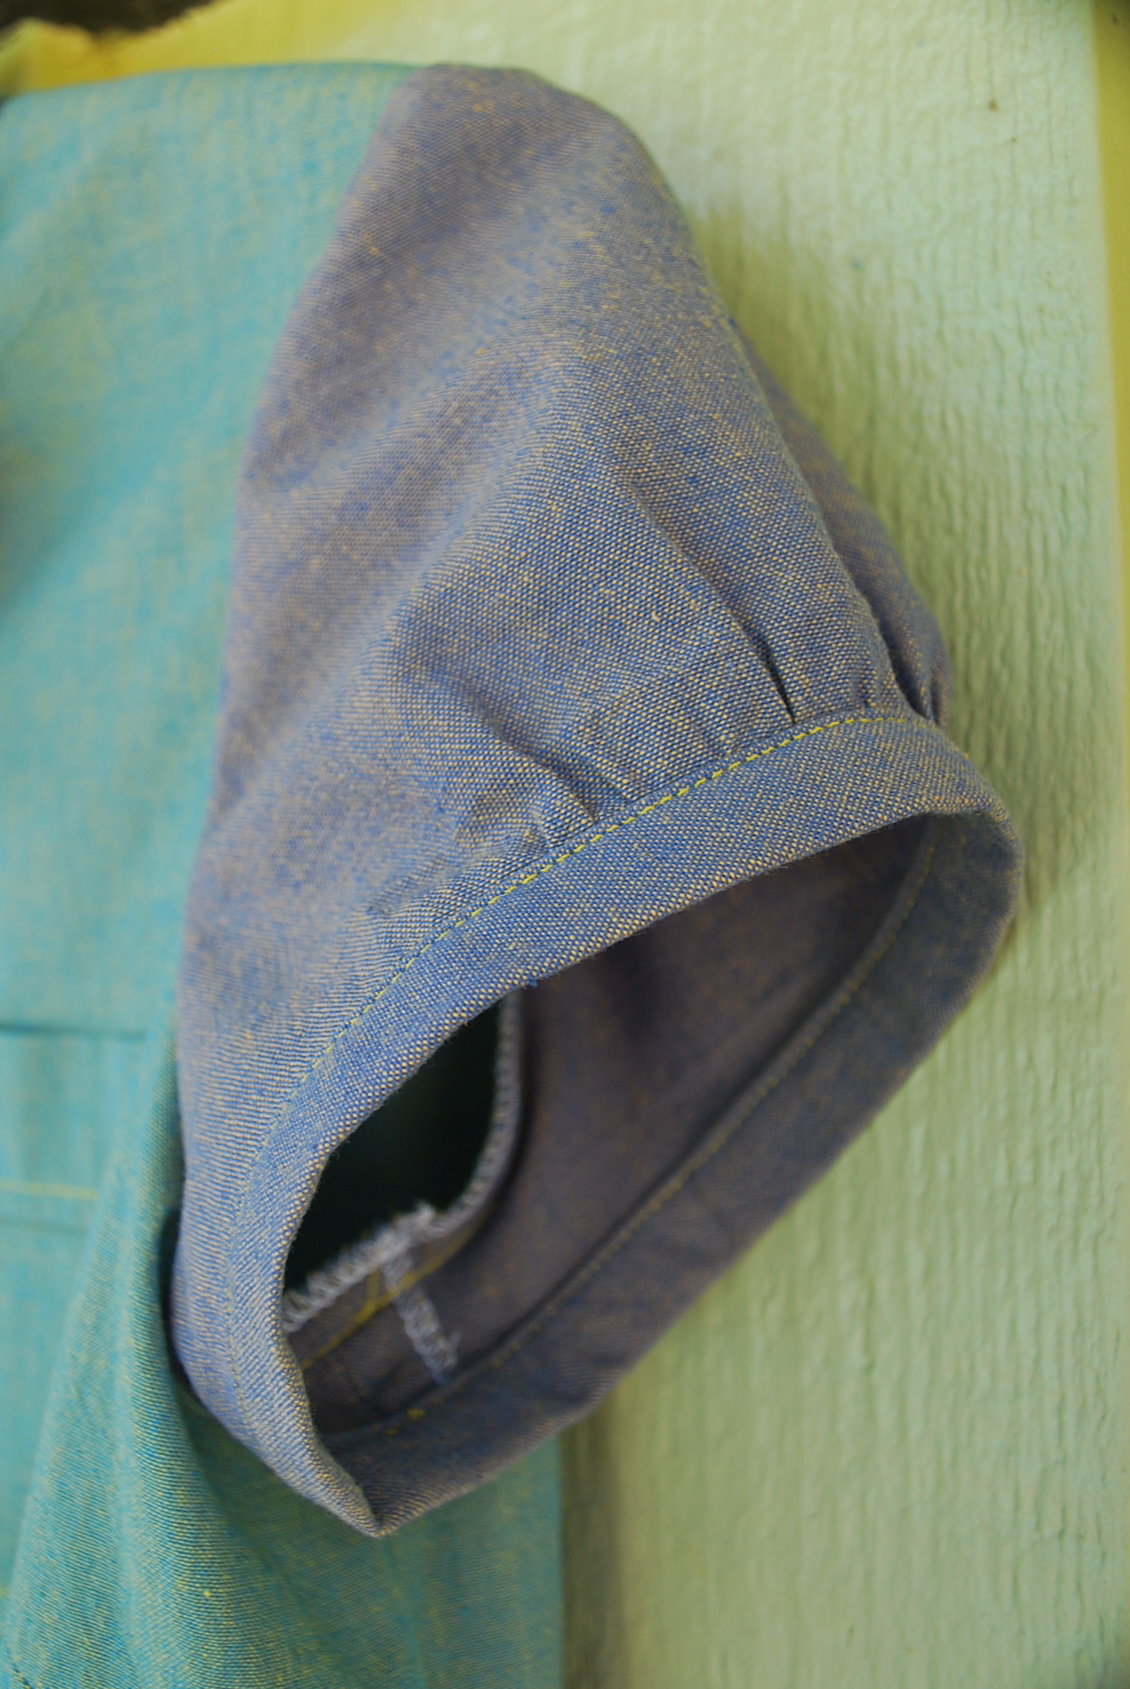
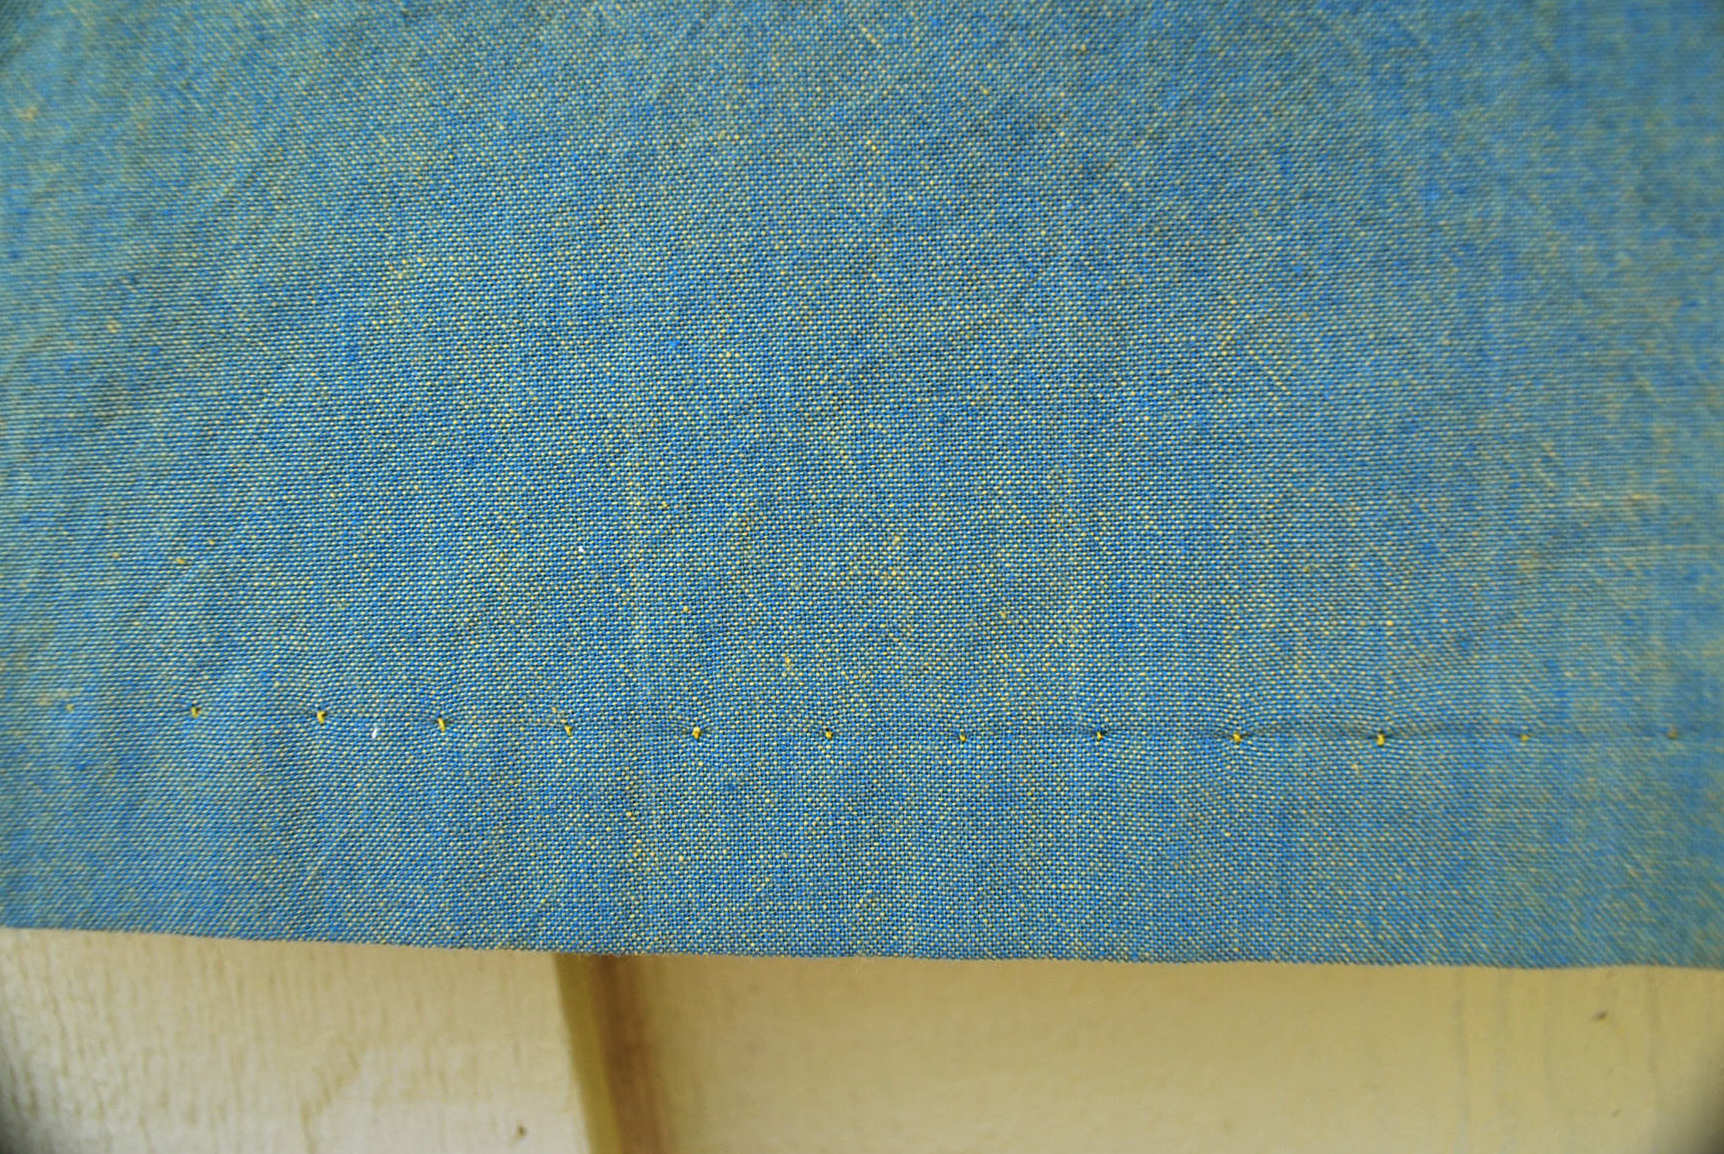
I am a big advocate of blind hems on dresses and skirts, regardless of what is shown in the directions. I am not opposed to a machine blind hem when possible, like here.

LET’S BE HONEST;
1. This pattern, unlike most, does not have a difficulty rating. A shirt dress is never an appropriate project for a novice, but I have to say for a shirt dress, this pattern is “easy.” The collar does not have a separate neckband which simplifies construction, however it does sacrifice a more tailored look. Maybe you care, maybe you don’t. The instructions are typical of a big 4 pattern, only additionally there are “lisette tips” which I actually thought could be helpful for a new sewist.
2. I graded between a size 12 at the bodice to a size 14 on the bottom. As I always do, I measured the actually pattern pieces at key spots with a tape measure and then put the tape measure around me at the same spot. Then, I decide if I like that amount of wearing ease, and determine what size (or sizes) I cut from there. If you spend time doing this you should get fairly good fitting results. I’m saying this because I have to get something off my chest…I have noticed with the online sewing community, it seems to have become standard practice to make “muslins” for regular garments. That seems unappealing and time consuming to me. I just think careful measuring of the paper pattern can allow you to skip this step. To each her own, if you like making muslins, don’t let me stop you.
3. I am very happy with the cut and fit of this pattern. The slight A-line makes it possible to flatter those of us with a bit of a pear shape. The only change I would make is to the circumference of the sleeve band. I measured my upper arm and added an 1″ to the band, but I would actually add yet another 1″. It’s comfortable when my arms are at my side, but the range of motion is limited because there is no “give” in the fabric.
4. Overall, there were no surprises or oddities with pattern and I would definitely recommend it to an intermediate sewist.
Thanks for reading this post. What will you make to help you comfortably transition into fall?

wow i never thought of measuring the pattern pieces to decide what size to use! that’s really smart. and i agree that making a muslin version first to determine fit is tedious and time consuming. i get tired of making a garment the first time what makes you think i want to do it twice?! haha
Thanks for considering my “fitting” method. It’s nothing new, just something my mom taught me to do many, many years ago. The only time I ever made any muslins was for my wedding dress, my daughter’s prom dress, and my cousin’s Irish dance dress.
It may not be new in the world but new to me! I love when I have those little moments when I discover a new idea or method of doing something. All the tips makes us better sew-ers 🙂
oh and this dress is REALLY CUTE! i love the touch on the sleeves.
Your dress looks lovely! I really like the colour combo and those cute short sleeves are great.
Lori, your attention to detail is inspiring! Great job. As always, I love your eye for color in the fabric selection.
After sewing my first mens style shirt for my son with shoulder yokes and monk collar this definately looks easier. A long sleeve dress is missing from my wardrobe, I’m adding this as a potential pattern.
I too, had never heard about measuring the pattern. The little tips and tricks you share make me want to sew again. I love the contrasting stitching and button color. The dress looks great on you!
You have become a big part of my Inspiration Board -Clothes I will really wear with a small something to make them un-ordinary.
The contrast sleeves are a great touch, and the yellow buttons are great. I love that your dress is actually very colorful without being loud or garish.
I’m so happy that someone else measures her pattern pieces! I’ve always done this, in order to know how much bigger I need to make a pattern. And I also use the measuring tape to visualize garment ease. As for the muslining, it’s a great habit if you don’t measure yourself or your pattern–just pick the size that seems right, and see how it works. I’m making a pants muslin right now, and it’s a nice treat to not have to do any math for a change.
Lovely and seeing as I have this pattern, your version really makes me want to pull it out and get to work! I do wonder about measuring the pattern I’ve heard of doing that but always found it tricky when trying to decide how to factor in button plackets and other closures. Any tips you have would be welcome!
In the case of this pattern, the placket is fairly narrow, so it only adds about 1/2″ width the left and right side front. I would allow about 3 or 4 inches of wearing ease around the hips. I machine based the sides, and then tried it on. I was lucky, and it fit. Then I just sewed right over the basing stitch. I don’t even bother to take the basing stitch out.
Loovely Dress! I too enjoy having a nice, simple dress to throw on. No fuss and they are comfortable! I haven’t pulled out my sewing maachine in about 5 years, I’m tempted to now.